
Teacher with a dedicated cutting table
Wants pupils to follow the whole work surface and the movement of the scissors; a repeatable overhead setup is the priority.


Start by asking whether you can safely position the camera above the entire work surface and clearly capture both the paper and your hands. For this lesson setup, that matters more than simply choosing the highest video resolution. A webcam is suited to teaching or recording through a computer, while a standalone camera can offer more freedom over positioning or lens choice, but may also require a suitable lens and mount. Test the framing, focus, exposure, white balance and audio clarity with your final setup before recording the lesson.
Wants pupils to follow the whole work surface and the movement of the scissors; a repeatable overhead setup is the priority.
Wants to keep light-coloured layers of paper and cut edges clear against a white background, with the option to adjust lighting and colour.
Wants to record clear explanations while cutting, so also considers the microphone setup.
A good fit if: you teach live or record directly to a computer and can securely mount the webcam above the paper. Logitech describes a Show Mode for the MX Brio that lets you show your desktop.
Bear in mind: a computer, cable and suitable mount are still part of the setup. Show Mode alone does not guarantee a stable overhead view of your table.
A good fit if: you want to record independently or adjust the framing with a different lens. The Canon EOS R50 V and Sony ZV-E10 II have interchangeable lenses.
Bear in mind: check which lens comes with the version you choose and whether it captures the entire work surface from your mounting height. The camera also needs a stable mount.
A good fit if: you want to film on the move as well as at your regular teaching table. DJI lists a minimum focusing distance of 0.2 m for the Osmo Pocket 3.
Bear in mind: a fixed lens gives you less freedom to change the framing. Check that the paper and your hands both fit in the shot from your chosen mounting height.
| What to consider | What should you check? | Who is this important for? |
|---|---|---|
| Overhead view of the work surface | From your intended mounting height, check the framing, mount and stability, with both the paper and moving hands in shot. | When I film at a dedicated cutting table, I want to keep the paper, scissors and moving hands in shot at the same time. Around 36% of consumers give the entire work surface top priority. |
| Cut edges and how white is rendered | Make a test recording using the actual paper and lighting. Check fine lines and shadows, as well as the available exposure and white balance settings. | With light-coloured layers of paper, I want fine cut lines to remain visible and white to look free from colour casts. Around 29% of consumers prioritise detail and the rendering of white. |
| Clear spoken explanations | Record a test lesson while cutting and speaking. Check the built-in microphone or a compatible external microphone, along with the power supply and storage for your planned lesson length. | When I explain things while cutting, I want my voice to remain clear without making the recording unnecessarily complicated. Around 21% of consumers prioritise spoken explanations and recording time. |
| Computer workflow | Decide whether you want to teach live or record locally. Check the connection, software and what is included with the version you choose. | For a lesson taught from a computer, I want to connect quickly and check that the software works. Around 14% of consumers place the greatest importance on a straightforward computer workflow. |
A high video resolution does not tell you whether the paper and your moving hands will both be visible from your mounting height.
Test the whole work surface with the exact lens or fixed angle of view, and the mount you intend to use.
Automatic metering can render a bright scene differently from how you intended. Ambient light can also add a colour cast to white. Canon explains these points in its guidance on exposure and white balance.
Make a test clip and check the exposure, light details in the paper and white balance under the lighting you will use for the lesson.
What is included with the lens varies by version: Sony, for example, describes a specific ZV-E10 II lens kit. You may also need a microphone setup for spoken explanations; Nikon lists an external microphone as an alternative to the built-in microphone.
Check the exact version and what else you need for mounting, framing and recording spoken explanations.
Webcams for lessons delivered through a computer. Logitech describes a Show Mode for the MX Brio that lets you show your desktop.
The EOS R50 V is a video-focused mirrorless camera with an interchangeable lens, suited to anyone who wants to put together their own setup.
The ZV-E10 II is an APS-C camera with interchangeable E-mount lenses, so you can choose a lens to suit your work surface.
Nikon also presents the Z 30 as a camera for instructional videos.
The Osmo Pocket 3 is a compact camera with a fixed lens, suited to anyone who also films away from the teaching table.
This selection includes webcams for computer-based lesson recordings and a compact standalone camera. For each setup, check that the mount and framing suit your cutting table.
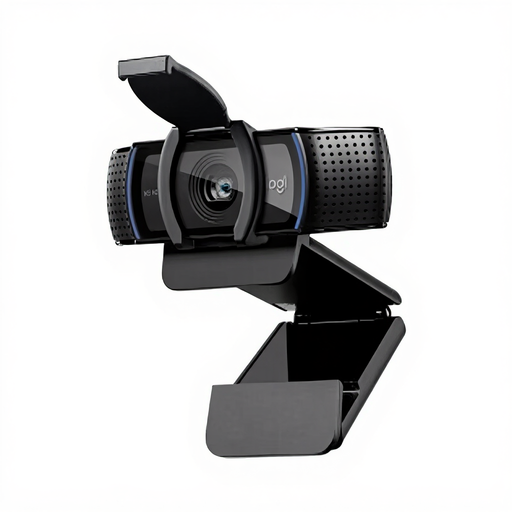 No image available
Suited to computer-based lesson recordings. Check the fixed 78° angle of view from your planned mounting position.
The product description lists 1080p video recording, autofocus, two integrated microphones and a USB connection.
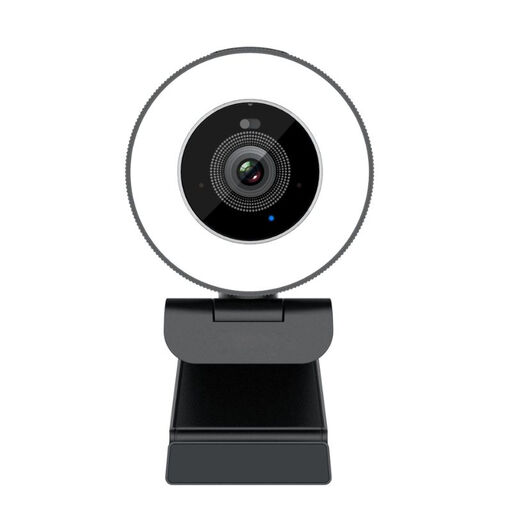 No image available
A webcam option for lesson recordings with a desktop computer. Check that your mounting position captures the whole cutting table.
The product title lists 4K UHD, autofocus, dual built-in microphones and a privacy cover.
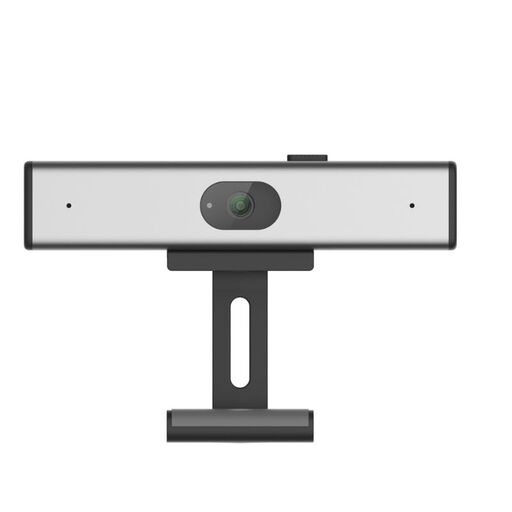 No image available
Suited to computer-based recording. Check how much of the work surface remains visible from your planned distance.
The product title lists 2K QHD video and a noise-reducing microphone.
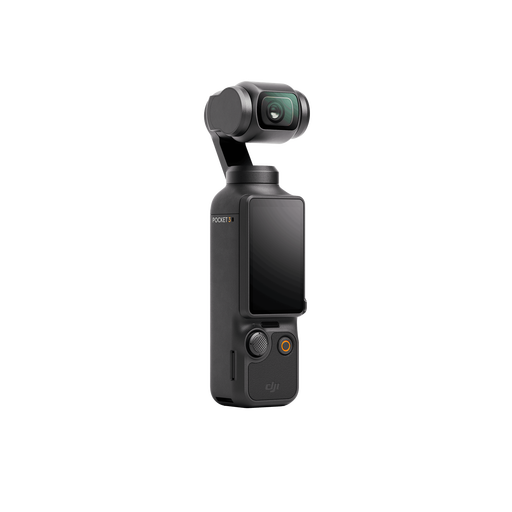 No image available
A compact standalone camera for anyone who also films away from their regular teaching table. Check that the fixed lens captures the whole table from your mounting height.
The product title lists 4K/120fps, 3-axis stabilisation and an included microphone.
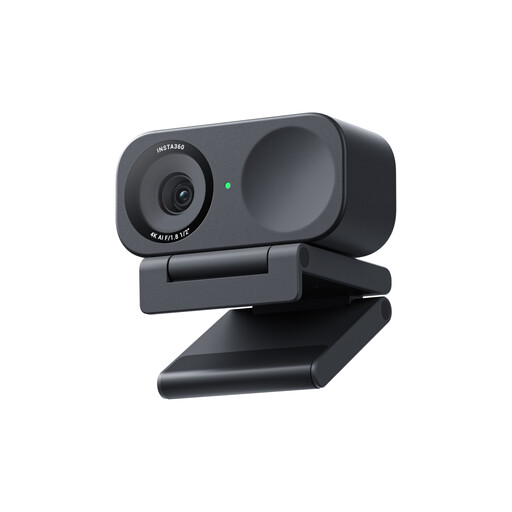 No image available
Suited to computer-based lesson recordings. Check that the fixed angle of view captures the whole work surface from your planned mounting distance.
The product title lists a 4K webcam for PC and Mac. The product description mentions DeskView and Whiteboard Mode, as well as adjustable exposure compensation and white balance.
Make a test recording under the lighting you will use for the lesson. Check the exposure on the paper and, if your camera allows it, adjust the exposure and white balance. Canon explains that automatic metering does not always give the desired result in bright scenes, and that ambient light can add a colour cast to white.
Not necessarily: you need to be able to mount the webcam securely at the right height and angle. Logitech describes a mode for showing your desktop on the MX Brio, but also check that your mount and software provide the overhead view you want.
Not without more. The Dutch Data Protection Authority states that consent is required for images of pupils or staff, and that the school must keep the material secure. For pupils under 16, the school must obtain consent from a parent, according to the Dutch Data Protection Authority. This applies to the school setting and is not a general requirement when buying a camera.
For an online consumer purchase, ACM ConsuWijzer states that the 14-day cooling-off period ends 14 days after delivery; check which exceptions apply to your purchase. Your statutory guarantee is separate from any seller’s guarantee: if a camera breaks during normal use sooner than you could reasonably expect, the seller must resolve the problem free of charge.