
Explaining components up close
You want to show components and connections clearly. Check the focusing distance and how legible the image is in your own setup.


If you mainly want to show your work and components on the workbench, start with a camera you can position above the work surface, and check that it focuses at the distance you work from. A webcam with a desk view is a better fit if you want to switch between yourself and the circuit during a call, but this mode doesn’t guarantee that small labels will be readable. Either way, test the image with your own components, and check the lighting, connection and audio too.
You want to show components and connections clearly. Check the focusing distance and how legible the image is in your own setup.
You want viewers to follow your hands and the steps on the table. A stable overhead view may matter more than tracking your face.
You want to switch between appearing on camera and showing your work during a call. Check the camera angle and how well it works with your computer and video-calling app.
For a circuit assembly demonstration in a spare room, the camera’s working distance, framing, lighting and connection will largely determine how well it suits your setup.
| What to consider | What to look for | Who is this important for? |
|---|---|---|
| Showing small components clearly | Measure the distance between the lens and the circuit board, then compare it with the stated focus range. IPEVO and OBSBOT list a minimum distance of 10 cm for the V4K PRO 120 and Tiny 2 respectively; this alone doesn’t guarantee that component codes will be readable. | If you want to show small components and connections, the image needs to be sharp and usable at your working distance. Around 36% of consumers prioritise detail legibility. |
| Overhead view of the workbench | Check that the camera can be positioned securely above your workspace and that the frame covers your work area. IPEVO lists a maximum capture area of 440 × 330 mm for the V4K PRO 120. | If you want viewers to follow your hands, components and tools during assembly, the layout of the whole frame matters. Around 29% of consumers prioritise showing the assembly process. |
| Lighting and image controls | Check the image under the lighting you’ll actually use. Look for adjustable exposure and white balance, and watch out for reflections on the work surface. | If your workspace is difficult to light, you’ll want to check whether components are visible enough on screen. Around 21% of consumers prioritise lighting and image controls. |
| Connection, audio and privacy | Check which computer port you need and whether the exact model is supported by your app. Test the microphone and consider how you’ll cover the camera when it’s not in use. | If you want to talk viewers through the demonstration and connect or cover the camera easily, check these practical details in advance. Around 14% of consumers prioritise connection, audio and privacy. |
A feature for showing your desk isn’t proof that small component codes will be readable. In its guidance on Show Mode for the Brio 505 and MX Brio 705, Logitech says the feature isn’t designed for very fine text; this isn’t a test result for every other model.
Take a test image of your own components from the planned distance, and check the final framing before choosing a camera.
Elgato lists a minimum focus distance of 10 cm for the Facecam Pro, but 30–120 cm for the standard Facecam. The Facecam Pro is also listed as legacy/EOL.
Check the full model name, focusing distance and current support for the version you’re considering.
According to ACM ConsuWijzer, your statutory rights exist alongside any manufacturer’s or seller’s guarantee. The seller is responsible if a product doesn’t perform as you could reasonably expect under normal use.
Compare what an additional plan actually offers on top of the rights you already have.
An additional protection plan may cost extra, so check the cover and terms first.
USB document cameras for showing a work surface from above.
Webcams that Logitech says can also show your desk, such as the MX Brio with Show Mode.
Webcams with focus options; the Tiny 2 may be worth considering if you want to position the camera close to your work.
Webcams for switching between the presenter and the desk; according to the manufacturer, the Link 2 combines a gimbal with a desk view.
Webcams with adjustable focus; check the exact model in the Facecam range.
These webcams are designed for demonstrations and calls using a computer. Check whether each model’s working distance, mounting options and features suit your workbench.
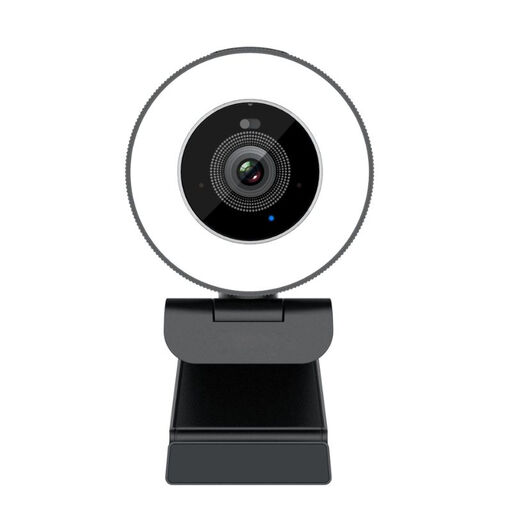 No image available
An option for computer demonstrations where you also need a microphone and privacy cover.
The title specifies 4K UHD and autofocus; the product information lists dual built-in microphones and a privacy cover.
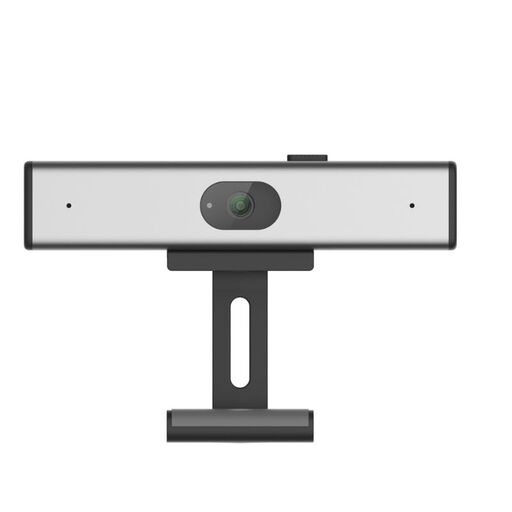 No image available
A good fit for a setup where you want to mount the camera on a screen or tripod.
The product information lists a universal clip, tripod mount and a noise-cancelling microphone.
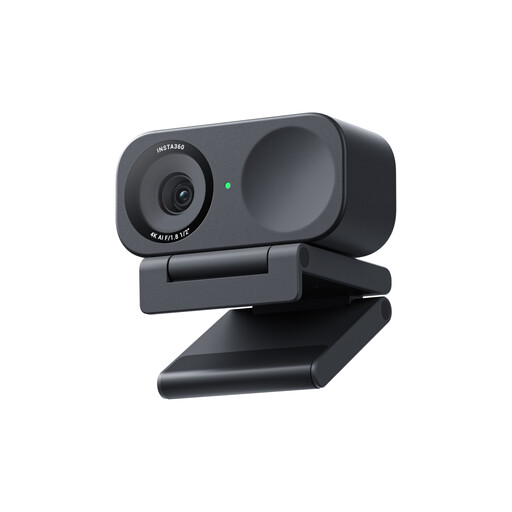 No image available
A webcam option for computer use if you also want to show your desk.
The product information lists a 1/2-inch sensor, HDR, PDAF autofocus, DeskView and a microphone with AI noise cancellation.
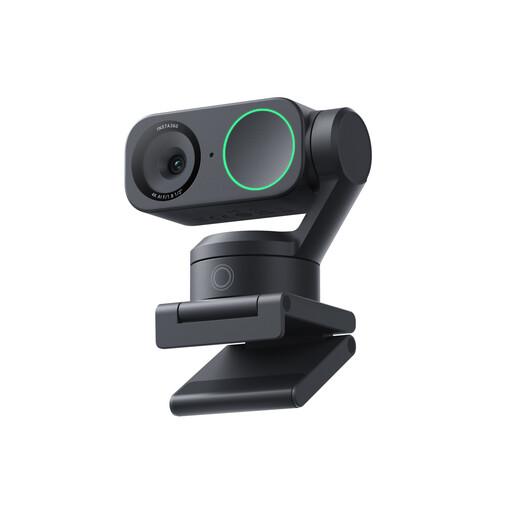 No image available
An option if you want to switch between the presenter and the work surface during a demonstration.
Insta360 lists a desk view and gimbal for the Link 2. The product information also mentions a 1/2-inch sensor, HDR and AI tracking.
No. First check whether the camera focuses at your working distance and how large the component appears in the final image. IPEVO lists a minimum distance of 10 cm for the V4K PRO 120, as does OBSBOT for the Tiny 2; Elgato gives a range of 30–120 cm for the standard Facecam. None of these distances alone guarantees that component codes will be readable.
First, position the work surface within the frame, secure the camera and focus at the height of the circuit board. Make sure there’s enough light, then check the image with your own components. In its guidance on Show Mode for the Brio 505 and MX Brio 705, Logitech recommends turning off distracting background or blur filters; this isn’t a model specification for the standard MX Brio.
For distance purchases from a business in the Netherlands, you’ll generally have 14 days to change your mind; check the terms of your purchase. Your statutory rights are separate from any manufacturer’s guarantee offered. According to ACM ConsuWijzer, the seller is responsible if a product used normally doesn’t perform as you could reasonably expect.
This depends on who appears in the footage and how you use or share it. The Dutch Data Protection Authority distinguishes between personal images shared with a limited group and footage shared more widely or for business purposes; in the latter cases, the GDPR may apply if people are recognisable, and you’ll need a lawful basis. Where possible, point the camera only at your work surface and check the rules before broadcasting publicly or for business purposes.