
Student showing stamp details
If you’re showing a single stamp to the class, being able to control the focus and camera position is useful; HUE describes the HD Pro as having manual focus.


First, choose a visualiser that suits the classroom screen and available connections: USB via a suitable computer, or HDMI for direct display on a compatible screen. Then check whether the details are sharp enough using a real stamp and your planned set-up; digital zoom alone is no proof of that.
If you’re showing a single stamp to the class, being able to control the focus and camera position is useful; HUE describes the HD Pro as having manual focus.
Your choice will partly depend on the computer, projector or screen input available. Epson describes the ELPDC07 as connecting via USB and connecting directly to compatible Epson projectors; check that it works with your own set-up.
If you want to show an album page as well as individual stamps, or capture images, check the capture area and focus for both tasks. ELMO lists a capture area for the MX-P3; IRIS describes capture and annotation features for the Visualizer 7.
Choose this option: if you’ll present on the classroom screen through a suitable computer and camera app.
Bear in mind: the software and connections need to work with your computer and screen; manual focus needs to be adjusted by hand.
Choose this option: if you want to present live without a computer on a screen with an HDMI input.
Bear in mind: HDMI does not automatically mean the camera won’t need a separate power supply.
| What to consider | What should you check? | Who is this important for? |
|---|---|---|
| Focus on a single stamp | Check the focus controls and stated focus range; if possible, assess a real stamp on the classroom screen. | If I’m showing one stamp, I want to see whether the details are clear on the actual screen. Around 36% of consumers prioritise sharpness when showing a single stamp. |
| Connection to the classroom screen | Check the video inputs, available power supply and cables required. | If I want to connect the camera to the existing computer, projector or screen, the option I choose needs to suit that set-up. Around 29% of consumers prioritise compatibility with their classroom set-up. |
| Album page and close-up | Measure the largest page and check the capture area, adjustability and focus for an individual stamp. | If I want to show an album page as well as individual stamps, I want to switch easily between an overview and close-up. Around 21% of consumers prioritise showing album pages. |
| Easy set-up for a single project | Check the computer, screen input, power supply, cables and any software required in advance. | If I’m only using the camera for this school project, I don’t want a complicated set-up or features I won’t use. Around 14% of consumers prioritise keeping set-up and requirements to a minimum. |
A zoom figure alone won’t tell you whether fine print details will be captured sharply and be clear on the classroom screen.
Compare the focus controls and capture specifications and, where possible, assess a real stamp in your planned set-up.
The IPEVO VZ-R needs sufficient USB power even when displaying via HDMI; IPEVO states that a USB power adapter is not included.
Before the lesson, check where the camera will get its power from and which accessories are included with the model.
The stated capture area may not suit the page you want to show. You’ll also need to check the focus separately for an individual stamp.
Measure the album page and check the capture area; also make sure a single stamp comes into sharp focus at your preferred distance.
HUE presents the HD Pro as a USB document camera for use with a computer.
Epson presents the ELPDC07 as a portable USB visualiser for education.
According to IPEVO, the V4K is designed for a USB and computer set-up; the VZ-R also offers HDMI display.
ELMO describes the MX-P3 as a portable visualiser with several video outputs.
IRIS highlights live viewing and software for capturing and annotating images with the Visualizer 7.
This selection focuses on USB document cameras for showing materials, including album pages, in a classroom.
 No image available
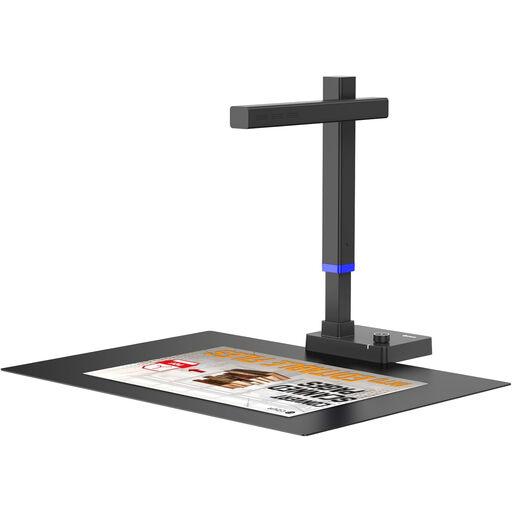
A USB document camera for showing materials up to A3 in a classroom; check in advance that your computer and screen connection suit your set-up.
The product information lists an 8MP sensor, support for flat materials up to A3, and compatibility with Windows and macOS.
No. Don’t use digital zoom as your only selection criterion. Manufacturers list zoom and capture resolution separately; also check the focus, camera position and image on the screen you’ll be presenting on.
Place the stamp on a stable surface, focus the image and adjust the camera position for a close-up. The HUE HD Pro focuses using a ring; ELMO lists one-push autofocus and a focus range starting at 100 mm for the MX-P3. Don’t let the camera or lighting rest on the stamp.
The IPEVO VZ-R needs sufficient USB power as well as the HDMI cable. IPEVO warns that a USB port on a television may not provide enough power, so check the power source too.
USB via a computer is suitable for a presentation controlled using compatible software; HDMI is an option for direct display on a screen with an HDMI input. Check the software, cables and power requirements for each model before choosing your set-up.
If pupils can be recognised in the footage, discuss the recording with the school in advance and follow the applicable privacy rules. The Dutch Data Protection Authority says that parental consent is required for pupils under 16 when using images in education.