
Teacher with a small work table
Wants to film the collage from above or at an angle, with room to move their hands freely and without a light or mount blocking the work surface.


Start with a light that can be positioned out of the way of your hand movements and aimed at the collage. Check a test recording to make sure the paper and your hands are clearly visible without unintentionally lighting up the dark background. A compact panel generally needs less room for light shaping, while a COB light with a suitable modifier gives you more control over how the light falls, but may also need more space and accessories. Also check how the paper colours look and whether light bands appear, using your own camera and recording settings.
Wants to film the collage from above or at an angle, with room to move their hands freely and without a light or mount blocking the work surface.
Wants paper colours to look true to life on camera and to assess the lighting alongside the camera’s white balance.
Wants to position the light in the same place for each recording and check in advance for light bands and a suitable power supply.
Suitable for: a small table where you want even lighting on the collage and your moving hands.
Bear in mind: the mount needs to fit out of shot and clear of your workspace; a diffused panel offers less directional control over the background than a suitable light modifier.
Suitable for: a setup with room for a sturdy light stand, if you want more control over how the light falls.
Bear in mind: check which modifier, mount and power supply are included or required for the exact version.
Suitable for: a portable filming spot or a space with limited room.
Bear in mind: test whether the light can illuminate the whole collage work area and check if you need a separate stand.
| What to consider | What should you check? | Who is this important for? |
|---|---|---|
| Visible hands and details | Look at the positioning, light spread and direction. Film an activity across the whole collage and check both the shadows and the background. | If I want to avoid shadows falling across my hands and the details while I’m sticking or cutting, I pay extra attention to the direction of the light and the space available to work. Around 33% of consumers give visible hands and details top priority. |
| True-to-life paper colours | Compare the adjustable light colour and stated colour rendering; also check your camera’s white balance with the paper you’ll be using. | If I want to explain colour differences in my collage, I want to test my actual paper and camera rather than rely on a specification alone. Around 27% of consumers prioritise true-to-life colours. |
| Light bands in the image | Make a short recording using the brightness and camera settings you plan to use, then check the footage for bands. | If my lesson video must be free of distracting light bands, I want to test the combination of light and camera in advance. Around 20% of consumers give footage without visible light bands top priority. |
| A suitable setup and power supply | Check what’s in the box, how the light is mounted, the table edge, cable routing and the power supply needed for your preferred brightness. | If I want to use the light in different locations or keep my work table clear, I focus on the mounting, power supply and portability. Around 20% of consumers choose a suitable, portable setup as their main consideration. |
A light’s specifications don’t tell you exactly how your camera will capture the colours of real paper.
Make a test recording with your collage materials and adjust your camera’s white balance to suit the chosen lighting.
A mounting point doesn’t automatically mean that a suitable desk stand is included. Maximum light output may also depend on the power supply.
For the exact version, check what’s in the box, the table edge, the mounting method and the power source required.
You may need a separate stand, light modifier or suitable power supply for your setup.
Shadows from your hands, an over-lit background or bands caused by the combination of light and camera can make your lesson harder to follow.
Test the full activity with the final light position and camera settings before recording your lesson.
The BR-12B is a compact bi-colour panel for diffused light over a small work area.
The Key Light Air MK.2 is designed for a fixed desk setup with a clamp and adjustable lighting.
The SL60IIBi is a COB light for a setup where a suitable Bowens modifier can help control how the light falls.
The COB 60x S offers a Bowens option for creators who want to use light modifiers in their filming setup.
The VL81 is a small rechargeable option for portable filming or a compact work area.
These Joybuy options are compact or portable lights. Make a test recording to check whether the light can cover the whole collage work area from a position that leaves your hands free to move.
 No image available
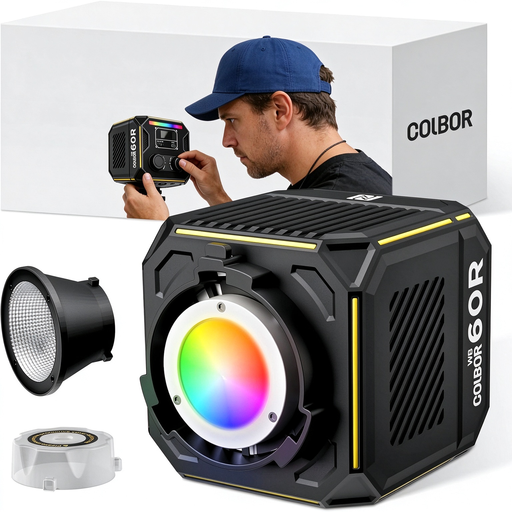
The built-in battery and adjustable light colour may suit a portable filming setup.
The product description lists CRI 96+, 2700–6500 K, full RGBCW colour control and USB-C PD/DC power.
For battery use, the product information specifies a 60W PD charger with a 20V/3A output and the supplied USB-C to USB-C cable.
 No image available
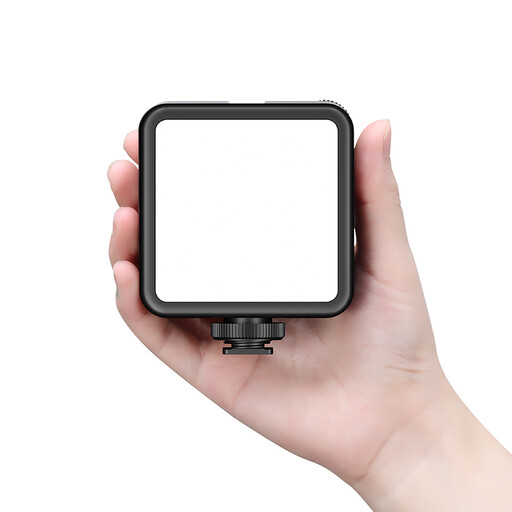
The built-in battery and cold shoe mount may suit a small, portable filming setup.
The product description lists continuously adjustable brightness and colour temperature. Ulanzi gives the VL81 a range of 3200–5500 K.
A cold shoe mount doesn’t automatically mean a desk stand is included; check the packaging and test the lighting across the whole work area.
 No image available
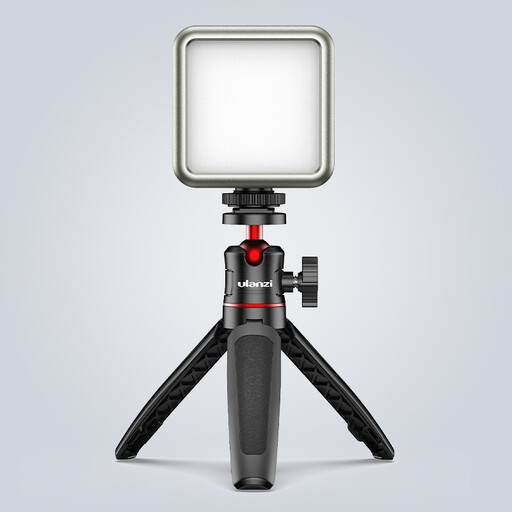
The compact light with a magnet may suit a filming spot where you want to try different mounting options.
The product title lists dimming and an adjustable range of 2500–9500 K.
The product information specifies a standard 5V adapter and advises against using a fast charger with a higher voltage.
 No image available
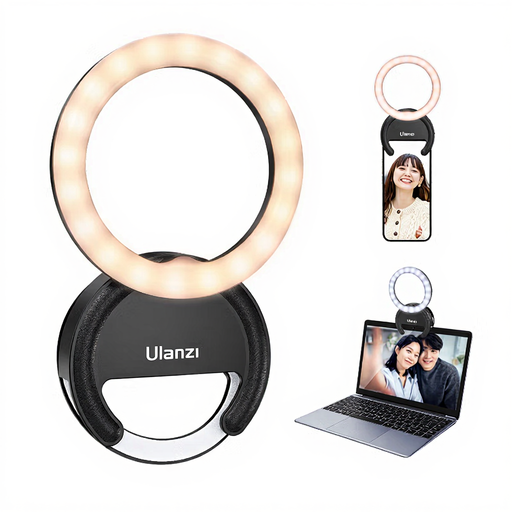
According to the product description, the light clips directly onto a smartphone; check that this suits the camera setup you use for your lesson.
The product title lists three colour temperatures from 3000–7000 K and five brightness levels.
 No image available
The small light may suit a filming spot where a magnetic mount or threaded connection would be useful.
The product description lists a magnetic base and a 1/4-inch thread.
The product information states a runtime of up to 1.5 hours per charge.
Position the light out of the way of your hand movements and try placing it at an angle to the work surface. Film a short section of sticking or cutting; the best position depends on your table, camera and any light modifier you’re using.
The colour of the light and your camera’s white balance affect how paper colours look on screen. Adjust the white balance to suit your chosen lighting and check the result with the paper you’ll use in your lesson.
First, test the planned light position and camera settings. Sony explains that adjusting the shutter speed or, on supported cameras, using a variable shutter function can reduce flicker; results depend on the camera and light source.
When you buy from a business as a consumer, the product must be of satisfactory quality under Dutch government guidance. If there’s a fault, the seller must provide an appropriate solution. Distance purchases generally also come with a 14-day cooling-off period, subject to exceptions. The Dutch government states that the Netherlands has no fixed statutory warranty period covering all products.
A CE marking is required for products covered by applicable EU rules that require one. According to the European Union, the manufacturer uses the marking to declare that the product complies with the applicable rules; it isn’t proof of an independent product assessment. Check the requirements for the specific light and any adapter separately.