
Creators looking to reduce hand shadows
If you film your writing hand from above, you may need light on both sides of your work surface when your hand obscures the pen strokes. Ulanzi describes this setup for art and calligraphy filming.


Start with one diffused light and film some real pen strokes. Ulanzi recommends adding a second light only if your hand keeps obscuring the line you’re writing. Then choose based on the space around your work surface, the colour controls you want and a test recording with your own camera. A compact battery-powered light is easy to position, while a panel or COB light with a modifier may need more room to set up.
If you film your writing hand from above, you may need light on both sides of your work surface when your hand obscures the pen strokes. Ulanzi describes this setup for art and calligraphy filming.
For product demonstrations, you’ll want to check how the colours of your paper and ink look and spot any distracting reflections in the shot. NEEWER and Godox describe models with adjustable colour temperature; test the results with your own camera and materials.
If your camera, hands, light and power supply all need to share a small space, where you can mount the light matters too. Ulanzi describes the VL49 RGB as a compact light with a battery and several mounting options.
Make a short recording while you write as you normally would, then check for shadows, glare, colour and any visible banding before filming a longer lesson.
| What to consider | What should you look for? | Who is this important for? |
|---|---|---|
| Shadows and glare | Check a real writing movement; move the light and, if needed, add light from the other side. | If I film from above, I want the pen strokes to stay visible as my hand moves; around 33% of consumers put shadows and glare first. |
| Paper and ink colour | Check the colour controls and reflections using the paper and ink you actually use. | For a product demonstration, I want the paper and ink to look true to life on screen; around 27% of consumers give colour rendering top priority. |
| Flicker in the footage | Record a test clip at your preferred brightness and check it with your camera and recording mode. | I want to know whether my camera and light produce visible banding together before I record a long lesson; around 20% of consumers put flicker top of the list. |
| Setup and power | Check the mounting space, cables and the power supply or battery life that will suit your setup. | On a small work surface, I want to leave room for my camera and hands while powering the light conveniently; around 20% of consumers prioritise setup and power. |
The shadow moves with your hand. Diffusion can soften its edges, but it won’t change the direction of the shadow by itself.
Film a real writing movement and move the light first. Add extra fill light only if the pen strokes are still being obscured.
A second light source may need extra space and adjustments to your setup.
A stated specification doesn’t show how your paper, ink, camera and light will look together on screen. Reflections can also affect the result.
Make a test clip with your own materials and check the colours and glare in the footage.
You may need a suitable modifier, mount and power supply to position the light correctly.
Check exactly what’s included in the package you choose, and whether the modifier and power supply will suit your setup.
A separately required modifier, mount or suitable power supply may mean you need extra space and equipment.
According to NEEWER, the RGB660 Pro is an adjustable LED panel supplied with a white diffuser.
The SL60IIBi is a bi-colour COB light for a fixed setup with a suitable Bowens modifier.
The 100x S is a bi-colour COB light to consider if you want to use a compatible Bowens modifier.
The VL49 RGB is a compact, rechargeable light to consider as a portable light or fill light.
The CL60 is a compact bi-colour COB light to consider if you want to assess a modifier and different power options.
This selection includes a portable COB video light and compact lights to consider as a key or fill light. Compare the stated power, mounting and light controls with the space around your work surface.
 No image available
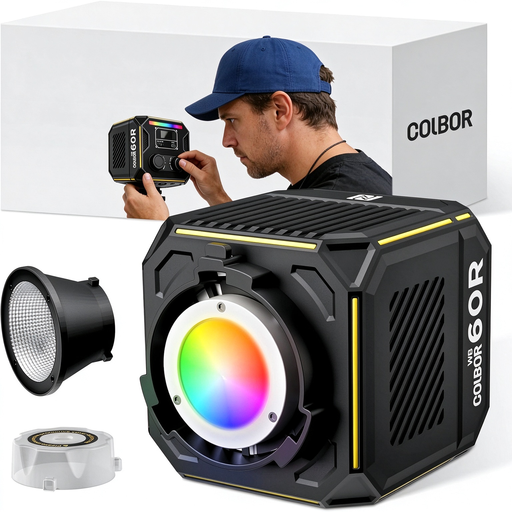
Could suit a portable COB setup where you want to adjust the colour temperature.
The product name states that it has a 59 Wh battery, RGBCW and 2700–6500 K. According to the product description, battery use at 60 W requires a 60 W PD charger with 20 V/3 A.
 No image available
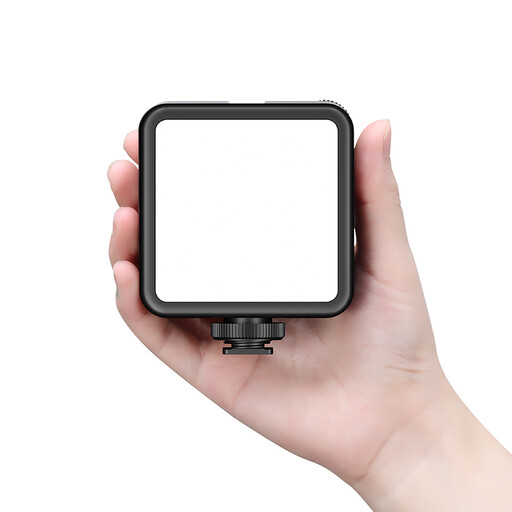
Could suit a compact setup if you want to adjust the brightness and colour temperature.
The product description states that it has 81 LEDs, stepless adjustment and a colour temperature of 3200–5600 K, as well as an integrated cold shoe. Use the light in a well-ventilated space and keep the connectors dry.
 No image available
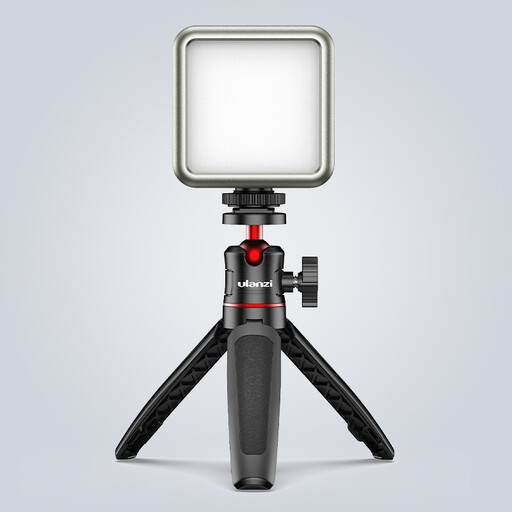
Could work as a compact, portable fill light; check in a test recording whether the light reaches the whole work surface.
The product name states that it has a 2000 mAh battery, dimming and an adjustable range of 2500–9500 K. It also mentions a magnet on the back. The product information recommends a standard 5 V adapter and warns against use in damp conditions or looking directly at the LED from close range.
 No image available
Could suit localised fill lighting if you want to mount a small light without a larger setup around your work surface.
The product description states that it has a 500 mAh battery, up to 1.5 hours of use, magnetic mounting and a 1/4-inch thread.
 No image available
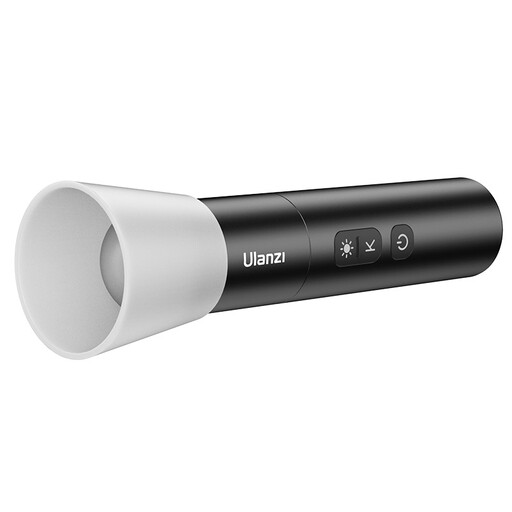
Could suit you if you’re looking for a portable light with an adjustable beam and colour temperature.
The product name states that it is bi-colour and has a 2000 mAh battery; the product description mentions USB-C charging, a zoomable beam from flood to spot, four brightness levels, 2000–5500 K and a weight of 187 g. Mounting requires a compatible threaded accessory, if available.
First, film a few real pen strokes with one diffused light. If your hand’s shadow still obscures the line you’re writing, try lighting from both sides; Ulanzi suggests about 45 degrees as a starting point, not a required angle. After each adjustment, check again for glare on the paper or ink.
Check the recorded clip and, if your camera allows it, try a different shutter speed or anti-flicker setting. Sony Support recommends shutter speeds of 1/50 or 1/100 second in areas with a 50 Hz mains frequency; the right setting still depends on your camera and light source.
Check whether the package you choose includes the diffuser, mount and power supply you need. Follow the product-specific instructions for ventilation, charging and keeping the connectors dry.
The Netherlands Food and Consumer Product Safety Authority states that CE marking is compulsory for electrical products covered by the relevant rules. Which rules apply depends, among other things, on the design of the light and power supply; a product listing or CE claim on a shop page does not in itself confirm that the item being offered complies.