
Teacher with a work table
You film your hands and stitches at a fixed table and want to check before the lesson that every detail will remain visible.


For a permanent repair table, an adjustable panel is a practical addition to window light. A point light source with a suitable modifier offers another way to direct light across a larger work area. A compact battery-powered light is best suited to small close-ups. Record a test using your own camera angle and check for shadows, fabric colours and any flicker. Manufacturer specifications can’t predict exactly how your footage will look.
You film your hands and stitches at a fixed table and want to check before the lesson that every detail will remain visible.
You want colours to look true to life on camera when window light and artificial light both fall on the fabric.
You film small repair details in different places and need a light and mount that fit into a limited space.
Best for: a fixed table setup where you want to light your hands and work area from one camera angle.
Bear in mind: the panel needs to sit outside the frame and leave room for your hands to move. Test whether it lights the whole work area evenly enough.
Best for: a setup where you want to adjust the direction and spread of the light using a suitable diffuser or softbox.
Bear in mind: check that the light, modifier, mount and stand are compatible. Light output figures measured with a reflector don’t automatically apply when using a diffuser.
Best for: limited space or filming a small repair detail on the move.
Bear in mind: a figure measured at close range won’t tell you whether a whole repair table will be lit well and evenly enough.
| What to consider | What should you check? | Who should consider this? |
|---|---|---|
| Visible stitches | Record a test with your hands above the fabric and check for shadows and lighting across the whole work area. | If you want to show stitches and techniques clearly, what remains visible while you work matters most; around 36% of consumers prioritise visible detail. |
| True-to-life fabric colours | Look at the same fabric with window light and the lamp together, and check the camera’s white balance. | If you’re showing fabric colours, you’ll want to avoid changes in window light or mixed light sources affecting how they look; around 29% of consumers prioritise colour accuracy. |
| Space and portability | Check that the light can be positioned safely and charged, and that it reaches the entire detail you’re filming. | If you film in different places or at a small table, the size, mounting and power supply will determine how well the setup works; around 21% of consumers prioritise these practical space requirements. |
| Flicker during long recordings | Record a test clip using your preferred light setting and camera settings. If you see bands, try a supported anti-flicker setting or shutter speed if needed. | If you record a longer lesson in one take, you won’t want visible light bands to spoil the footage; around 14% of consumers prioritise uninterrupted recording without flicker. |
Light output figures depend on factors including distance and the reflector used. Ulanzi lists a maximum of 800 lux at 0.5 metres for the VL49 RGB, but that figure doesn’t show how well an entire repair table will be lit.
Only compare figures measured at the same distance and with the same lighting setup. Then record a test to see how the whole work area looks.
Godox lists an average CRI and TLCI of at least 98 for the P260C Pro. This is a manufacturer specification, not a measurement of how your fabric will look under changing window light. Mixed light sources can also introduce a colour cast.
Look at the fabric under the combination of light sources you plan to use, then set your camera’s white balance accordingly.
A light that works for close-up shots won’t necessarily be powerful enough for a larger work area. Ulanzi’s maximum light output figure for the VL49 RGB applies at 0.5 metres.
Choose a compact light for a suitable close-up, and test whether the area you plan to film remains visible before buying.
The P260C Pro is an adjustable bi-colour panel for spreading light across a table.
The 100x S is a bi-colour point light source for a setup where you adjust the modifier separately to suit your work area.
The VL49 RGB is a compact battery-powered light for small details or a mobile setup.
The FS-60B is a bi-colour spotlight for a setup with a separate light modifier.
The products below are compact video and fill lights for small details or mobile setups. A light for close-ups isn’t automatically suitable for lighting an entire repair table evenly.
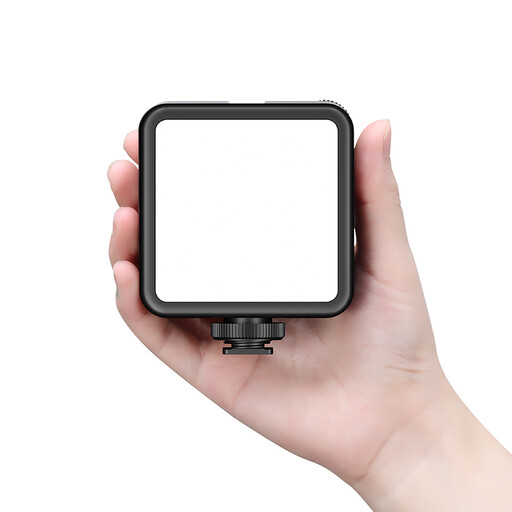 No image available
This rechargeable light could suit mobile filming of small details.
Built-in battery and USB-C charging; cold shoe mount; adjustable brightness and colour temperature from 3200–5600 K.
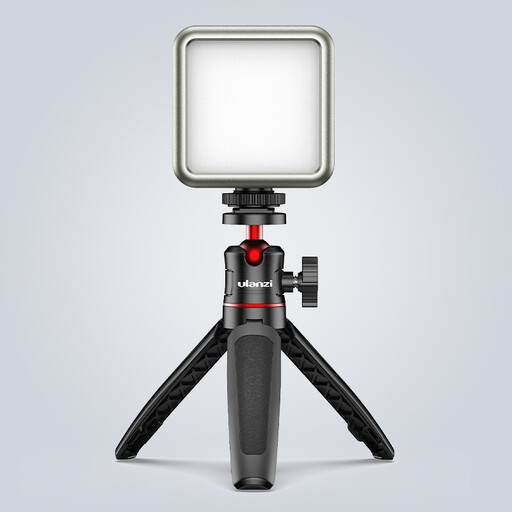 No image available
Its compact size and battery could suit mobile close-ups, but the stated lux figure isn’t a measure of how it will perform across a whole table setup.
2000 mAh battery; RGB and dimmable. The Joybuy product title lists 2500–9500 K, while Ulanzi specifies 2500–9000 K for the VL49. Ulanzi lists a maximum of 800 lux at 0.5 metres.
 No image available
This mini LED light is designed for a mobile camera setup. Check that the mount is compatible with your camera.
The title mentions magnetic mounting for DJI Osmo Action 3/4/5/5 Pro camera cages. The description lists adjustable brightness.
 No image available
This compact fill light could suit a small shoot where you want to position the light close to the detail.
500 mAh battery; magnetic mount and 1/4-inch thread.
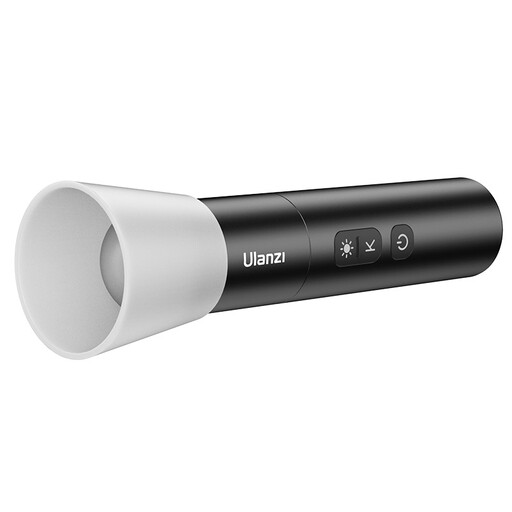 No image available
This portable light could suit shoots where you want to adjust the colour and beam. Test its coverage across your work area.
Bi-colour, 2000–5500 K; four brightness levels; 2000 mAh battery; weight 187 g; adjustable beam.
Not necessarily, as long as a test recording shows the work area clearly and with enough light. Consider adding a light if your hands cast shadows or the window light changes during the lesson. Then check the fabric colour and white balance again.
Position the light so your hands don’t obscure the stitches, then record a test of the whole process. Set the white balance to match the light falling on the fabric. If artificial light causes bands to appear, try an anti-flicker setting or a different shutter speed supported by your camera. For areas with a 50 Hz mains frequency, Sony lists 1/50 and 1/100 second among the options; the camera and light source also affect the result.
Check that the power supply and mount are suitable for the expected recording time, and use the light within the conditions set out in the manual for your chosen model. For example, the Godox LEDP260C manual warns against high temperatures, moisture and wet hands. Check the manual for your own model.
Online consumer purchases come with a statutory cooling-off period. ACM ConsuWijzer states that it ends 14 days after delivery. Some exceptions apply. Your statutory guarantee is separate from any manufacturer’s guarantee: if a product doesn’t do what you could reasonably expect when used normally, the seller is responsible for providing a suitable solution.
Electrical and electronic equipment sold in the Netherlands must comply with the applicable European product regulations. Dutch government information outlines requirements for such equipment, including conformity assessment, CE marking and the EU Declaration of Conformity. A CE mark isn’t an independent quality mark, so check the documentation for the specific light and power supply model.