
Artists looking to reduce hand shadows
You’re filming beside a window and want to make sure your hand doesn’t cover your lines and details. In that case, where you position your additional light may matter more than its maximum output.


Start with the light from your window and make a test recording. If you can see the paper and your hand clearly, you may not need an extra light. If your hand casts a distracting shadow, a reflector or soft, adjustable light on the shadow side can help. When choosing additional lighting, consider dimming, colour settings and how it will fit around your camera and drawing movement. The right setup depends on your work surface, window and recording distance.
You’re filming beside a window and want to make sure your hand doesn’t cover your lines and details. In that case, where you position your additional light may matter more than its maximum output.
You want to show paper, ink and pigments clearly on camera. A light’s colour-rendering figures can be a useful guide, but they can’t guarantee how your camera will capture the colours.
You film at different times or for longer sessions, and want to be able to adjust your additional light without moving your whole setup.
First, make a test recording using only the light from your window. Add a reflector or lamp only if shadows, changing daylight or the colour you want to show make it necessary.
| What to consider | What should you check? | Who is this important for? |
|---|---|---|
| Hand shadows and visibility | Try out your camera position and drawing movement using window light. If needed, test a reflector or soft light on the shadow side. | If my hand covers the lines, I want to be able to adjust the direction of the light without getting in the way of my drawing. Around 28% of consumers prioritise reducing hand shadows. |
| The colour of your paper and materials | Check the adjustable colour temperature and colour-rendering specifications for the exact model. Make a test recording using the paper and colours you work with. | If I need to show paper, ink and pigments clearly, I want to be able to adjust the light colour to suit my recording. Around 22% of consumers prioritise how accurately materials and paper are rendered. |
| Changing daylight | Check whether the lamp is dimmable and, if you’ll continue using window light, whether its colour temperature is adjustable. Test it at the time you usually film. | If the light from the window changes during or between recordings, I want to be able to adjust my additional light. Around 22% of consumers prioritise compensating for changing daylight. |
| Space and mounting | Measure your work surface and available space. Check whether a clamp will fit and whether the stand, softbox or any other necessary parts are included with the version you’ve chosen. | If there’s little room for my lamp, camera and drawing hand, I want to know in advance where the light can be mounted. Around 17% of consumers prioritise a setup that fits their desk. |
| Flicker on camera | Make a test recording using your own camera, lamp setting and shutter speed. If needed, adjust the available anti-flicker function or shutter speed. | If bands or changes in brightness appear in the recording, I want to find a combination that works with my camera. Around 11% of consumers prioritise checking for flicker. |
A lux measurement applies to the stated distance and light modifier. The amount of light reaching your drawing surface may differ if you change the distance or setup.
Only compare measurements taken under the same conditions, and test the lamp on your own work surface.
A lamp may be sold on its own or with a mount. Batteries or light modifiers may also be excluded from the standard package.
Before buying, check the exact version, power supply and package contents.
A CRI or TLCI rating describes the lamp, not how a mix of window and lamp light will look with your camera and drawing materials.
Make a test recording in the conditions you plan to use, with white paper and the colours you want to show.
A desk clamp has a limited reach, while a separate lamp with a light modifier needs space. The lamp could end up in the way of your camera or drawing hand.
Measure your work surface and drawing area, and check where your camera, hand and lamp will be while you’re filming.
LED panels such as the NL660 could provide an adjustable, dimmable boost to window light.
Compact bi-colour point-source lights such as the amaran 60x S and 100x S are options for setups using light modifiers.
The bi-colour COB light SL60IIBi is designed for use with a separate light modifier and stand.
The clamp-mounted Key Light MK.2 desk panel may be a good option if a floor stand and extra workspace would be inconvenient.
These Joybuy products are compact video lights that you can use with a camera or desk setup. Check whether each model can be positioned to suit your drawing area and movement.
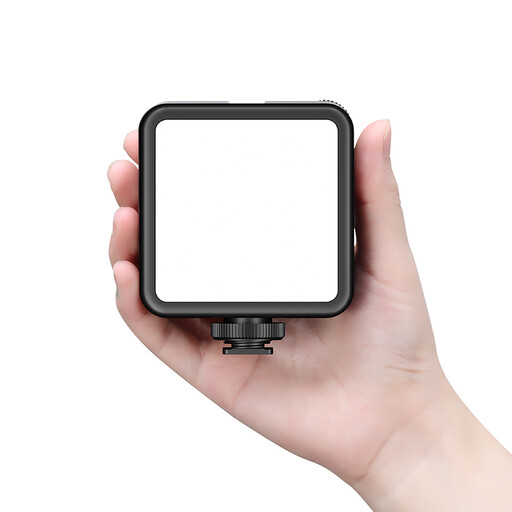 No image available
Could work well if you want to attach a compact light to your camera and adjust its settings to suit the surroundings.
The product information lists a cold-shoe mount, stepless brightness control and an adjustable colour temperature of 3200–5600 K.
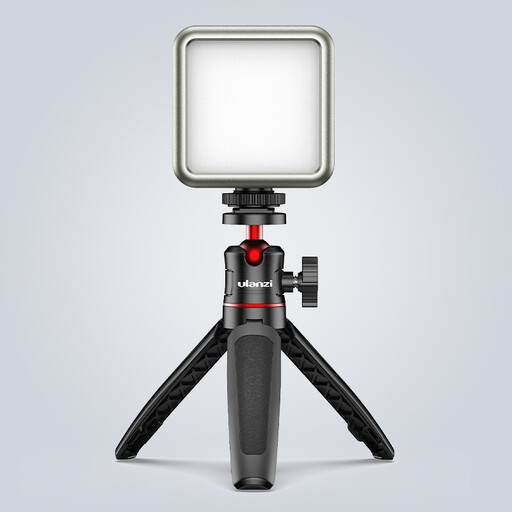 No image available
Could be a good fit if you’re looking for a compact light with adjustable brightness and colour.
The product title lists a 2000 mAh battery, dimming, a magnetic back and an adjustable colour temperature of 2500–9500 K. The product information also mentions RGB lighting.
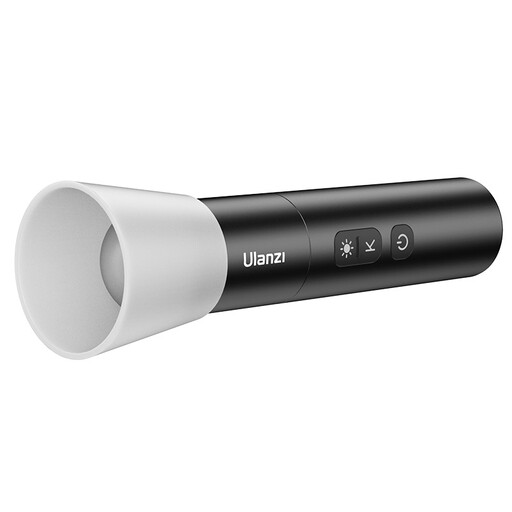 No image available
Could be a good fit if you want a portable light with an adjustable beam and brightness.
The product information lists bi-colour 2000–5500 K, four brightness levels, a 2000 mAh battery, a weight of around 187 g and a zoom function that goes from spot to flood.
No. First, make a test recording using only the light from your window. If the shadow side is the main problem, a reflector placed opposite the window may help. Additional lighting gives you more control if that isn’t enough.
Keep your camera and drawing movement clear, and test additional lighting from the shadow side. Try the position while making a full drawing movement before choosing a clamp, stand or softbox.
Make a test recording and, if needed, change the shutter speed or use an anti-flicker setting supported by your camera. For areas with a 50 Hz mains frequency, Sony suggests shutter speeds of 1/50 or 1/100 of a second as possible settings. Check the results with your own camera and lamp.
It depends on the version. Neewer describes the NL660 as available both as a lamp on its own and with a stand, and lists optional batteries that aren’t included. A reflector is listed among the standard contents of the amaran 100x S, but not a softbox. Check the package contents for the exact version.
No. A CE logo on its own isn’t proof of independent certification. According to the European Union, CE marking is required only for products covered by the relevant EU rules. So check the product and adapter details, as well as the seller’s information.