
Detail-focused miniature builders
If you want to show small connections and tool movements, you’ll need to match the lens and shooting distance to the part and the space above your workbench.


Choose based on the distance and how large the smallest building part needs to appear in the frame. A mirrorless camera with a suitable macro lens gives you more lens options, while a compact camera can be handy for moving shots. Test your complete setup by the window and check focus, sound, framing and recording time. Camera features alone won’t tell you whether the whole lesson will be captured well.
If you want to show small connections and tool movements, you’ll need to match the lens and shooting distance to the part and the space above your workbench.
If you film for long stretches, you’ll want a steady frame, clear dialogue and a recording time that suits the lesson.
If you want to get started quickly and capture moving wide shots too, check that small parts will appear sharp and large enough from the distance available to you.
Start with the smallest part you want to show: this determines which lens and shooting distance will work. Then consider how you’ll manage window light, lesson length and camera controls.
| What to consider | What should you check? | Who is this important for? |
|---|---|---|
| Sharp close-ups | Check the magnification and focusing distance of the exact lens, and make sure you’ll have enough room for your hands. | If I’m filming small connections, I want them to look sharp and large enough in the frame without restricting my hands; around 36% of consumers cite seeing fine details as their main reason for buying. |
| Changing window light | Check whether you can adjust the white balance and exposure, and record footage at the start of the lesson and later on. | When the light changes during a lesson, I want to assess the colour and exposure and adjust them if needed; around 29% of consumers prioritise consistent footage in window light. |
| Recording a full lesson | Check the recording time at your chosen resolution and frame rate. Listen back to a test recording and check which audio equipment is included. | For a full building tutorial, I want to minimise interruptions and make sure my instructions are easy to hear; around 21% of consumers prioritise continuity during lessons. |
| Quick reframing | Compare the controls and mounting options with the close-ups you need; stabilisation is no substitute for a suitable focusing distance or magnification. | If I often switch between wide shots and details, I want to move and reframe the camera quickly; around 14% of consumers prioritise compact controls. |
A camera body’s resolution doesn’t determine how large a small part will appear in the frame with your chosen lens.
Check the specifications for the exact lens and test your framing with the smallest part you want to film.
A suitable macro lens may need to be bought separately as part of your setup. Canon lists the RF 35mm F1.8 MACRO IS STM as a separate lens.
DJI lists both a mechanical three-axis gimbal and focusing from 0.2 m for the Osmo Pocket 3. These are different features.
Test from a distance that leaves room for your hands, and check whether the smallest relevant part still looks sharp and large enough in the frame.
Panasonic’s stated recording time for the LUMIX GH7 applies under specific conditions and with certain video settings.
Check the conditions for your chosen resolution, frame rate and lesson length, and make a full-length test recording.
A long session may require extra storage or a power supply.
The EOS R50 is a mirrorless camera; the RF 35mm F1.8 MACRO IS STM is a separate close-up lens.
The Z50II can be paired with a separate Z macro lens for close-ups.
The E-mount ZV-E10 II gives you a choice of lenses; the FE 50 mm F2.8 Macro is a separate lens.
The Osmo Pocket 3 is a compact camera with a fixed lens, for anyone who also wants to film moving shots during lessons.
The LUMIX GH7 is a video-focused mirrorless camera for which you choose the lens separately.
The options below include compact video and 360° cameras for building tutorials. For each model, check whether the smallest details appear large and sharp enough from your working distance.
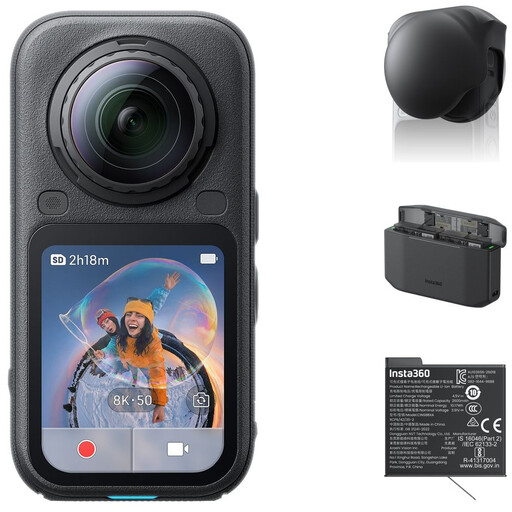 No image available
The stated 360° video and InstaFrame 2.0 could suit lessons where you want to switch between wide and close-up framing. Test your framing to check whether the smallest part appears large enough.
The product information lists 8K 50fps 360° video, 10-bit colour and two 1/1.1-inch sensors.
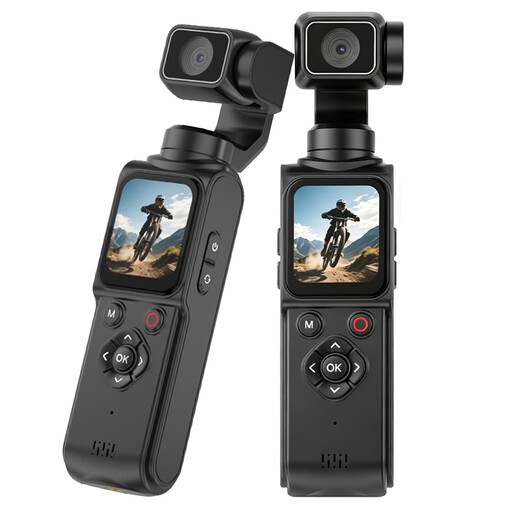 No image available
The rotating lens could suit a lesson filmed from different angles. Before you buy, test whether close-ups of your smallest parts are sharp and large enough.
The product title lists Wi-Fi, 64 MP, a 330° rotating lens, a 1.72-inch touchscreen and a tripod. The product information lists electronic image stabilisation.
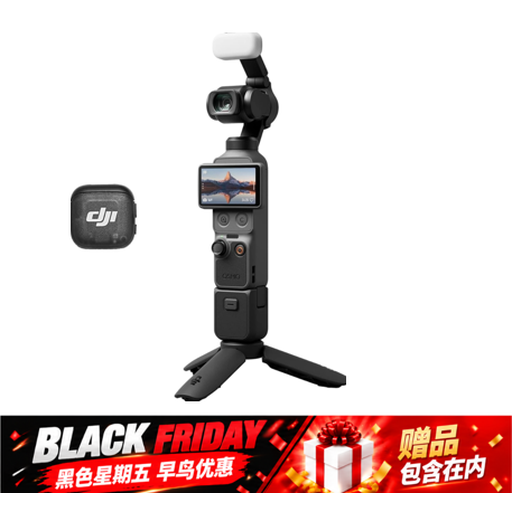 No image available
This pocket camera setup could suit you if you want to capture moving shots around your workbench during a lesson. Check the close-ups with a test recording too.
The product title lists a 1-inch CMOS sensor, 4K/240fps video, 2× lossless zoom, three-axis stabilisation and 107 GB of built-in storage.
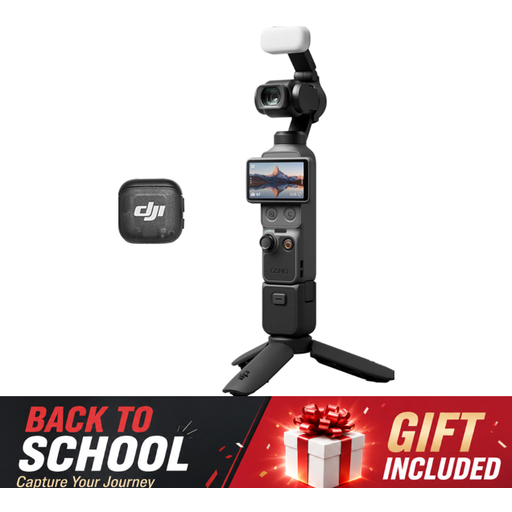 No image available
This compact setup and included microphone could suit a lesson with moving shots and spoken instructions. Listen back to a test recording and check close-ups from your working distance.
The product title lists a 1-inch CMOS sensor, 4K/120fps video and three-axis stabilisation.
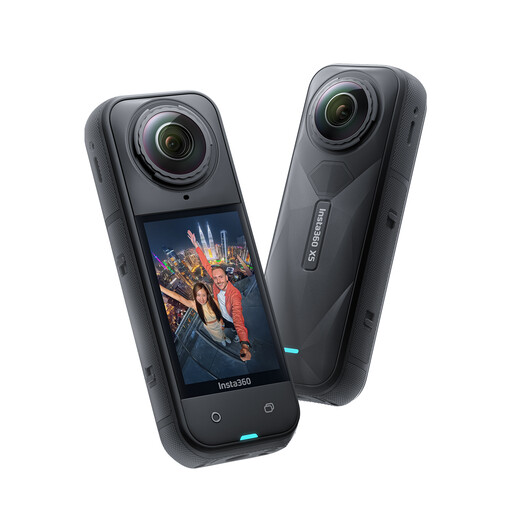 No image available
360° recording could suit you if you want to use different framing while building. Test it with your smallest part before choosing the camera for close-ups.
The product information lists 8K 30fps 360° video, InstaFrame mode, a replaceable lens and a 3-hour battery life.
No. Don’t assume it is based on the camera body or a 4K label. Compare the specifications of the exact lens supplied with the framing you want; the macro magnification figures listed by Canon and Nikon apply to separate macro lenses.
Film a short building step in the spot you plan to use, then review the playback for focus, exposure and colour. Canon describes white balance as a setting for colour reproduction. A second test recording later in the lesson will help you judge whether the changing light needs adjustment.
Check which lens, mounting equipment, storage and audio equipment are included with the version you choose. ACM ConsuWijzer explains that when you buy as a consumer, you’re entitled to a product that lasts as long as you can reasonably expect it to; for online purchases, you generally have a 14-day cooling-off period after delivery.
According to the Dutch Data Protection Authority, people who can be recognised in filmed footage are personal data, and the GDPR may apply. The obligations depend in part on how you use or publish the footage; consent is not necessarily the only possible legal basis in every situation.