
Teacher recording an explanation
Wants to capture pronunciation and instructions, and can speak close to a fixed microphone. RØDE describes the NT-USB Mini as a directional microphone for use by a speaker at a desk or on a boom arm.


Choose a directional USB microphone if you mainly need to record a teacher explaining something from a fixed position. For conversations around a table, an omnidirectional tabletop microphone or speakerphone may be a better fit. Manufacturers such as RØDE and Audio-Technica describe different pickup patterns, but these do not guarantee that voices will be intelligible throughout a classroom. If you record identifiable voices, make sure your recording practices also comply with the relevant privacy rules; the Dutch Data Protection Authority considers identifiable audio recordings to be personal data.
Wants to capture pronunciation and instructions, and can speak close to a fixed microphone. RØDE describes the NT-USB Mini as a directional microphone for use by a speaker at a desk or on a boom arm.
Wants to capture pupils’ answers or a discussion around a table, so the participants’ positions are an important factor when choosing a setup. Audio-Technica and Samson describe USB boundary microphones with an omnidirectional pickup pattern.
Moves between speaking by the laptop and interacting with the group, and wants to check in advance whether one microphone and setup can handle both situations.
First decide which voices need to be clear in the recording. Then choose a position that suits the speakers’ locations, and check the connection and recording settings with a test recording.
| What to consider | What should you check? | Who is this important for? |
|---|---|---|
| Teacher’s voice | Check whether a directional microphone can be positioned close to the fixed speaking position. Listen back to a test recording. | If I mainly need to record my explanations and pronunciation, I want to be able to point the microphone towards where I speak. Around 33% of consumers put the teacher’s voice first. |
| Pupils’ answers | Check the distances around the table and test the recording from the actual seats. Jabra recommends placing the Speak2 55 centrally on the table, 0.5 to 2.3 m from each participant. | If I want to listen back to answers from several pupils, the setup needs to suit where they are sitting. Around 27% of consumers put group voices first. |
| Changing speaking position | Check whether the chosen microphone is suitable for the different speaking positions and pickup patterns; make a test recording for each setup. | If I switch between explaining things by the laptop and talking with the group, I want to know whether the same setup will still work. Around 20% of consumers put changing speaking positions first. |
| Connection and recording input | Check that the cable and connection are compatible with the lesson laptop, then select the microphone as the recording input in the operating system and app. | If you want to record during a lesson without interruption, it helps to have a suitable connection and to check the input in advance. Around 20% of consumers put easy connection first. |
An omnidirectional pattern describes the directions from which a microphone picks up sound; it does not prove that voices will be clear from every distance.
Before choosing your setup, test the furthest speaking position you need to cover with the usual background noise in the room.
Jabra’s Speak2 55 manual describes a central position on the table and distances to participants. This advice does not guarantee that it will record an entire classroom.
Compare the actual positions of the teacher and pupils with the intended table setup, and make a test recording.
If participants are sitting further apart than the intended table setup allows for, you may need a different position or setup.
According to the Dutch Data Protection Authority, identifiable audio recordings are personal data. Buying a microphone does not in itself determine the legal basis for recording, sharing or storing voices.
Before recording, agree the purpose, legal basis, information for those involved, access arrangements and retention period with the school.
RØDE describes the NT-USB Mini as a directional USB microphone for a speaker at a desk or on a boom arm.
Audio-Technica describes the ATR4697-USB as an omnidirectional USB boundary microphone for tabletop use.
Samson describes the UB1 as a USB boundary microphone also intended for use in classrooms.
Logitech G describes the Yeti as a USB microphone with several pickup patterns for different setups.
Jabra describes the Speak2 55 as a USB-connected speakerphone for small-group conversations or hybrid interaction.
These product picks are suited to a teacher who moves around while explaining something, or to a directional microphone positioned by a fixed speaking spot. They do not guarantee that conversations between pupils will be recorded clearly throughout the room.
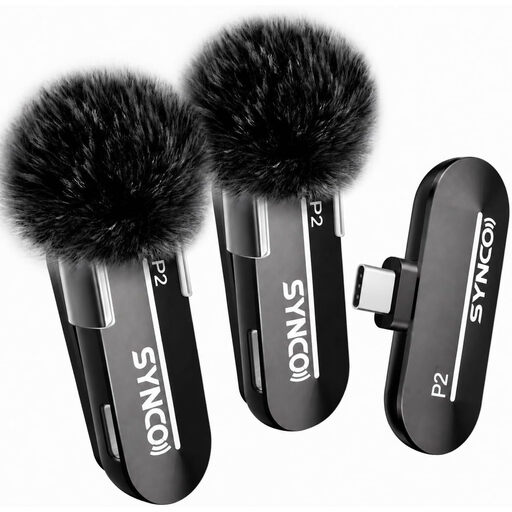 Image unavailable
Suited to a teacher who moves around while explaining something; the product name specifies a USB-C microphone and the description mentions compatible mobile devices.
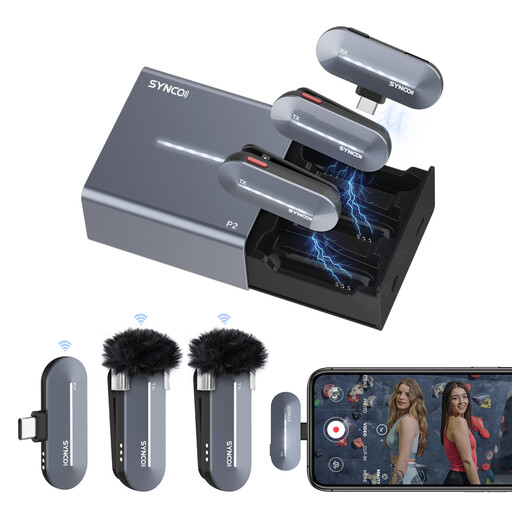 Image unavailable
Suited to a teacher who moves around; the product name specifies a USB-C receiver and a Dual Mic variant.
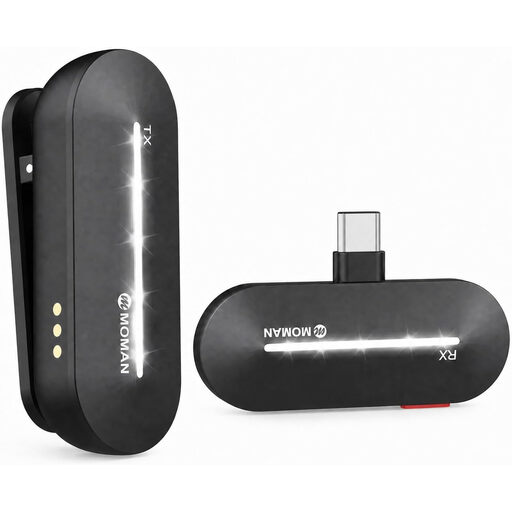 Image unavailable
Suited to a teacher who wants to stay mobile during a presentation; the product name specifies a USB-C connection.
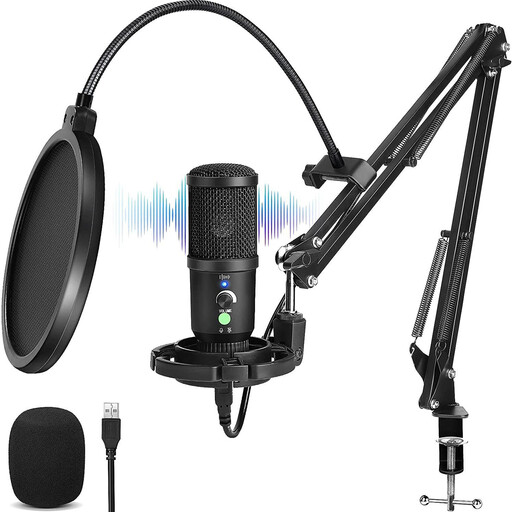 Image unavailable
Suited to a fixed speaking position where the teacher’s voice takes priority; the product name specifies a cardioid pattern.
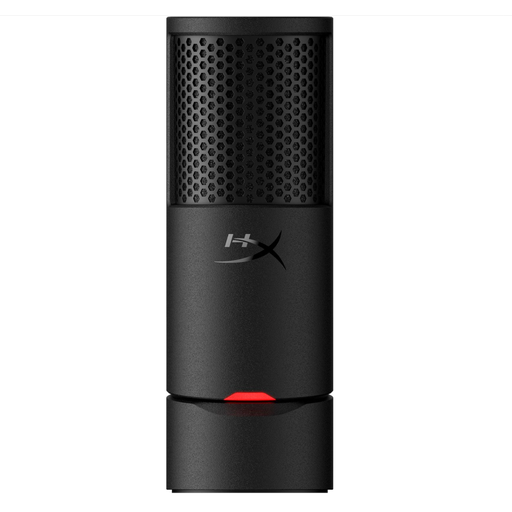 Image unavailable
Suited to explanations from a fixed speaking position; the product name specifies a cardioid USB microphone.
You can’t tell from the pickup pattern alone. Choose a setup based on the voices you need to record, then listen back to a test recording made from the actual speaking positions. For example, Jabra’s positioning advice for the Speak2 55 is for participants around a table, not for an entire classroom.
Select the microphone as the recording input in your operating system and recording app. Also check that the cable fits your laptop port; RØDE and Jabra’s manuals both mention selecting the recording input.
Check which connection the laptop uses and whether the cable or adapter included in the box is compatible. Then make a short test recording to check that the microphone is selected as the input.
According to the Dutch Data Protection Authority, an identifiable audio recording is personal data. Processing it requires an appropriate legal basis under the GDPR, and schools must inform pupils and parents about how their data is processed. Consent is one possible legal basis, but it is not automatically the basis for every lesson recording; the assessment depends on factors including the purpose, the people involved and the school’s policy.
Don’t keep the recording for longer than necessary for its stated purpose. The Dutch Data Protection Authority notes that the GDPR does not set a specific general retention period for personal data; also check whether other rules apply to your institution.