
Soft-spoken creator in a room where background noise is audible
You want to record at your normal speaking volume and use a test recording to judge whether ventilation or other room noise drowns out your explanation.


Start with a test recording at your normal speaking volume and listen to see whether your voice remains clear above the sound of the room. If you can position the microphone close to your mouth, compare dynamic USB models; in a quiet workspace, a compact USB condenser microphone may be another option. Also check the monitoring, how it connects to your computer, and whether your recording software can record your voice and system audio separately.
You want to record at your normal speaking volume and use a test recording to judge whether ventilation or other room noise drowns out your explanation.
You want to hear how your voice and recording level sound through headphones while recording, so you can spot any problems before making a long recording.
You want to record your spoken explanation and the audio from the software being demonstrated separately, so you can adjust their levels later. OBS Project explains how to use separate audio sources and tracks.
First, assess how your voice sounds in the intended space and at your preferred microphone distance. Then consider monitoring, your recording workflow and the connections you need.
A good fit if: you speak softly and can position the microphone close to your mouth.
Bear in mind: the ideal distance varies by model; RØDE recommends around 5–10 cm for the PodMic USB.
A good fit if: you record in a quiet room and want a compact desk setup.
Bear in mind: assess the balance between your voice and background noise in your own space; the capsule type alone won’t tell you what to expect.
| What to consider | What should you check? | Who is this important for? |
|---|---|---|
| Clarity compared with room noise | Make a test recording at your normal speaking volume in the intended location, then listen for ventilation, reflections and clarity. | I want my voice to stay clear without amplifying room noise; around 36% of consumers prioritise clarity. |
| Monitoring and recording level | Check for a headphone output with direct monitoring, listen back to a short test and check the recording meter. | I want to hear how my voice and recording level sound while I’m recording; around 29% of consumers put monitoring during recording first. |
| Separate audio sources | Check whether your recording software can record microphone and application audio separately, then test both sources. | I want to edit the voice-over separately from the software audio; around 21% of consumers prioritise separate audio editing. |
| Connections and included accessories | Check your computer port, the included cable and the stand; only consider XLR if you want to use that connection later. | I want to know what I can connect straight away and whether I’ll need XLR later; around 14% of consumers prioritise ease of purchase or expandability. |
Directional characteristics and voice processing alone won’t tell you how a soft voice will sound in your room. Manufacturer claims about specific models aren’t measurements of your recording space.
Make a short test recording at your normal speaking volume and listen back to both your words and the background noise.
Cables and system requirements can vary by model. For example, Elgato lists specific computer requirements for the Wave:3 MK.2; don’t assume these also apply to the MK.1.
Before buying, check the exact model generation, computer port, operating system and what’s included in the box.
If the included cable doesn’t fit your computer port, you may need a different, compatible cable.
You need to set up separate recording for microphone and application audio in your recording software; the microphone won’t do this automatically.
Before recording the full tutorial, make a short test recording and check that both sources are on separate tracks.
The Q2U is a dynamic USB/XLR microphone supplied with a desktop tripod stand, windscreen and cables, designed for a desk setup.
The ATR2100x-USB combines a dynamic cardioid capsule with USB-C and XLR.
The dynamic MV7+ is designed for close-up speaking and offers level and processing controls.
RØDE offers two different options here: the dynamic PodMic USB with USB/XLR and the compact NT-USB Mini condenser microphone.
The Wave:3 MK.2 is a cardioid USB condenser microphone with a headphone socket.
This selection includes USB microphones for tutorial voice-overs, including compact models for desk use.
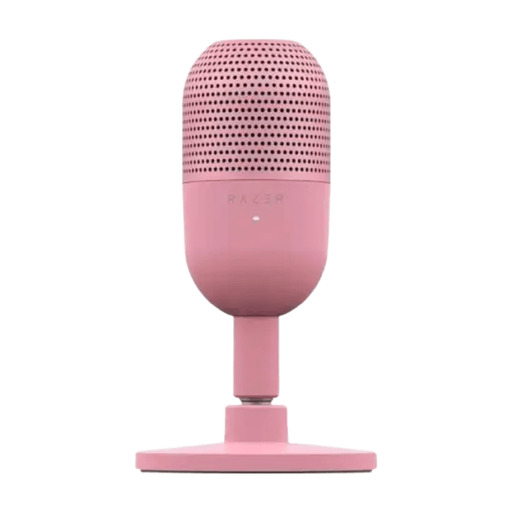 Image unavailable
Could suit you if you’re looking for a compact USB microphone for voice recording; use a test recording to assess how it sounds with your soft-spoken voice.
The product information lists a supercardioid pickup pattern and tap-to-mute functionality.
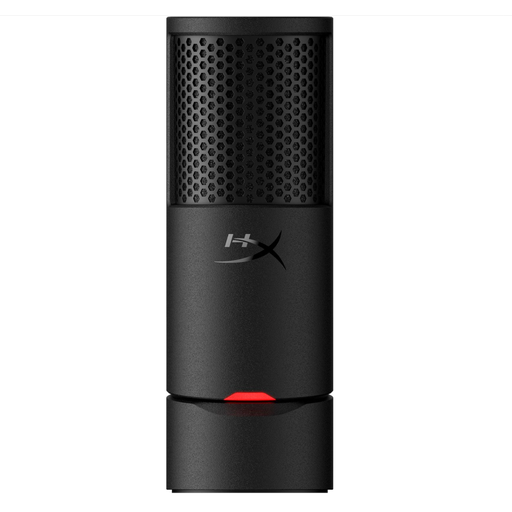 Image unavailable
Could suit a desk setup; record at your normal speaking volume and check that your voice and background noise sound right in your space.
The product information lists a cardioid condenser capsule, built-in pop filter and shock absorber, plus a mute button with an indicator.
The listed cable is USB-C to USB-A; check that it fits your computer’s port.
Start by speaking at your normal volume, choose a suitable microphone distance and make a test recording. RØDE specifically warns that positioning the PodMic USB further away can result in a quiet signal; then check the level, as setting it too high can cause distortion.
Set up the microphone and application audio as separate sources and recording tracks if your software supports this. OBS Project describes this approach; before making a long recording, check that both tracks are in your editing file.
Not every type of noise. According to the Audacity manual, noise reduction may produce unsatisfactory results if the background noise is loud or varies, or if the voice isn’t clearly louder than the noise. So start by making the original recording as usable as possible.
According to the Dutch government, online purchases from a business often come with a 14-day cooling-off period; exceptions and the type of seller matter. Products must also meet the legal guarantee of satisfactory quality, with the seller as your point of contact. There is no fixed general warranty period in the Netherlands.