
Narrator in a reverberant hall
You’re recording a single piece of spoken commentary and want to keep it clear and intelligible. You can position the microphone close to the speaker and assess the recording in the hall itself.


For recording museum commentary in a reverberant community centre hall, choosing a microphone that can be placed close to the speaker is a sensible first step. As Shure explains, a microphone cannot reduce the room’s reverberation. A directional dynamic USB microphone is a good fit if the speaker stays at a fixed, short distance; a cardioid USB condenser microphone may also work if you can control the room and positioning. Also compare headphone monitoring, connections and the stand included with the exact version. This is advice based on acoustics and stated features, not a comparative listening test.
You’re recording a single piece of spoken commentary and want to keep it clear and intelligible. You can position the microphone close to the speaker and assess the recording in the hall itself.
You want to listen through headphones while recording, so you can check the levels, room noise and setup before finishing a lengthy piece of commentary.
You set up the recording space from scratch each time and want to check that the computer connection, cables and microphone mount all work together in the speaking area.
Start by making a test recording where the speaker will actually be standing. Shure explains that a microphone cannot improve the room’s acoustics or automatically separate direct speech from reflections, so positioning and speaking distance still matter.
| What to consider | What to look for | Who is this important for? |
|---|---|---|
| Clarity in a reverberant hall | Test the speaking position in the hall and check whether an arm or stand will keep the microphone close and at a consistent distance. | When I record commentary in a reverberant room, I want to stay close to the microphone so it captures my direct speech clearly. Around 36% of consumers prioritise reducing reverberation. |
| Checking the recording straight away | Check whether the microphone has a headphone output for monitoring and whether the computer is using the correct recording input. | I want to hear straight away whether the signal and room sound are right, so I can spot any problems in time. Around 29% of consumers prioritise monitoring their recording as they go. |
| Setting up again with ease | Compare the connection, supplied cables and the stand or arm included with the exact version. | When I set up the recording space each time, I want to know in advance whether the kit will work with the computer and speaking area. A portable setup is a top priority for around 21% of consumers. |
| Recording features in a quiet hall | Make a test recording on site and check that the microphone, monitoring and computer connection are suitable for the room. | If I can keep the hall quiet and position the microphone well, I mainly want to consider recording features such as monitoring and mix control. Around 14% of consumers prioritise these features in a quiet recording environment. |
A microphone cannot improve the hall’s acoustics. Reflections may still be audible, even if a model features voice isolation or noise processing.
Make a test recording at the actual location and assess the microphone alongside the speaking distance and positioning.
If you only check the distance and acoustics after a long recording, you may have to spend extra time recording it again.
Products in the same range can have different connections. For example, Elgato distinguishes between the USB connection on the Wave:3 and the XLR connection on the Wave DX.
Check the full model name and connection on the version you’ve chosen before connecting the setup to your computer.
An XLR-only setup may also need an interface, an XLR cable and a suitable mount.
The microphones and kits mentioned come with different accessories, depending on the version. A supplied desktop stand may not be suitable for every speaking position.
Compare the contents of the exact package with the position and speaking distance you need in the hall.
Shure describes the MV7+ as a dynamic microphone for speech, with USB-C and XLR connections.
According to RØDE, the PodMic USB is a dynamic microphone for spoken recordings, with USB-C and XLR connections.
According to Audio-Technica, the AT2020USB-X is a cardioid USB-C condenser microphone supplied with a desktop stand.
According to Samson, the Q2U is a dynamic USB/XLR microphone.
According to Elgato, the Wave:3 MK.2 is a cardioid USB condenser microphone with a headphone connection and on-device controls.
These Joybuy picks are USB microphones for spoken recordings. Check that each model’s connection, positioning and features suit the hall and the speaking distance you need.
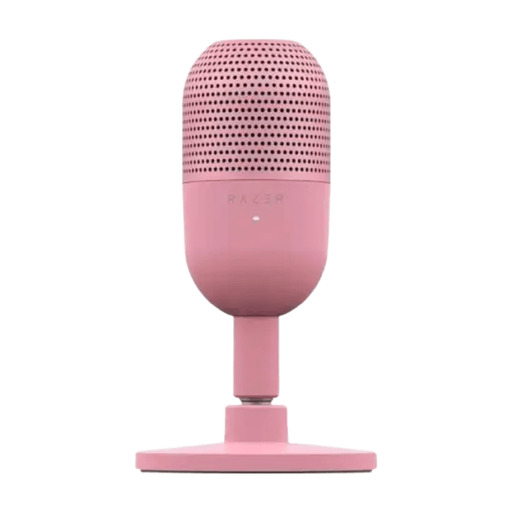 Image unavailable
Could suit a simple USB setup where you want to mute the microphone directly.
The product name indicates a compact design and tap-to-mute control.
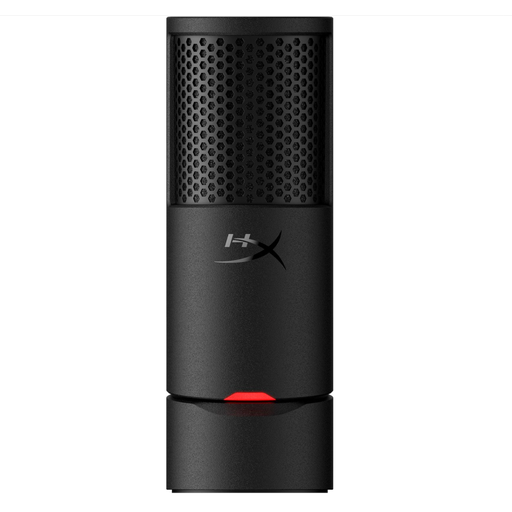 Image unavailable
Worth considering if you’re looking for a USB microphone with a cardioid pickup pattern; test the speaking distance in the hall.
The product name lists Plug & Play and the colour black.
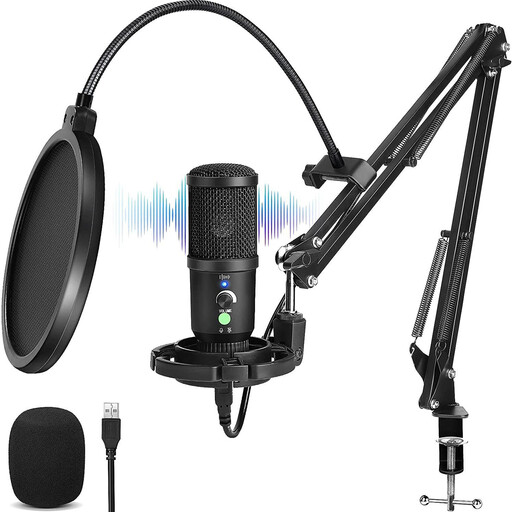 Image unavailable
Could suit you if you’re looking for a USB condenser microphone with headphone monitoring; assess the recording with a test in the room.
The product name lists a cardioid pattern and latency-free monitoring.
Don’t assume it can. Shure explains that a microphone cannot automatically separate direct speech from reverberation or improve the room’s acoustics. Move the microphone closer to the speaker, choose a suitable position and listen to a test recording in the hall.
Connect the microphone to the recording computer, select it as the input and listen to a test recording from the actual speaking position. With models that offer direct headphone monitoring, you can also listen to the microphone signal while recording; check which cable and mount you need for each version.
Check whether a stand or arm, suitable cable and headphones are already available or included with the version you’ve chosen. ACM ConsuWijzer explains that consumers in the Netherlands have a statutory warranty alongside any seller’s warranty. If a product breaks during normal use sooner than you could reasonably expect, the seller must offer an appropriate solution; there is no single fixed statutory warranty period for every microphone.
That depends on the content and the recording. As the Dutch government explains, you may need permission from the rights holder to use and publish other people’s protected texts. A sound recording in which someone can be identified may contain personal data. According to the Dutch Data Protection Authority, processing personal data requires a legal basis under the GDPR; consent is one possible basis, but it isn’t automatically the only one. Try to keep any unwanted, identifiable background voices out of the recording.