
Solo podcasters in a noisy flat
You’re recording an intro with ventilation, neighbours or other sounds potentially audible in the background. You can adjust how far away the microphone is and which way it faces.


For a clear solo intro in a noisy flat, a directional microphone that you can position close to your mouth is a sensible place to start. Make a test recording where you plan to record, too. Shure says the MV7+ denoiser can tackle continuous noise, but it will not remove background voices or sudden sounds. Also check that the USB connection, headphone monitoring and mounting options suit your set-up.
You’re recording an intro with ventilation, neighbours or other sounds potentially audible in the background. You can adjust how far away the microphone is and which way it faces.
You want to get started without a separate audio interface and check that the cable, connection and any stand are suitable for your computer and set-up.
You want to hear through headphones how your voice and the background sound together as you record.
Start with how clearly your voice comes through and where you can position the microphone. Then check whether the connections, monitoring and any expansion options suit the way you work.
| What to consider | What should you check? | Who will find this important? |
|---|---|---|
| Clear speech with background noise | Check the microphone’s polar pattern and whether you can position it close to you. Make a test recording with the source of the noise present. | When I record a short intro in a noisy flat, I want my voice to come through clearly and to be able to position the microphone close to me. Around 36% of consumers say clear speech in the presence of background noise is their top buying priority. |
| Simple USB set-up | Check that the connector is compatible with your computer and which cables and mounting options are included with that version. | For a straightforward start, I want to connect the microphone to my computer via USB and know in advance what I need to set it up. Around 29% of consumers give ease of set-up top priority. |
| Live monitoring | Check whether the microphone has a headphone output and how to adjust the volume. | As I record, I want to hear straight away whether my voice is coming through clearly and whether background noise is overpowering it. Around 21% of consumers prioritise monitoring while recording. |
| Room to expand later | Check whether you’ll actually need XLR or multiple polar patterns for a future set-up. | If my recording set-up changes later, I want to know whether I can connect or use the same microphone differently. Around 14% of consumers consider expandability the most important factor. |
Shure says the MV7+ denoiser is designed for continuous sounds, but does not remove background voices or sudden noises.
Also consider how far you are from the microphone and which way it faces. Make a test recording with the source of the noise you hear at home.
USB and XLR are connection options; they do not mean the microphone stores recordings itself. For XLR use, RØDE describes connecting to analogue equipment such as a mixer or audio interface.
For a simple start, use the USB connection and check that it works with your computer and recording software.
How you can position the microphone depends on the mounting hardware included and the stand or boom arm you already have.
Check what comes with the exact version and make sure the microphone will fit your desk or boom arm.
If the included mounting hardware isn’t suitable for your workspace, you may need a compatible stand or boom arm.
According to Shure, the MV7+ offers USB-C and XLR connections, along with adjustable digital features for a fixed solo set-up.
The PodMic USB combines USB-C and XLR with a dynamic microphone designed for close-miked speech.
According to Audio-Technica, the ATR2100x-USB offers USB-C and XLR connections and comes with a desktop tripod and cables.
According to Samson, the Q2U is a dynamic USB/XLR microphone supplied in a package that includes a desktop tripod and windscreen.
The QuadCast 2 S is a USB alternative with several selectable polar patterns.
These USB microphones are options for spoken-word podcast recordings. For each model, consider whether its polar pattern, monitoring and controls suit your recording space.
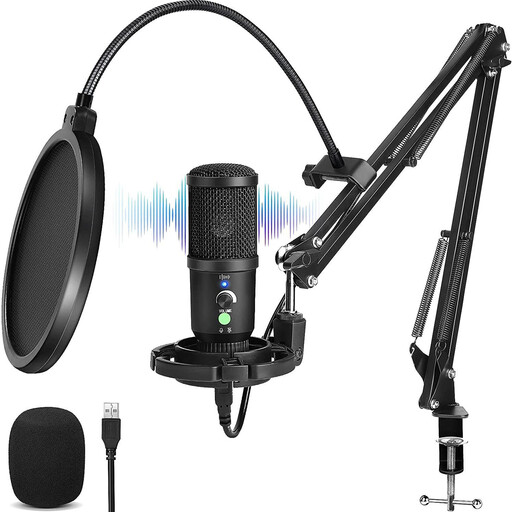 No image available
An option for a podcast intro if you want to monitor your recording as you speak.
Cardioid polar pattern; monitoring described as latency-free.
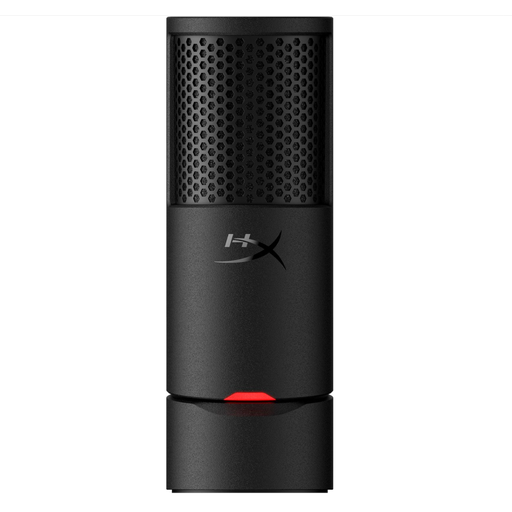 No image available
A USB option for a solo intro if you’re looking for a microphone with a cardioid polar pattern.
Cardioid polar pattern.
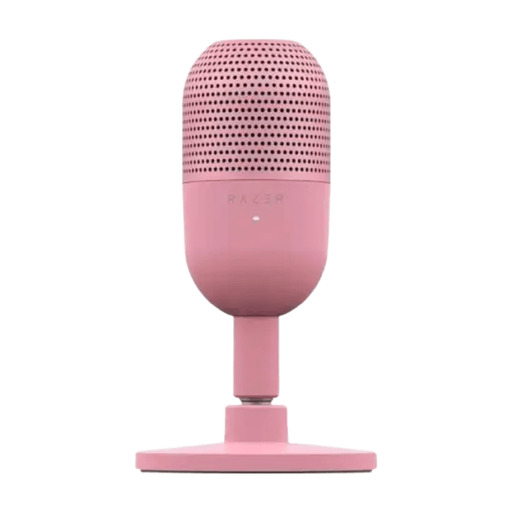 No image available
A USB option for a short voice recording if you’re looking for a supercardioid pattern and mute control.
Supercardioid polar pattern; tap-to-mute.
No, don’t assume it can. Shure says the MV7+ real-time denoiser is designed for continuous noise, such as a fan, but does not remove background voices or sudden sounds. Position the microphone close to you, point it carefully and make a test recording.
According to RØDE’s manual, you can position the PodMic USB around 5–10 cm from your mouth and speak into the end of it. Check that your stand or boom arm fits the mounting, then make a test recording.
Not if you use the USB output with a compatible recording device. For an XLR connection, RØDE describes connecting to analogue equipment such as a mixer or audio interface.
According to the Dutch government, you can take a faulty product to the seller. There is no fixed statutory guarantee period in the Netherlands; what you can reasonably expect from a product depends on the product and the circumstances of the purchase.