
Presenter in a reverberant room
You want your explanations to remain clear and can position the microphone close to where you speak. Consider its polar pattern, placement and the sound of the room.


Choose a microphone setup that lets you stay close to the mic while explaining what you’re doing. A noise filter or more expensive model won’t automatically compensate for speaking from a distance in a reverberant room. Shure points out that a microphone can’t always effectively separate direct speech from room reflections. Then compare a dynamic cardioid microphone for speaking at close range with a compact cardioid USB microphone for a desktop setup, and check your sound from every position you’ll use during the showcase.
You want your explanations to remain clear and can position the microphone close to where you speak. Consider its polar pattern, placement and the sound of the room.
You want to show what you’re talking about as you explain it, so you need a setup that keeps the microphone within reach of your speaking position. Consider the stand, boom arm and cable length.
You want to be able to mute quickly, monitor the microphone signal or adjust the level while recording. Check which controls your chosen model actually offers.
For a mod showcase, your microphone’s position and your movements both matter. Start with clear speech, then check that the setup works for the route you’ll take during the demonstration.
| What to consider | What to look for when buying | Who should consider this? |
|---|---|---|
| Clear speech | Check the polar pattern and which side you speak into; make a test recording from the intended speaking distance. | If you’re presenting in a spare room that may be reverberant, you’ll want your explanations to remain clear. Around 36% of consumers would make clarity their top purchase priority. |
| Positioning while demonstrating | Map out where you’ll speak and work; check whether the exact bundle includes a suitable stand or boom arm and the cable you need. | If you move between your desk and workbench, you’ll want to keep the microphone close to where you’re speaking. For around 29% of consumers, positioning is their top purchase priority. |
| Control while recording live | Check whether the model has headphone monitoring, a mute indicator and the controls you want; test the settings in your recording app. | If you present live, you’ll want to hear and control what’s being recorded. Around 21% of consumers would prioritise control during recording. |
| Connecting and setting up | Compare your computer’s port with the supplied data cable and check which stand or boom arm comes with the version you’ve chosen. | If you want to get started without extra equipment, you’ll want to know in advance which parts and cables you need. For around 14% of consumers, easy connection is the top priority. |
A filter or other digital processing won’t automatically make up for being far away from the microphone. Reflected speech can affect clarity.
First, test the positioning and listen to a recording from every spot where you’ll speak during the showcase. Treat any digital processing as an additional model feature.
When you’re showing something at your workbench, the distance to a fixed desktop microphone can change. A desktop stand won’t automatically keep the microphone close to your voice.
Run through the demonstration in advance and check that the stand, boom arm and cable in the exact bundle suit your speaking positions.
A USB-C microphone may come with a cable that has a different connector at the computer end. So don’t just check the port on the microphone.
Compare your computer’s port with the cable supplied with that exact version, and check which data cable you need.
The Government of the Netherlands states that there is no fixed statutory warranty period in the Netherlands. The seller is your point of contact if a product does not meet expectations.
Keep your proof of purchase and check any additional manufacturer’s warranty terms alongside your legal rights.
The Shure MV7+ is a dynamic cardioid microphone with USB-C and XLR, designed for close-range speech and setups where you may want to use a different connection later.
The ATR2100x-USB is a dynamic cardioid handheld microphone with USB and XLR connections, for recording speech from a fixed position.
The NT-USB Mini is a compact cardioid USB condenser microphone for use on a desk or boom arm.
The Profile USB is designed for presenters who want physical controls for gain, mix and headphone volume.
The SoloCast 2 is a USB gaming microphone with a cardioid pickup pattern, for anyone who wants a quick connection and a visible mute indicator.
This selection includes USB microphones for a showcase, from a wireless USB-C setup to desktop models for a fixed speaking position.
 No image available
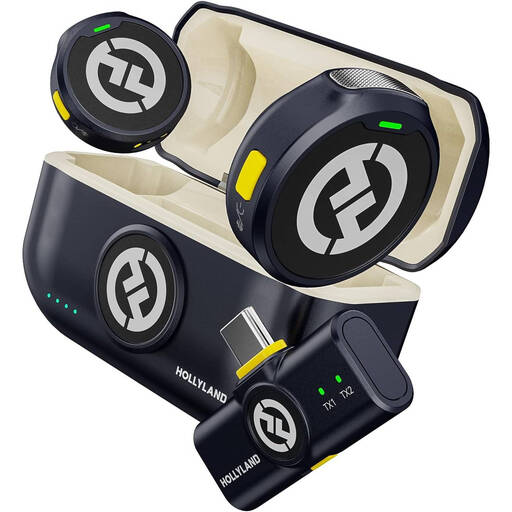
This wireless set could suit a presenter who moves around during a demonstration.
The product description lists two transmitters and a USB-C receiver for laptops and PCs.
The product name mentions noise cancellation; check the results with a test recording in your own room.
 No image available
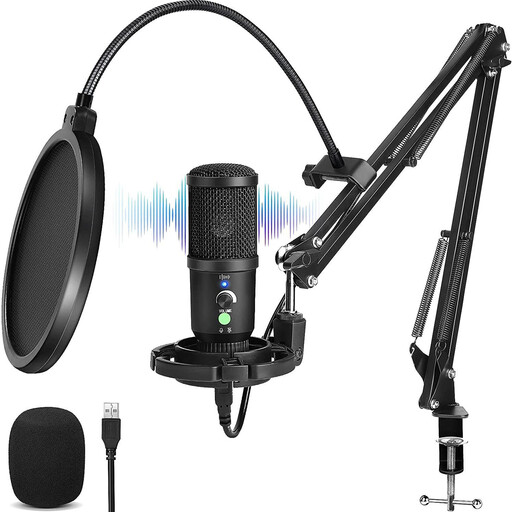
The boom arm setup described could suit you if you want to position the microphone closer to where you’re speaking during a demonstration.
The product description lists a scissor arm, gain control, mute function and headphone monitoring.
 No image available
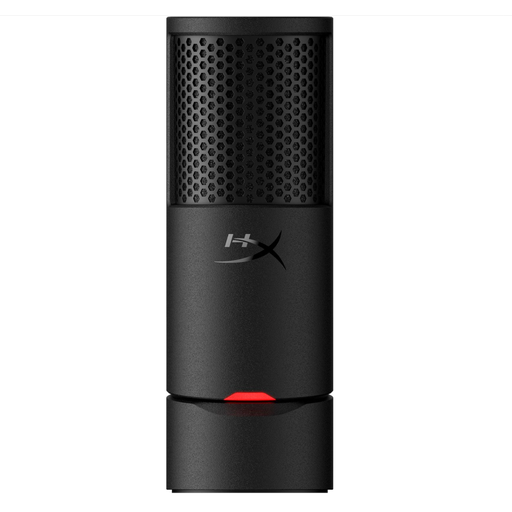
This model could suit you if a USB gaming microphone with a visible mute status works for your presentation.
The product title lists a cardioid pickup pattern. The product description mentions a mute button with an LED indicator, shock absorption, a pop filter and an adjustable stand.
 No image available
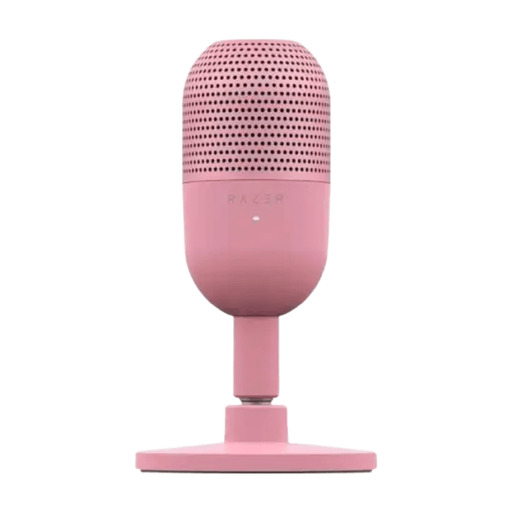
A compact USB microphone could suit a presentation from a fixed desktop position.
The product title mentions tap-to-mute controls; the product description lists a supercardioid pickup pattern.
Don’t count on it without making a test recording. Shure explains that a microphone can’t always effectively separate unwanted room reflections from direct speech, so position it to keep your voice close enough while you’re explaining.
Not when connecting by USB to a compatible device. Do check the port, data cable and system requirements for your chosen model. To use an XLR output, you’ll need a compatible XLR recording setup.
Make a test recording from your actual speaking and working positions. With models that have a headphone output, you can monitor the microphone signal. Also check the input settings and mute status in your recording or streaming software.
For a consumer purchase in the Netherlands, you’re entitled to a product that meets expectations, and the seller is your point of contact if it doesn’t, according to the Government of the Netherlands. Online purchases from a business also often come with a 14-day cooling-off period, subject to legal exceptions. There is no fixed statutory two-year warranty period in the Netherlands.
That depends on the recording, how it’s published and the privacy rules that apply. The Dutch Data Protection Authority states that in most cases you need permission to publish other people’s personal data online. The exception for purely personal or household use applies only in limited circumstances, so sharing something publicly is not the same as making a private recording.