
Teacher recording solo
Records explanations and pronunciation examples at a fixed workstation, and can position the microphone close to their mouth.


If you mainly record language lessons on your own at a fixed workstation, choose a USB microphone that you can position close to your mouth. A microphone can’t remove room echo from a recording afterwards, so the distance between you and the mic—and a test recording—still matter. Also consider monitoring, connectivity and whether a stand or other mounting option is included.
Records explanations and pronunciation examples at a fixed workstation, and can position the microphone close to their mouth.
Wants to record without a separate audio interface and check that their voice comes through clearly before the lesson. Connectivity, monitoring and the included mounting option all play a part.
Also wants to record students’ responses. The distance from the microphone and, when processing personal data, privacy are additional considerations.
A good fit if: you mainly speak on your own and can keep the microphone close to your mouth.
Keep in mind: you’ll need to maintain the same speaking distance and position during the lesson. Also check which stand, arm and cables are included.
A good fit if: you want a desktop setup and can control the microphone’s position and distance from your mouth.
Keep in mind: a cardioid pickup pattern won’t eliminate echo in a reverberant room. Assess the recording at your own workstation.
A good fit if: students’ answers also need to be included in the recording.
Keep in mind: recording voices from further away calls for a different setup. Decide in advance how you’ll handle personal data, too.
This guide focuses on consumers considering a USB microphone for recording language lessons, with one main buying priority for each person.
| What matters | What to look for | Who is this important for? |
|---|---|---|
| Clear voice recording | Can you point the microphone towards your mouth and keep roughly the same distance while recording? Listen back to a test recording to check for echo and clarity. | If I’m mainly explaining things myself, I want my voice to sound clear without having to sit completely still throughout the lesson. Around 40% of this group prioritise clear speech above all else. |
| Connecting and positioning | Check your computer’s connection, the included cable and whether the stand or arm suits your workstation. | If I want to get started quickly, I’m looking for a setup I can connect without an extra audio interface and place securely. Around 25% of this group prioritise easy set-up. |
| Recording students’ voices | Decide whether you need to record only your explanations or interaction as well. Test whether the voices you want to capture can be heard from where the speakers will be sitting. | If students also need to respond in the recording, I want to know in advance whose voices should be heard and how far they’ll be from the microphone. Around 17% of this group prioritise interaction. |
| Monitoring your recording | Check whether the exact model has a headphone output, volume control or visible mute indicator, and whether your software is using the intended USB input. | If I want to check that the microphone is working or muted while recording, I look for monitoring and clear controls. Around 18% of this group prioritise recording checks above all else. |
A cardioid microphone can reduce sound from certain directions, but it won’t separate your voice from every reflection in the room.
Try the microphone where you teach and listen back to a test recording before choosing a model.
The included desk stand, arm, cable or other mounting option varies by model and bundle. For example, Samson lists a desk stand with the Q2U, while FIFINE also describes a K688 variant without a stand.
Check the full model and bundle name, and make sure you know which parts you’ll need to position the microphone at your workstation.
Depending on the bundle you choose, you may need to buy a separate stand or arm.
Shure distinguishes between the USB/XLR MV7 and MV7+ models and the XLR-only MV7X.
Check the full model name and connection type. To record directly to a computer with an XLR-only model, you’ll need additional compatible equipment.
The Q2U is a dynamic cardioid microphone with USB and XLR connections, designed for a simple solo setup close to the speaker.
The PodMic USB is a dynamic USB/XLR microphone; the NT-USB+ is a separate USB condenser microphone.
The MV7+ is a dynamic hybrid USB/XLR microphone for close-miked speech; according to Shure, the MV7X has an XLR connection only.
The AM8T is a USB/XLR set with an arm; the K688 is a separate dynamic USB/XLR model available in different bundles.
The SoloCast is a compact USB condenser microphone for a desktop setup.
This selection focuses on USB microphones for desktop setups and mainly solo recording. A cardioid or supercardioid pickup pattern is no substitute for acoustic treatment, so test the microphone where you teach.
 No image available
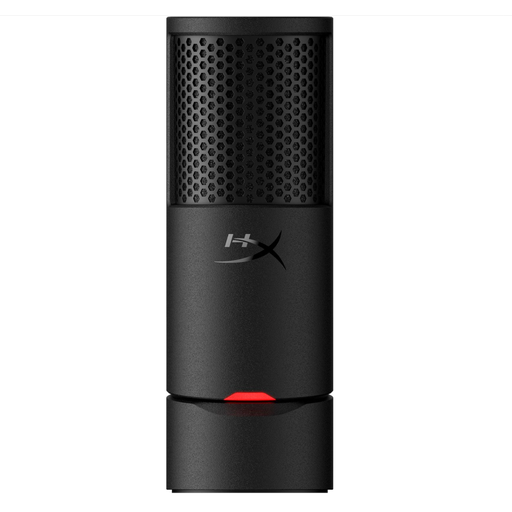
A desktop option for solo recording; the cardioid pickup pattern is useful when you’re pointing the microphone at one speaker.
The product description mentions a built-in pop filter, shock mount and LED mute indicator.
 No image available
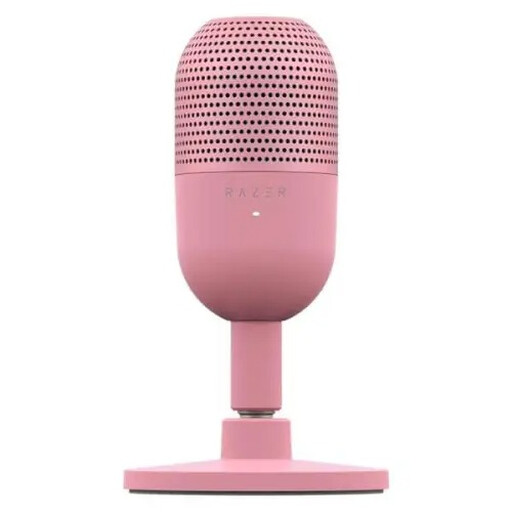
A compact desktop option for solo recording; the product description lists a supercardioid pickup pattern.
The product name mentions tap-to-mute. Make a test recording to see how the microphone sounds at your speaking distance.
No. Shure explains that a microphone can’t effectively separate directly spoken sound from reflected speech or improve a room’s acoustics. Choose a practical position close to you and listen back to a test recording.
Point the active side towards your mouth and keep it in the same position while speaking. For the PodMic USB specifically, RØDE recommends a distance of around 5–10 cm, with the top facing your mouth. Don’t automatically use that distance for other models.
Select the intended USB microphone as the input, record a short clip and listen back for clarity, level and distracting noises. The RØDE NT-USB+ manual explains that, if needed, you can select the microphone explicitly as the audio input.
Under Dutch law, online consumer purchases generally come with a statutory cooling-off period of up to 14 days after delivery, subject to legal exceptions, according to ACM ConsuWijzer. Products must also be fit for purpose, and the seller is your point of contact if something is faulty. The Dutch government states that there is no single fixed statutory warranty period for all products in the Netherlands.
Consider the specific recording before capturing identifiable participants or sharing it. If an educational institution processes students’ personal data, the Dutch Data Protection Authority says it must have a legal basis and inform those involved, among other things. It also recommends making it clear in advance when a lesson recording begins.