
Recording in a noisy gallery
You want to record a spoken label while a fan remains audible, and the speaker can stay close to the microphone.


If you can position the microphone close to the speaker, a dynamic USB model is a sensible starting point for recording an audio label with the fan still running. Test the position and sound in the gallery itself: none of the models reviewed has been proven to be a guaranteed solution for fan noise. Then choose based on the stand you need, headphone monitoring and connections.
You want to record a spoken label while a fan remains audible, and the speaker can stay close to the microphone.
A repeatable setup is useful, and you want to be able to listen back to each recording straight away, for example through a headphone output.
You want to record via USB now and perhaps use XLR later. The right connections and cables depend on the exact model and recording equipment.
A good fit when: the fan has to stay on and you can maintain a consistent, close speaking position.
Trade-off: speaking close to the microphone requires a stand or arm that can be positioned correctly; a directional pickup pattern will not eliminate all other sounds.
A good fit when: you can record somewhere quieter and want easy access to gain, mute or headphone-mix controls.
Trade-off: there are no model-specific measurements showing that this type suppresses fan noise better than the dynamic options in this gallery.
Compare the models where you’ll actually use them. A test recording with the fan on will show whether the voice, background noise and speaking distance work well together.
| What to consider | What to check | Who this matters most to |
|---|---|---|
| Clear speech | Check the polar pattern and mounting options; make a test recording with the fan on. | If the fan stays on, I want to judge whether my voice sounds clear enough at the chosen distance. Around 36% of consumers put speech intelligibility with fan noise first. |
| A repeatable setup | Check whether the supplied stand or mount positions the microphone close enough to the speaker. | When recording several short labels, I want to place the microphone in the same workable position each time. Around 29% of consumers prioritise a quick, repeatable setup. |
| Listening back to recordings | Check for a headphone output and, if you want to adjust levels while recording, gain or mix controls. | If I want to check each short take straight away, direct headphone monitoring matters when I choose. Around 21% of consumers prioritise listening back to a recording and correcting it if needed. |
| USB and XLR | Check the connections on the exact version and make sure you have the required cables and inputs. | If you want to record via USB now and might use XLR later, connection flexibility is a key consideration. Around 14% of consumers name this flexibility as their top priority. |
RØDE recommends a speaking distance of around 5–10 cm for the RØDE PodMic USB. This advice applies to that model; for other models, check the recommended positioning and listen to a test recording in your own space.
A pop filter is designed to reduce plosive sounds; it won’t tell you whether speech will be intelligible in this gallery. Noise reduction with the wrong settings can also create audible artefacts.
Before recording a series of short labels, make a test recording with the fan on and listen back through headphones.
An unusable take could mean extra recording or editing work.
According to RØDE, the PodMic USB has both USB-C and XLR; the standard PodMic is a separate model with an XLR connection.
Check the full model name and the connections on the version you choose.
For direct computer recording with the XLR version, you may need additional recording equipment.
If the microphone is too far away, the input signal may be weak. RØDE recommends a distance of around 5–10 cm between speaker and microphone for the PodMic USB.
Plan where you’ll position the microphone before buying, and check which mounting option comes with the version you choose.
Depending on your setup, you may need a different stand or arm.
The MV7+ is a dynamic model with USB-C and XLR, suited to anyone who can speak close to the microphone and wants digital controls.
The PodMic USB is a dynamic speech microphone with USB-C and XLR, designed for a consistent, close speaking position.
The Q2U is a dynamic USB/XLR microphone for which the manufacturer specifies accessories for a simple desktop setup.
The Profile USB is a cardioid USB-C condenser microphone with on-device controls.
Below are USB and USB-C microphones for voice recording, including wireless lavalier and desktop models. Check whether the form factor and positioning suit a fixed gallery setup; none of the product details show that a model will solve fan noise.
 No image available
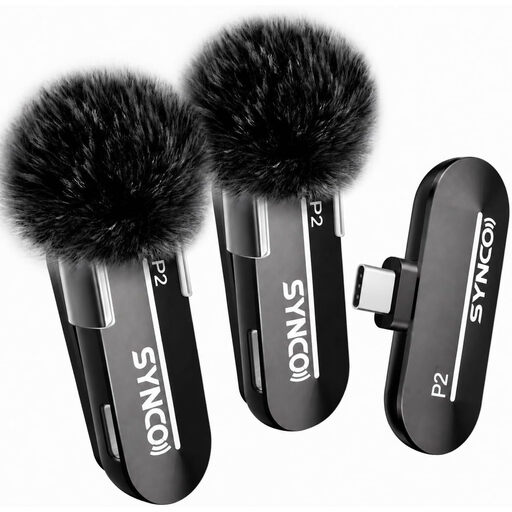
A wireless USB-C system to consider if this form factor suits your recording space; the product has not been proven to solve fan noise.
The description lists two transmitters, one receiver, real-time monitoring and pass-through charging.
 No image available
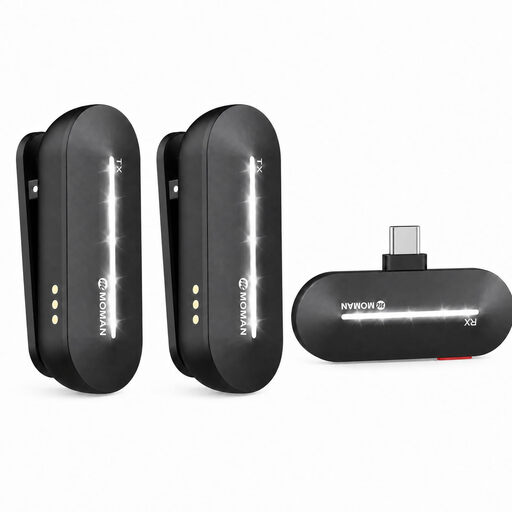
A wireless lavalier setup may suit you if you’re specifically looking for this form factor; assess the recording separately with the fan on.
The description lists USB-C recording, real-time monitoring and a range of 150m in open areas.
 No image available
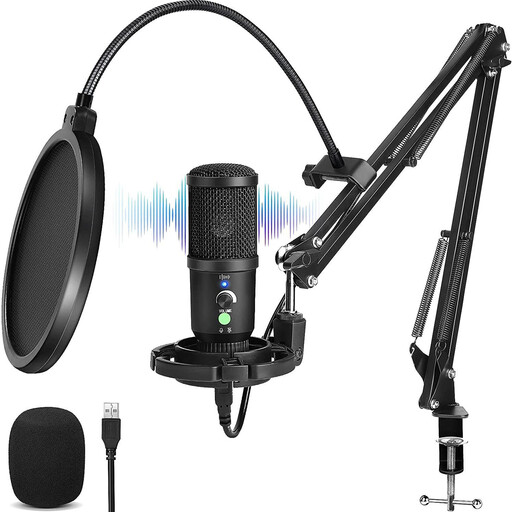
Worth considering if a desktop condenser microphone suits your recording space; a cardioid pattern does not guarantee a quiet recording in a room with fan noise.
The product information lists gain control, mute, a headphone socket and a scissor arm.
 No image available
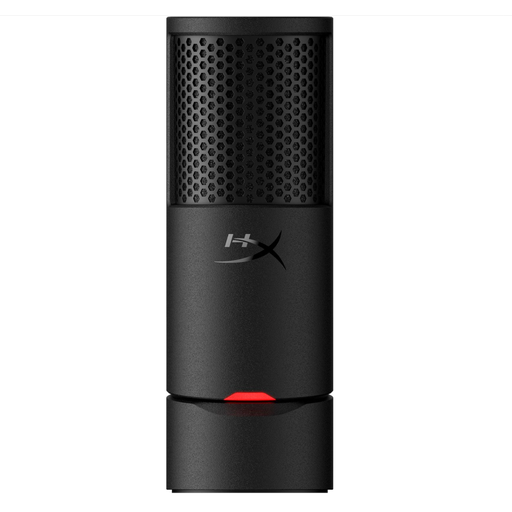
A USB desktop model to consider if the supplied desktop setup gives you the speaking distance you need; test the sound in the gallery.
The product information lists a mute button, shock mount, pop filter and USB-C-to-USB-A cable.
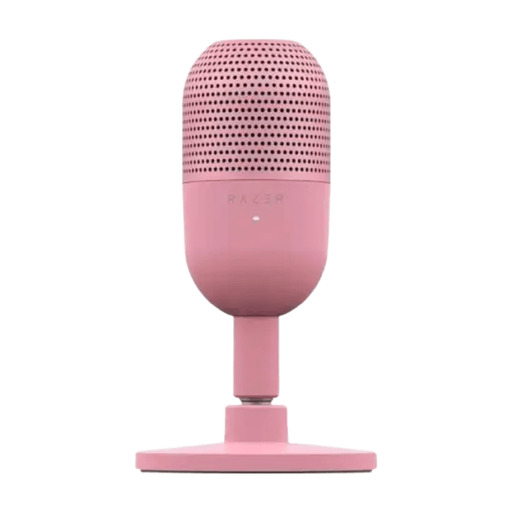 No image available
Worth considering if a compact desktop microphone with mute controls suits your setup; assess its suitability for fan noise with a test recording.
The product information lists USB, a supercardioid pickup pattern and tap-to-mute controls.
Not necessarily, but first see whether you can switch it off or record somewhere quieter. If you can’t, position the microphone close to the speaker and listen back to a test recording with the fan on. Audacity recommends recording the source as quietly as possible before applying noise reduction.
Audacity describes using noise reduction with a section of the recording that contains only background noise. Listen to the result through headphones: an unsuitable noise profile or setting can create audible artefacts.
Not for the direct USB connection on the USB/XLR models reviewed. To use XLR, you’ll need a suitable analogue recording setup; check that the connections are compatible with your recording device.
For online consumer purchases, you generally have a statutory cooling-off period of up to 14 days after delivery, with some exceptions. ACM ConsuWijzer also explains that statutory warranty applies if a product, when used normally, does not meet what you could reasonably expect; the retailer is your point of contact.
A sound recording in which someone is recognisable may contain personal data. According to the Dutch Data Protection Authority, processing personal data requires a legal basis under the GDPR; consent is one possible basis, but not automatically the only one. Before processing the recording, consider whether visitors can be recognised in it and which legal basis applies in that situation.