
Practising solo with fan noise
Your main aim is to record your own voice clearly while the fan is running, and you can position the microphone close to your mouth. Shure, Audio-Technica and RØDE describe options for focused voice recording.


For a solo presentation with a fan running in the background, a practical starting point is a microphone you can position close to your mouth and point away from the fan. Make a test recording and listen back before considering additional noise processing: Shure describes the MV7+ denoiser as being designed for persistent sounds such as fans, but neither a cardioid pattern nor a noise filter guarantees a noise-free recording.
Your main aim is to record your own voice clearly while the fan is running, and you can position the microphone close to your mouth. Shure, Audio-Technica and RØDE describe options for focused voice recording.
You’re practising English phrases and want to hear yourself clearly during or after recording. A headphone socket on the microphone is a useful point of comparison; Audio-Technica and RØDE describe this feature for the models mentioned here.
You want to record a presentation without setting up a complex recording rig. So check the connection, what’s included and how the microphone can be positioned on your desk. For example, Audio-Technica lists a desk stand with the ATR2100x-USB.
| What to consider | What should you check? | Who is this important for? |
|---|---|---|
| Clear voice with fan noise | Check the recording pattern and whether you can position the microphone close to your mouth and point it away from the fan. Test it with the fan on; directional pickup and digital noise processing are separate features. | If your main priority is hearing your own voice clearly while the fan keeps running, put this first. Around 42% of consumers say voice clarity alongside fan noise is their main consideration. |
| Listening back to pronunciation and pace | Check whether the microphone has a headphone output with volume control, and make a test recording to assess the result too. | If you want to hear how your words and sentences sound while practising, direct monitoring is useful. Around 25% of consumers make listening back their top priority. |
| Simple desk set-up | Check that the USB connection suits your device, which cables and stand are included, and whether you can position the microphone at your preferred speaking distance. | If you want to get started quickly at your desk without having to source separate parts, an easy set-up matters. Around 17% of consumers give this the highest priority. |
| Other recording set-ups | Compare only the connections and recording patterns you expect to use; extra patterns or XLR won’t solve fan noise by themselves. | If you might practise with others or use other recording equipment later, extra flexibility could be useful. Around 16% of consumers put versatility ahead of the other considerations. |
Shure clarifies that ‘Voice Isolation’ on the MV7+ refers to its cardioid directional pickup. According to Shure, the separate Real-time Denoiser is designed for persistent noise, such as fan noise, rather than every type of background sound.
Check the pickup pattern and any noise processing separately, and test both with the fan running in your practice space.
RØDE recommends speaking close to the PodMic USB. Greater distance can make your voice less prominent compared with background noise.
Practise your presentation as you intend to deliver it, but make a test recording to check which microphone position gives you a usable result.
You’ll need to position the microphone properly if you want to speak close to it. Audio-Technica lists a desk stand with the ATR2100x-USB; for the PodMic USB, RØDE discusses mounting it on a stand or arm.
Before choosing a set-up, check what’s included with the exact version and how you’ll need to position it.
The MV7+ is a USB/XLR option for solo voice recording if you can position the microphone close to you and point it in the right direction.
According to Audio-Technica, the ATR2100x-USB is a dynamic cardioid microphone with USB and XLR connections.
According to RØDE, the PodMic USB is a dynamic USB/XLR microphone for speech, with headphone monitoring.
According to HyperX, the SoloCast 2 is a USB condenser microphone for desk set-ups, with a cardioid pattern and software filters.
The Yeti could be worth considering if you expect to record in other situations as well as giving solo presentations.
This selection includes compact USB desk microphones and a wireless Type-C lavalier microphone for recording presentations. For each model, check that the connection and positioning suit your device and practice set-up.
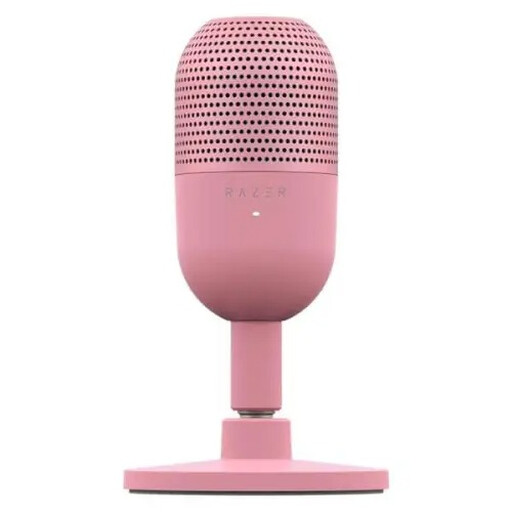 No image available
This compact USB model could suit a simple desk set-up.
The product name lists a USB connection and tap-to-mute.
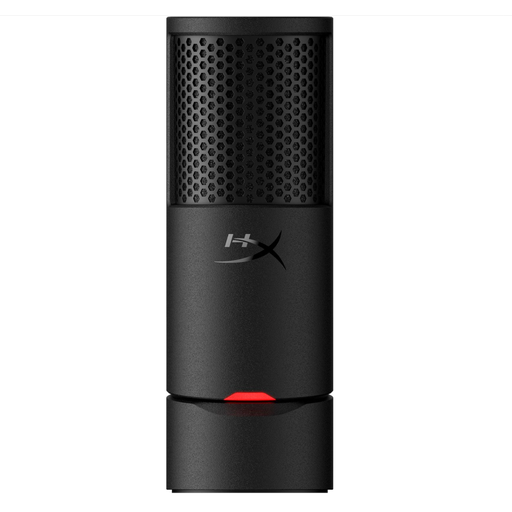 No image available
This model could suit you if you’re looking for a USB microphone for a desk set-up.
The product name lists plug-and-play, a cardioid pattern and a black finish.
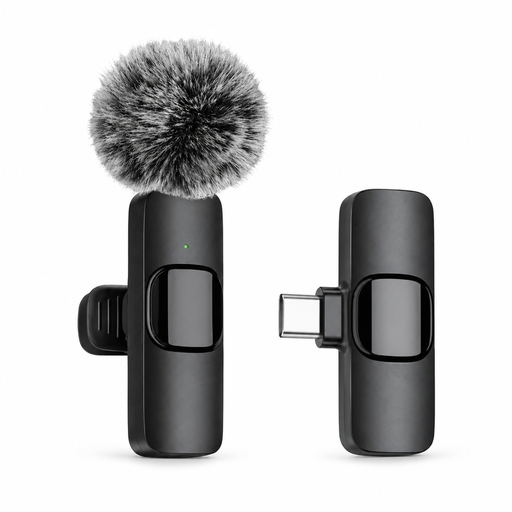 No image available
This wireless lavalier is a portable option for recording a presentation.
The product name lists a Type-C interface; check that the connection suits the device you want to record with.
Speak in front of a cardioid microphone, keep your voice relatively close and, if possible, point its less sensitive side towards the fan. RØDE recommends a distance of around 5–10 cm for the PodMic USB; make a test recording in the room where you practise.
Not for connecting the PodMic USB directly to a compatible device: RØDE says you can record without an external audio interface. If you want to use the XLR connection later, you’ll need suitable analogue recording equipment.
According to the Dutch government, when you buy at a distance you usually have 14 days to change your mind, and the seller must inform you of this. If a product is faulty, you can ask the seller to put things right. The Dutch government states that there is no fixed statutory guarantee period in the Netherlands.