
Dictating in a noisy room
You want to dictate study notes while you can hear housemates, ventilation or other room noise. Placing the microphone close to you and choosing a quiet spot can help capture your speech.


In a room where you can hear background noise, a directional dynamic USB model is a sensible option if you can speak close to the microphone. In a quiet room, a compact USB condenser microphone could suit a simple desk setup. Also check the connection, controls and monitoring options. You’ll need dictation software to turn speech into text, and a microphone cannot guarantee an error-free transcription.
You want to dictate study notes while you can hear housemates, ventilation or other room noise. Placing the microphone close to you and choosing a quiet spot can help capture your speech.
You want to dictate notes without a complex audio setup, so you’re looking for a suitable connection, a practical stand and compatibility with your dictation software.
You want to check your voice during longer dictation sessions, or perhaps use the microphone with other recording equipment later. A headphone output or additional connection could be important.
First, choose a microphone that suits the noise level in your room and how far away you’ll be speaking. Then check the software, connections and features you’ll actually use when dictating.
| What to consider | What should you check? | Who is this important for? |
|---|---|---|
| Speech with room noise | Check the pickup pattern and positioning, and whether you can speak close to the microphone. Make a test recording in your own room. | If I’m dictating at home with background noise, I want to be able to position my voice clearly in front of the microphone. Around 36% of consumers prioritise clear speech in a noisy room. |
| Easy connection | Compare the USB connection and supplied cable with your computer, and check the input settings and requirements of your dictation app. | I want to get started without a complicated setup and check that my dictation app recognises the microphone. Around 29% of consumers prioritise a working connection and dictation workflow. |
| Monitoring your recording | Check whether the specific model has a headphone output or direct monitoring, and test the mute function and input level too. | During longer sessions, I want to hear whether my voice is coming through clearly and be able to mute the microphone if needed. Around 21% of consumers name recording monitoring or controls as their main concern. |
| Room to expand later | Check whether the model has both USB and XLR connections, and which cables and stand come with the version you’ve chosen. | If I want to use the microphone with other audio equipment later, an additional XLR connection could be useful. Around 14% of consumers prioritise this flexibility. |
A USB microphone records sound, but it won’t turn it into study notes by itself. Dictation software has its own requirements; Microsoft, for example, lists a microphone and a reliable internet connection among the requirements for dictation in Word.
Test your dictation app with a short recording and check that the microphone is selected as the input before starting a long session.
An omnidirectional setting picks up sound from all around the microphone. Logitech describes this setting for the Yeti Nano; for solo dictation, it isn’t the same as a pickup pattern aimed at the speaker.
Compare the directional settings and make a test recording at your usual workspace.
A USB connection alone doesn’t tell you whether the cable, stand and available computer port will suit your setup.
Check what’s included with the version you’ve chosen and which ports are available. If a suitable cable or stand isn’t included, you may need an additional accessory.
The Q2U is a dynamic USB/XLR microphone for voice recording.
The ATR2100x-USB combines USB dictation with an XLR connection.
The NT-USB Mini is a compact condenser microphone for a desk setup.
The Seiren V3 Mini is a compact USB microphone with mute controls.
The Yeti Nano lets you choose between directional and omnidirectional pickup.
These USB microphones are designed for desk-based recording. Compare their directional pickup patterns and controls with your room and dictation workflow.
 No image available
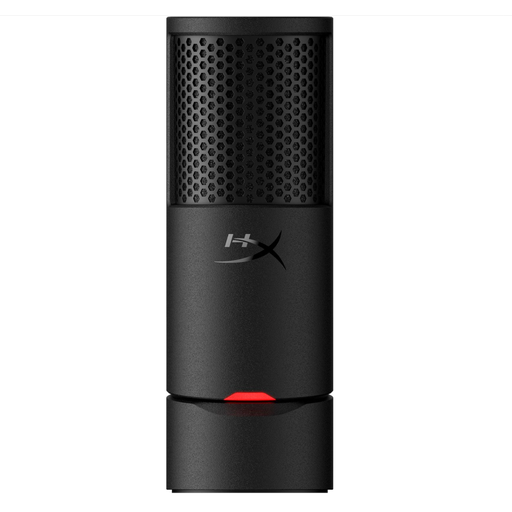
A USB microphone with a cardioid pickup pattern for desk-based recording.
The product description lists an LED mute button, built-in pop filter and shock absorption.
The adjustable stand and sturdy base make it suitable for a desk setup.
 No image available
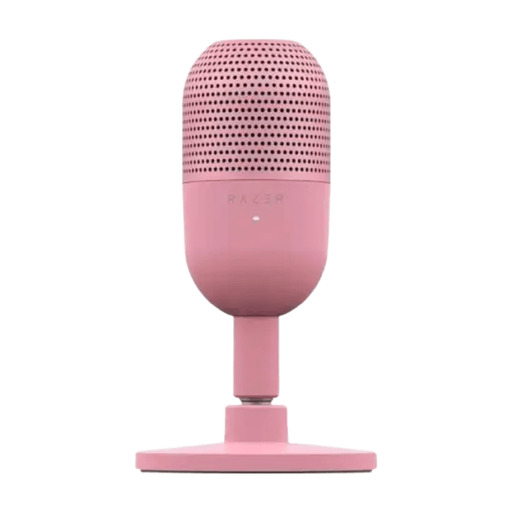
A compact USB microphone with a supercardioid pattern for focused recording.
Razer lists tap-to-mute controls. Check the positioning and sound in your own room with a test recording.
No, you’ll also need a speech-to-text feature. For dictation in Microsoft 365, Microsoft lists a working microphone, a reliable internet connection and signing in among the requirements. Check the requirements for the app you use.
Check that the microphone is connected, isn’t muted and is selected as the input. Then test the input level and try a quieter spot. If you’re dictating in a browser, you may also need to allow microphone access.
The right position depends on the model and the room. For voice-over with the NT-USB Mini, RØDE recommends around 10–15 cm. Don’t treat this as a fixed distance for every microphone; try a position with a short recording.
According to ACM ConsuWijzer, consumers who buy online generally have a statutory cooling-off period of up to 14 days after delivery. Check which exceptions apply. The legal guarantee is separate: if a product used normally doesn’t do what you could reasonably expect, contact the seller.
That depends on the product rules that apply to the specific model. According to Your Europe, CE marking is required for products covered by harmonised EU rules that make the marking mandatory. Check the model’s conformity information. A CE mark alone says nothing about recording quality.