
Dictating in a reverberant room
If your home studio is echoey, speaking close to the microphone and positioning it carefully are important for recording clear notes. Shure explains that a microphone cannot fix the acoustics of a room.


Choose a setup that lets you speak close enough to the microphone. In a reverberant room, positioning matters more than promises of noise reduction. A compact USB desktop microphone suits hands-free note-taking, while a handheld dictation microphone is a good choice if controls are important while you speak. Also check that your computer and dictation feature support the microphone and the language you want to use. Shure explains why distance and reverberation matter, and RØDE offers positioning advice for the NT-USB Mini.
If your home studio is echoey, speaking close to the microphone and positioning it carefully are important for recording clear notes. Shure explains that a microphone cannot fix the acoustics of a room.
If you want to dictate at your computer without holding a microphone, consider a USB desktop microphone and check that your computer’s dictation feature suits the way you work.
If you prefer to control dictation directly on the device, you could consider a handheld dictation microphone instead of a standard desktop microphone. Check that its buttons work with the software you plan to use.
Best for: hands-free dictation from a fixed workstation.
Keep in mind: speaking from further away can add more room reverberation to your recording. For voice-over work with the NT-USB Mini, RØDE recommends a mouth-to-microphone distance of around 10–15 cm. This is not a general guideline for other microphones.
Best for: a fixed setup where you can consistently speak close to the microphone.
Keep in mind: close-up speaking calls for careful positioning. The Shure MV7+ has USB-C and XLR connections; the Samson Q2U combines USB and XLR and, according to Samson, comes with accessories including a desktop tripod stand.
Best for: anyone who prioritises on-device recording controls over hands-free use.
Keep in mind: you’ll need to hold the device or put it down. Philips describes dictation controls, but check that the software and buttons you want suit your workflow.
Choosing a microphone for spoken notes in a home studio isn’t just about the type of microphone. Consider your working position, connection and how you’ll turn speech into text.
| What to consider | What to look for when buying | Who is this important for? |
|---|---|---|
| Clarity in a reverberant room | Check the polar pattern, mounting options and whether you can position the microphone close to you. Don’t treat digital noise processing as a substitute for suitable positioning. | If I’m dictating in an echoey or noisy home studio, I want to be able to position the microphone close to me. Around 36% of consumers prioritise clarity in their room. |
| Getting started hands-free | Check the cable type and stand. Once connected, check which microphone your operating system is using and which dictation language is selected. | If I want to dictate notes quickly at my computer without holding a device, I’m looking for a simple desktop setup. Around 29% of consumers prioritise hands-free use. |
| Controls while dictating | Check which buttons are on the device and whether they work with your recording or transcription workflow. | If I want to start or control short dictations directly on the device, physical buttons matter to me. Around 21% of consumers prioritise dictation controls. |
| Monitoring and other recording uses | Check whether the exact model has a headphone output, mute control, mixing control or the USB or XLR connection you want. | If I want to monitor recordings or use the microphone for other types of recording, I look for those extra connections and controls. Around 14% of consumers prioritise this. |
A microphone can’t fix the acoustics of a room. Shure explains that greater distance can increase the effect of reflected sound.
First, find a practical position close to your mouth, then check whether the microphone you’ve chosen can be mounted there.
Depending on your chosen setup, you may need a suitable cable, mounting solution or software configuration.
The NT-USB Mini is a compact USB desktop microphone for hands-free dictation.
The MV7+ is a dynamic USB-C/XLR option for a fixed setup where you speak close to the microphone.
The Q2U combines USB and XLR with accessories for a desktop setup.
The AT2020USB-X is a cardioid USB condenser microphone for anyone who wants to monitor recordings as well as dictate.
The SpeechMike Premium Touch SMP3700/3800 is a handheld option with dictation controls.
These product picks focus on compact USB microphones for a computer workstation, with features such as on-microphone mute controls.
 No image available
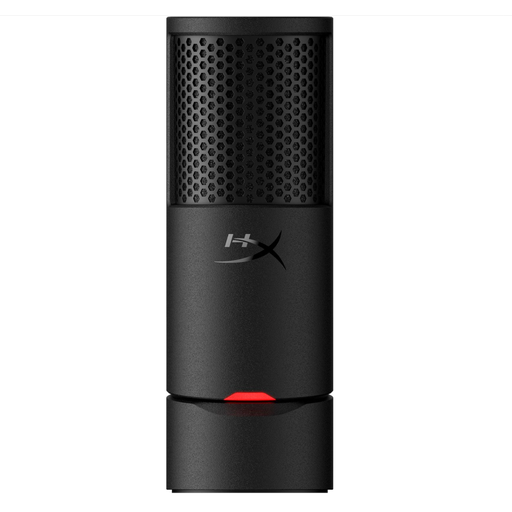
A USB microphone for use at a computer workstation, with a mute button to switch off the microphone.
The product information lists a cardioid polar pattern, built-in shock mount and pop filter, plug-and-play functionality, and a supplied USB-C to USB-A cable.
 No image available
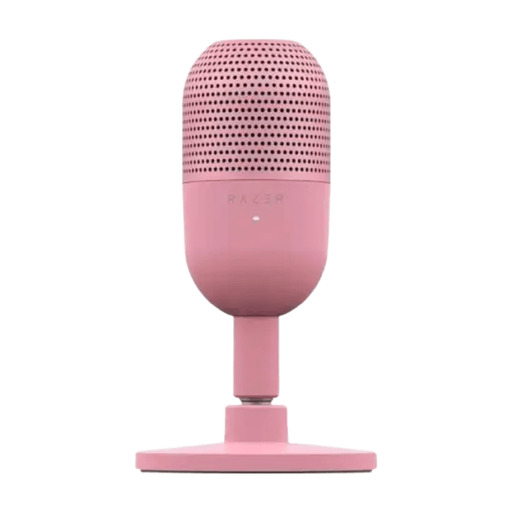
A compact USB microphone for recording speech at a computer workstation, with an on-device mute control.
The product information lists a supercardioid pickup pattern and tap-to-mute. The Quartz version is specified in the product name.
No, you’ll also need dictation software. Microsoft says Windows voice typing requires a working microphone, an internet connection and a cursor in a text box; you can start the feature by pressing Windows key + H. On a Mac, dictation is a separate feature: select the external microphone and check the language and settings.
Start by positioning the microphone and speaking close to it. Shure explains that a microphone can’t fix the acoustics of a room. For voice-over work with the NT-USB Mini, RØDE recommends a mouth-to-microphone distance of around 10–15 cm; this isn’t a general guideline for other models.
First, check that the correct microphone is selected and that the dictation feature and language are set up. Microsoft also lists microphone access and input settings for Windows. On a Mac, check that the external microphone is selected and Dictation is turned on.
For a standard online product purchase, you generally have a statutory 14-day cooling-off period after delivery, according to ACM ConsuWijzer; check whether an exception applies. You’re also entitled to a statutory guarantee from the seller if, under normal use, a product doesn’t meet your reasonable expectations. A manufacturer’s guarantee doesn’t replace this statutory right.