
A charger for one camping lantern
You want to charge one lantern without choosing a larger charging station than you need. Check the manual to find out which connector, cable and power supply the lantern requires.


For a single USB camping lantern, a compact wall charger is usually enough if the socket is within reach and the connector, cable and output meet the lantern’s charging requirements. A corded charging station is more practical if you’re connecting several devices or need the ports somewhere else; extra power won’t, by itself, charge the lantern any faster. Charge the lantern and charger on a hard surface, away from bedding, and preferably during the day.
You want to charge one lantern without choosing a larger charging station than you need. Check the manual to find out which connector, cable and power supply the lantern requires.
You want to charge the lantern alongside other USB devices. Check the number of ports, connector types and output per port.
You need the connections in a suitable spot further from the wall socket. Compare the cable length with the distance to a clear, safe surface.
Choose this if: the socket is within reach and you want to charge the lantern with no more than one other USB device.
The trade-off: the ports are next to the wall socket; a wall charger won’t bring them to your bedside table on a cable.
Choose this if: you’re connecting several devices or need the ports somewhere further from the socket.
The trade-off: the separate unit and cable take up space; check the port types and power distribution for each model.
Choose this if: you need extra mains sockets as well as USB ports.
The trade-off: extra mains sockets aren’t necessarily useful if you only have a USB lantern; plug an extension lead directly into a wall socket.
| What to consider | What to look for when buying | Who is this important for? |
|---|---|---|
| Connector and charging compatibility | Check the lantern’s manual, the cable required and the charger’s port type. | If I want to charge one lantern, I need to know which power supply and cable are suitable. Around 40% of consumers put compatibility first. |
| Safe charging location | Choose a clear, hard surface and use an undamaged cable. | If I’m charging beside bedding, I want to be able to place the lantern and charger in the clear so heat can escape. Around 30% of consumers give a safe charging location top priority. |
| Charging several devices at once | Count your devices and compare the USB-A and USB-C ports and the output per port. | If I want to connect the lantern alongside other USB devices, the ports need to work with my cables. Around 20% of consumers make simultaneous charging their top priority. |
| Reach and positioning | Measure the distance to a clear spot and compare it with the stated cable length. | If the socket isn’t conveniently within reach, I want to be able to place the connections in a suitable spot. Around 10% of consumers put reach first. |
The fact that a camping lantern can be charged via USB doesn’t mean it can be charged wirelessly.
Check whether the station has a wired USB output that meets the lantern’s charging requirements.
If the connection isn’t suitable, you may still need a compatible charger or cable.
On multi-port models, the output can vary from one port to another, especially when you connect several devices at once.
Compare the output of the port you’ll use and check the conditions for charging several devices at once.
The Dutch Fire Service advises against charging devices under a pillow or duvet and connecting extension leads to one another.
Charge the lantern and charger in the clear on a hard surface. If you use an extension lead, plug it directly into a wall socket.
Belkin offers compact wall chargers with two USB-A ports or a combination of USB-C and USB-A.
The desktop charger described here is designed for several devices or for a charging spot further from the socket.
The Philips SPN3052W/10 is an example of an extension lead with extra mains sockets and USB ports, but Philips says this particular model is no longer available.
This selection includes USB wall chargers and extension leads with USB ports, for one lantern or several devices. Before buying, check that the port, cable and output meet your camping lantern’s requirements.
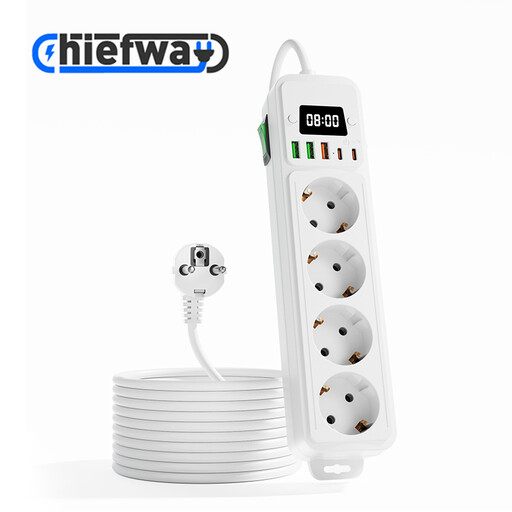 No image available
An option if you want to connect several USB devices and place the ports somewhere suitable using a cable.
The product name lists 4 AC sockets, 3 USB-A ports, 2 Type-C ports, a digital clock, 2500 W maximum output and a 3 m cable. Plug an extension lead directly into a wall socket and charge away from bedding.
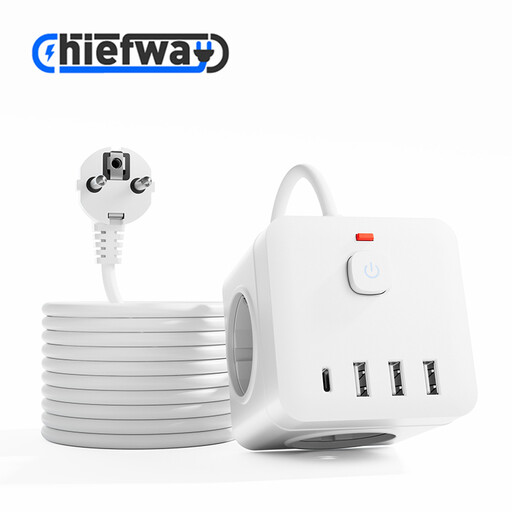 No image available
This extension lead may suit you if you need several USB connections and mains sockets beside your bed.
The product name lists 3 USB-A ports, 1 Type-C port, a 1.5 m cable and 2500 W maximum output. Don’t plug the extension lead into another extension lead.
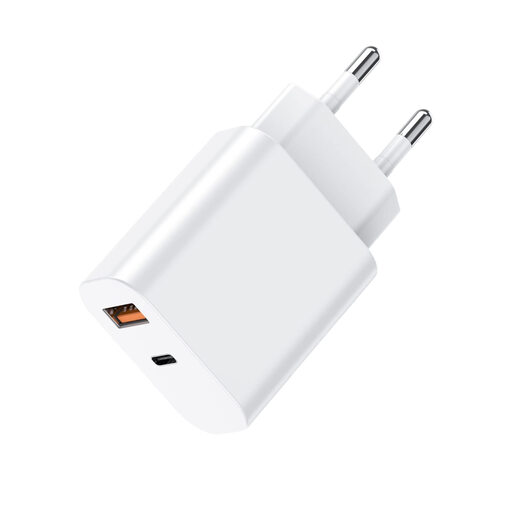 No image available
A compact wall charger to consider if you want to connect the lantern and one other device to a socket within reach.
The product name lists USB-A and USB-C and 20 W total output. Check which port and power supply your lantern requires; the product description limits use to indoor, dry conditions.
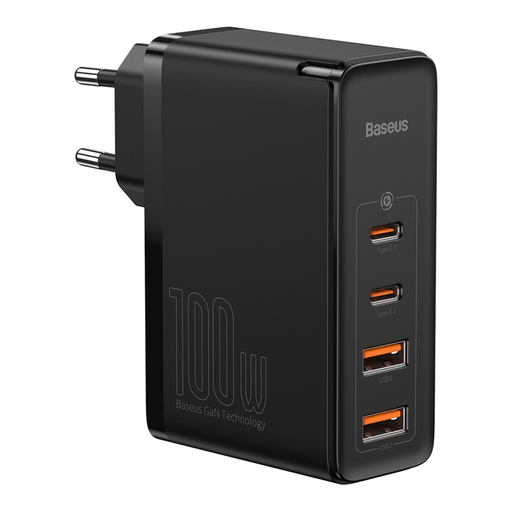 No image available
This wall charger may be worth considering if you want to connect several USB devices at once and have a socket within reach.
The product name lists two USB-C ports, two USB-A ports and 100 W. That total output doesn’t tell you how much power the port for your camping lantern supplies; check the specifications for each port and your lantern’s requirements.
 No image available
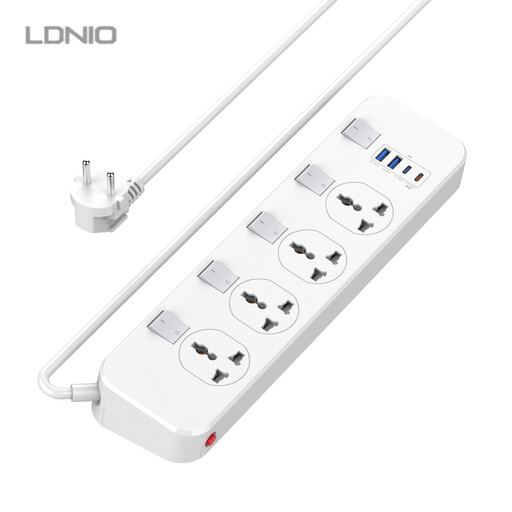
An option if you want to place the USB ports some distance from the wall socket and also need extra sockets.
The product name lists 4 universal sockets, 2 USB-A ports, 1 USB-C port with 20 W PD and a 6.5 ft cable. Check that the plug type and individual port output are suitable for your setup and lantern. Don’t connect extension leads to one another.
Not necessarily: check your lantern’s connector and manual. Goal Zero, for example, describes the Lighthouse 600 as rechargeable via a USB source, but that doesn’t tell you which connector another camping lantern uses.
No. The Dutch Fire Service advises against charging devices under a pillow or duvet. Use a hard surface and keep the lantern and charger in the clear so heat can escape; charging during the day is preferable.
The Dutch Fire Service advises against connecting extension leads to one another. Plug a suitable extension lead directly into a wall socket and follow the instructions and maximum load.
A mains-powered charger covered by the applicable rules for electrical equipment must carry the CE marking. The Netherlands Food and Consumer Product Safety Authority explains that a separate inspection isn’t compulsory for this product group; a CE marking isn’t an independent safety test.