Choose a camera based on what your students need to see: at the planned mounting height, check that the stitches look sharp and large enough while both hands remain in view. A mirrorless camera with a suitable interchangeable lens gives you room to adjust the framing; with a fixed lens or camcorder, pay close attention to the focusing distance and zoom setting. Take a test recording under your own lights, too, and check the colour, flicker and clarity of the audio.
Who is this choice relevant to?
Teacher demonstrating stitches
You want the needle, thread and repair stitches to appear sharp and large enough in the frame at your chosen camera distance. The focusing information from DJI and Sony can help you compare models, but it doesn’t tell you on its own how large a stitch will look from your working distance.
Maker with a fixed workbench
You want to film your work from above and maintain a useful frame and consistent fabric colour under your own lights. Canon Europe explains how artificial lighting can cause a colour cast; Sony Support suggests shutter speeds that can help reduce flicker from a 50Hz light source.
Teacher who moves around
You switch between filming at a table and giving demonstrations away from your usual setup, and want your explanations to remain clear. A movable camera may suit you, but check separately how to mount it above the workbench for a fixed shot and how the audio sounds from your usual speaking position.
What should you look for when choosing?
Start with a test frame from the intended mounting height. This will show you whether the detail, both hands and the workpiece can all fit clearly in the shot.
| What to consider |
What should you check? |
Who should prioritise this? |
| Sharp, clearly visible details |
Test the focus, stitch size and framing at the actual camera distance. If you’re using a mirrorless camera, consider the lens you choose, too. |
If I want to demonstrate fine stitches, they need to stay visible while my hands are in shot. Around 36% of consumers prioritise detail above all else. |
| Colour and image quality under artificial lighting |
Record a test clip under your own lights and check the white balance and for visible banding. For a 50Hz light source, Sony suggests 1/50 or 1/100 second as possible starting points for reducing flicker. |
If I want to assess fabric colours under my own lights, I check for colour casts and flicker. Around 29% of consumers put artificial lighting and colour at the top of their list. |
| Workbench and hands in shot |
Test the mounting height and lens or zoom setting with the actual workpiece. Check that the frame isn’t too wide or too tight. |
If I want to film an entire process from a fixed position, I look for a frame that keeps both the workpiece and my hands in view. Around 21% of consumers prioritise a clear view of the work surface. |
| Clear audio |
Record a short test lesson from your usual speaking position and check that your chosen audio setup works well there. |
If I explain things while I work, I want to be easy to hear from where I normally stand. Around 14% of consumers put spoken instruction first. |
Common buying mistakes
-
Looking only at ‘macro’, zoom or a short focusing distance
How large a stitch appears also depends on the framing and the zoom setting. For the Sony FDR-AX43, Sony specifies a minimum focusing distance of around 1 cm at the wide-angle setting and around 80 cm at the telephoto setting. These settings aren’t interchangeable for close-ups.
Test the needle and stitches at the planned camera distance, with both hands in shot.
You may need to add another component to your setup, such as a different lens or an adapted mount.
-
Expecting higher video resolution to solve problems with artificial lighting
Resolution won’t automatically prevent colour casts or visible banding caused by flickering lights.
Record a test under your own lights and check the white balance and shutter speed before choosing a camera based on resolution.
-
Mistaking a gimbal for a mount above the workbench
A gimbal stabilises a moving camera, but it won’t automatically hold it in a repeatable position directly above your workpiece.
Work out separately how to secure the camera above the table so that it stays stable and gives you the framing you want.
You may need a separate, stable mount for a fixed overhead shot.
Relevant camera brands
Canon
The EOS R50 V is a mirrorless camera with an RF/RF-S lens mount, giving you the option to choose a lens and framing to suit your workbench setup.
- Canon specifies interchangeable lenses for this model.
- The camera body alone won’t tell you whether a particular lens will capture stitches large enough at your mounting height.
Sony
The ZV-E10 II has an interchangeable lens; the FDR-AX43 is a camcorder with a fixed zoom lens. They are different models with different features.
- Sony Netherlands lists different minimum focusing distances for the FDR-AX43 at different zoom settings.
- A short focusing distance at the wide-angle setting doesn’t mean it will focus at the same distance at the telephoto setting.
Panasonic
The LUMIX G100D with a 12–32mm kit lens is a compact mirrorless camera option. Its tilting screen can help you check your shooting position.
- Panasonic lists 4K/30p and FHD/60p for this kit.
- These video specifications don’t tell you whether the kit lens will show small stitches large enough from your working distance.
DJI
The Osmo Pocket 3 is a compact gimbal camera for anyone who wants to switch between shots at the table and demonstrations on the move.
- DJI specifies focusing from 0.2 m.
- That distance alone doesn’t determine how large a small stitch will look in the frame. A stable mount is also needed for a fixed overhead shot.
Cameras at Joybuy
These product picks are mainly compact cameras for lessons filmed at a table or demonstrations on the move. Check that the framing, focus and mounting options for each model suit your working distance.
 No image available
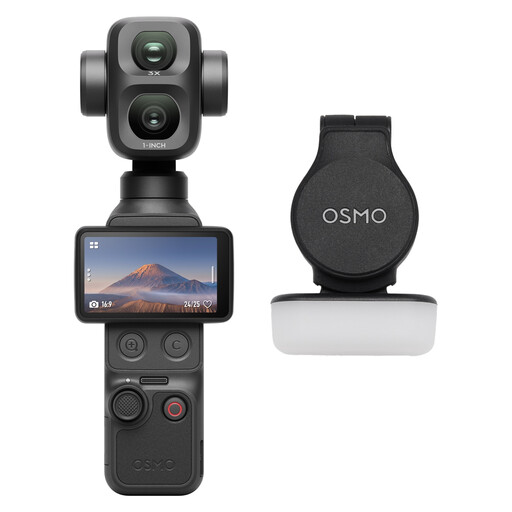
Osmo Pocket 4P – Standard Combo – Black
A compact Pocket camera to consider if you film demonstrations on the move as well as at the table. Test whether your chosen position shows the stitches large enough.
View at Joybuy
 No image available
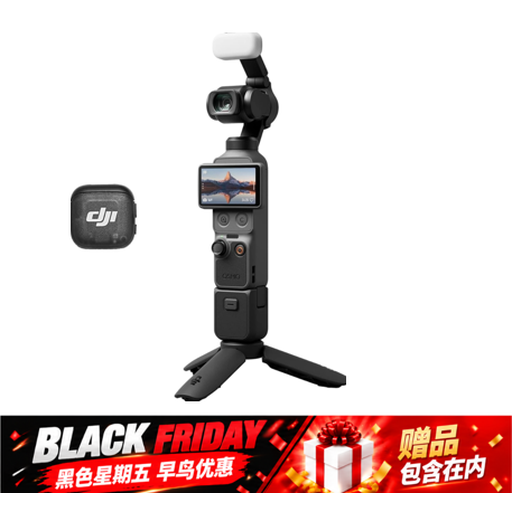
Osmo Pocket 4 Creator Combo
The product name lists a 1″ CMOS sensor, 4K/240fps, 3-axis stabilisation, 2× lossless zoom and 107GB of built-in storage. Check with a test frame that the zoomed-in shot captures enough detail without cutting your hands out of the picture.
View at Joybuy
 No image available
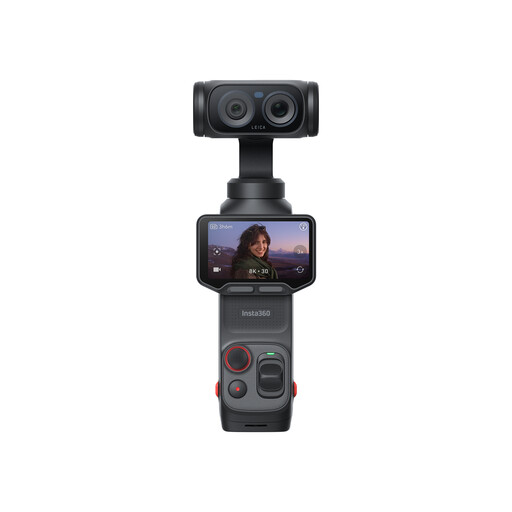
Insta360 Luna Ultra Standard Bundle Cosmic Black
Before recording a lesson, check that your intended mounting position and framing include both the workpiece and your hands.
View at Joybuy
 No image available
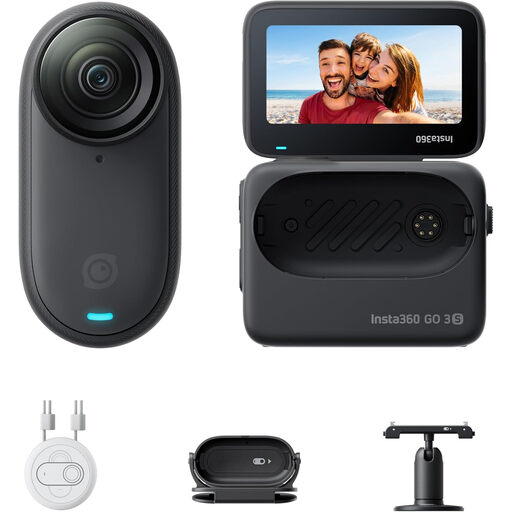
Insta360 GO 3S 128GB
The product name describes a portable 4K mini camera for hands-free recording and mounting in different places. The product information warns that people with a pacemaker shouldn’t use the magnetic pendant.
View at Joybuy
 No image available
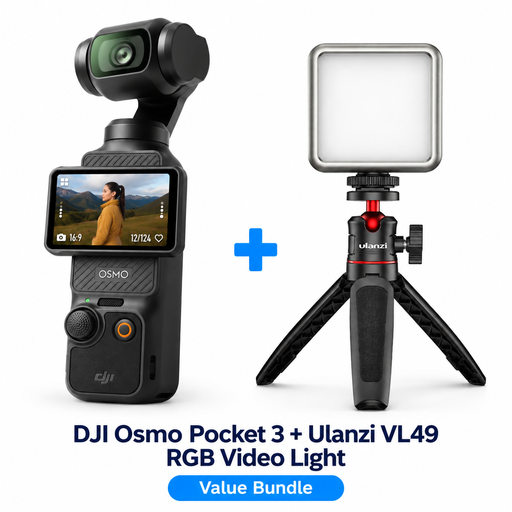
DJI Osmo Pocket 3 Creator Combo + Ulanzi VL49 RGB LED Video Light
According to the product description, this bundle includes an additional RGB video light. DJI specifies a focusing distance of 0.2 m for the Osmo Pocket 3; test whether stitches look large enough from your working distance. The fixed lens limits your choice of framing and isn’t a substitute for a stable mount for an overhead shot.
View at Joybuy
Frequently asked questions
How can I check my lights before the first lesson?
Film a test piece under the lights you’ll actually be using. Check the fabric colour using the white balance and look for banding across the image. For a 50Hz light source, Sony Support suggests 1/50 or 1/100 second as possible shutter speeds to reduce flicker. The result also depends on the light and camera.
Is the shortest stated focusing distance enough to show stitches clearly?
No, not on its own. Also check how large the stitch looks in the frame and how much of your hands remain visible. DJI specifies a focusing distance from 0.2 m for the Osmo Pocket 3. For the FDR-AX43, Sony specifies around 1 cm at the wide-angle setting and around 80 cm at the telephoto setting.
How can I keep a fixed lesson setup practical?
Mark the positions of the camera, workpiece and lights, then make a short test recording with moving hands and spoken instructions. After moving anything, check the focus, framing, colour and audio again.
What are my rights when buying a camera online?
According to the Dutch Government, consumers who buy at a distance are generally entitled to a 14-day cooling-off period, although exceptions may apply. If there’s a problem with a product, contact the seller to resolve it. A manufacturer’s warranty is an additional benefit.
Can I film participants so they can be recognised and publish a lesson?
Only if you take privacy rules into account. The Dutch Data Protection Authority states that the GDPR applies when someone films on behalf of a business or organisation for professional or commercial purposes, and when filming at an event. Before recording and publishing, consider the relevant legal basis and inform participants.


