
Editors assessing picture quality
You want to view interview footage full-screen and use a colour workflow that suits your output, for example when assessing skin tones. Adobe explains how to output video to a second screen in Premiere.


For interview editing, your choice depends on what you want to do on the second screen: when assessing skin tones and SDR footage, a suitable colour mode and a controlled colour workflow are important, while the timeline and transcript mainly need a readable workspace. Adobe explains that Premiere can output video to a second screen; also check that the video connection, any USB-C charging capability and the physical setup work with your computer and desk. Manufacturer specifications can help you compare models, but they are not an independent measurement of the colour performance of your individual monitor.
You want to view interview footage full-screen and use a colour workflow that suits your output, for example when assessing skin tones. Adobe explains how to output video to a second screen in Premiere.
You want to keep the timeline, transcript, source clips or other windows neatly arranged alongside each other. Arboportaal offers advice on screen work and setting up workspaces.
You want to connect a second screen and check that its video connection and charging power are suitable for your laptop. Manufacturers including BenQ, ASUS and LG list different connections and power outputs for each model.
First decide whether picture assessment, editing space or your laptop connection is the main priority. Then choose a screen size, colour mode and connection that suit both the task and your workspace.
Choose this if: you mainly want to assess interview footage full-screen while editing.
Bear in mind: a stated colour gamut or calibration report does not guarantee that screens will look the same in your setup.
Choose this if: you want to arrange windows as you edit and keep using your existing monitor for the preview.
Bear in mind: resolution alone does not determine how large or readable text and on-screen controls will be.
Choose this if: you want to combine video and, if needed, charging through a connection on the monitor.
Bear in mind: your laptop, monitor and cable must all support the video connection and charging power you need.
| Consideration | What to look for | Who is it important for? |
|---|---|---|
| Picture assessment | Check the colour mode for your output and the options for adjusting the picture. | If I assess skin tones and interview footage on the second screen, I want a mode that suits my SDR output. Around 36% of consumers make picture assessment their top buying priority. |
| Editing space | Compare screen size, resolution and physical dimensions; also consider which scaling setting is easiest to read. | If I want to spread the timeline, transcript and source footage across two screens, I’m mainly looking for a well-organised workspace. Around 29% of consumers give editing space top priority. |
| Laptop connection | Check your laptop’s video output, the monitor port, the cable and the charging power required. | If I want to connect my laptop with one suitable connection and possibly charge it at the same time, I check that both devices support this. Around 21% of consumers start with the laptop connection. |
| Positioning and adjustability | Check the stand’s dimensions, its adjustability and whether the exact model supports VESA mounting. | If I edit for long periods, I want to position both screens comfortably and leave enough room on my desk. Around 14% of consumers prioritise posture and positioning. |
Colour coverage and a factory calibration report don’t, on their own, tell you how the screen will look in your lighting conditions and with your output settings.
Choose a colour mode that suits your intended output and check the picture before relying on the second screen as your reference for interview colours.
Checking and adjusting a screen can take extra time.
Video connectivity and charging power vary by device. The monitor needs to match what your laptop supports and requires.
Compare the laptop port, monitor port, cable and required charging power as a complete setup.
Depending on the combination, you may still need a separate laptop charger.
A second screen also needs to fit alongside your existing monitor and sit somewhere practical and easy to read.
Measure the available space and check the stand’s dimensions, adjustability and any VESA mounting options.
If the supplied stand doesn’t suit your setup, you may need a suitable monitor arm.
The Creative Pro PD2705U is worth considering if you’re looking for a dedicated SDR preview with a Rec.709 mode.
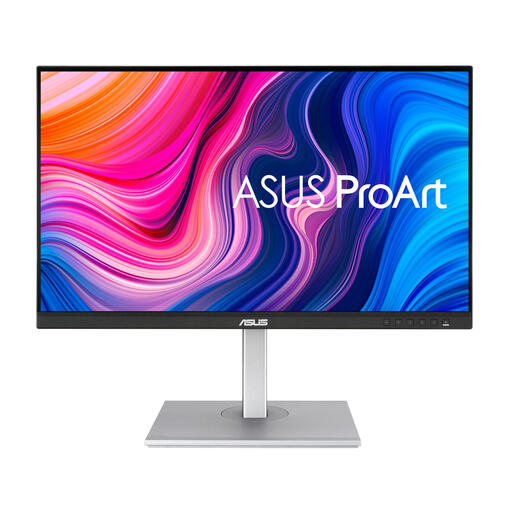
According to ASUS, the ProArt PA279CRV combines creative colour modes with connections suited to a laptop workspace.
The ColorPro VP2768a-4K is worth considering if you want to combine Rec.709 preview with connections suited to a laptop workspace.
The 27UP850K-W is a 4K model for a laptop setup where adjustability and USB-C matter.
According to Dell, the UltraSharp U2725QE is designed for a 27-inch 4K workspace with a Thunderbolt hub and adjustable positioning.
These Joybuy monitors suit second-screen use for picture assessment, laptop connectivity or extra editing space. Compare the listed features with your editing workflow and computer.
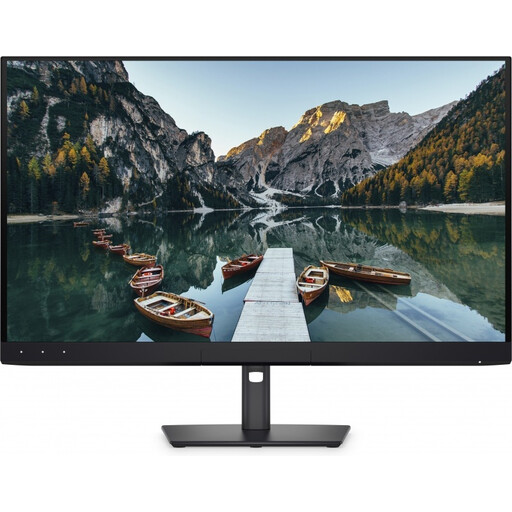 No image available
An option for picture assessment if you’re looking for a built-in colourimeter and automatic calibration.
The product information lists colour coverage for sRGB, DCI-P3 and Adobe RGB, as well as Thunderbolt 4, HDMI and DisplayPort.
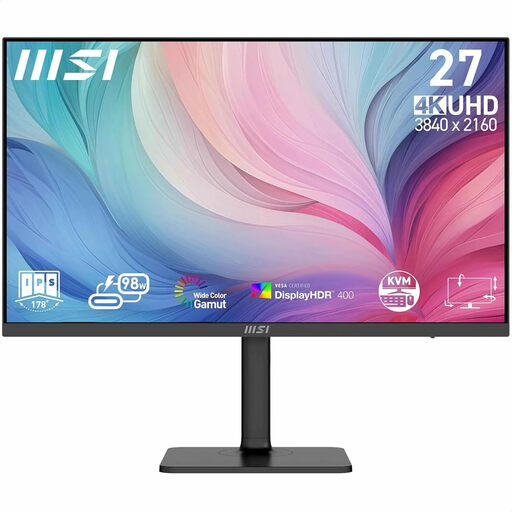 No image available
An option for a laptop workspace if you want to combine USB-C video and charging through the monitor.
The product information lists a resolution of 3840 × 2160, USB-C with DP Alt Mode and 98 W Power Delivery. It also mentions factory calibration, DCI-P3 and Adobe RGB colour coverage, and PIP/PBP.
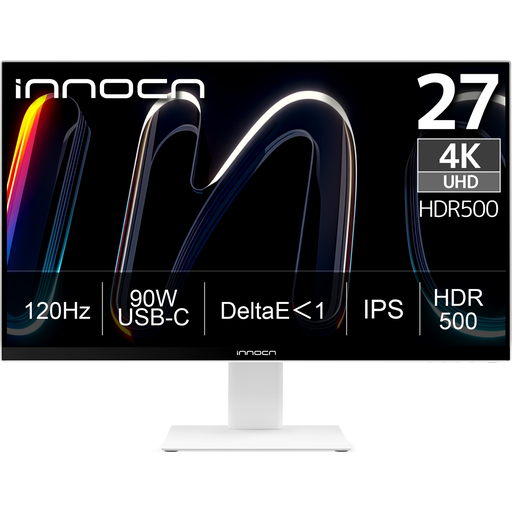 No image available
An option for a laptop setup where colour settings, USB-C and adjustability matter.
The product information lists IPS, 120 Hz, 100% sRGB coverage and Delta E < 1. It also mentions USB-C with 90 W Power Delivery, HDMI, DisplayPort and a height-adjustable stand.
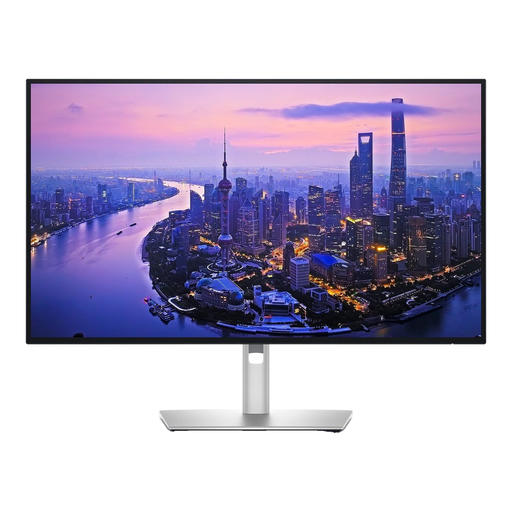 No image available
An option for extra editing space if you’re looking for a 27-inch 4K monitor with multiple connections.
The product information lists 120 Hz and 99% DCI-P3 and Display P3 coverage. Connections listed include Thunderbolt, HDMI, DisplayPort and USB.
 No image available
An option for colour-focused work and connecting a laptop via USB-C.
The product information lists 2560 × 1440 pixels, 100% sRGB coverage and factory calibration with Delta E < 2. USB-C Power Delivery is rated at up to 65 W.
Yes. For Premiere, Adobe describes the Enable Mercury Transmit option in the playback settings. You can then select the connected monitor for programme output. The exact menu location varies by operating system.
No, not just for that task. First decide how you want to arrange the preview and editing windows, and which colour space suits your output. An HDR label or wide DCI-P3 coverage alone doesn’t prove that SDR footage will be displayed correctly in your setup.
Check the colour mode and colour settings in your editing workflow on both screens. Adobe describes settings for the sequence colour space and notes that source footage doesn’t always contain complete colour metadata. So don’t automatically assume the difference is caused by the monitor alone.
In the Netherlands, employers have obligations relating to safe and healthy screen work; Arboportaal explains these. This isn’t automatically a specific purchasing rule for every individual monitor buyer. Arboportaal also recommends changing your posture regularly and taking microbreaks during screen work.
The energy label doesn’t indicate whether a monitor is suitable for video colour assessment. The European Commission describes energy labels for electronic displays, including computer monitors, with ratings from A to G. You should also assess the colour workflow and features of the exact model.