
Creator checking colours
Uses the second screen to review food footage and wants the monitor settings to match the intended SDR or HDR output.


If you use the second monitor to assess the colours and final look of your cooking tutorial, check that its colour space suits your intended output and look at the colour mode available on the exact model. If the screen is mainly for your timeline and editing panels, compare the usable workspace, desk space and connections before paying extra for features you don’t need. A manufacturer’s colour coverage specifications alone don’t prove that your entire editing workflow will give you a reliable preview.
Uses the second screen to review food footage and wants the monitor settings to match the intended SDR or HDR output.
Wants to separate the preview from the editing panels and is mainly looking for a clear workspace for the timeline and other controls.
Wants to connect a second screen, so compares video output, cables and, where relevant, USB-C charging capacity.
Choose this option: if you’ll mainly use the second screen to assess the finished SDR image and colours.
Keep in mind: a colour mode doesn’t replace the right settings for your source footage, editing software and output format.
Choose this option: if, alongside your existing screen, you want a generous workspace for the preview and editing panels.
Keep in mind: check that controls remain easy to read at your chosen scaling setting and that your computer can output video through the port you plan to use.
Choose this option: if your main screen will continue to show the preview and the second monitor is mainly for extra workspace.
Keep in mind: QHD has fewer pixels than the 27-inch 4K models mentioned; don’t automatically use a screen in this role as a colour reference.
| What to consider | What to look for when buying | Who is this important for? |
|---|---|---|
| Colour checking | Check the colour mode for your intended output and adjust your software settings to match. | If I’m checking the colours in food footage, I want to know whether my preview matches the intended output. Around 31% of consumers prioritise colour checking. |
| Clear workspace | Compare screen size, native resolution, scaling settings and the space available on your desk. | If I move the timeline and panels to the second screen, I want them to be easy to read at my chosen scaling setting. Around 25% of consumers prioritise editing space. |
| Connectivity and power | Check video output, the cable and, if you want to charge through the monitor, the charging capacity of the exact model. | If I want to use my laptop with as few separate connections as possible, I check that video and, if needed, charging work together. Around 19% of consumers prioritise laptop connectivity. |
| Desk setup | Measure the space available and check the stand, height adjustment and mounting options. | If I’m placing the screen next to my existing monitor, I want to know whether it will fit and can be adjusted to a comfortable position. Around 13% of consumers prioritise their screen setup. |
| Features you’ll use | First decide what each screen will be used for, then compare only the features that matter. | If my second screen is mainly for the timeline, I don’t want to pay for features my editing setup doesn’t need. Around 12% of consumers prioritise spending on what they need. |
Your intended SDR or HDR output and your editing software settings both affect whether the preview suits your workflow.
First establish the format you’ll use to export your tutorial, then compare the colour modes on the exact model with your software settings.
Setting up and checking your colour workflow may take extra time.
USB-C connections can vary in video support and charging capacity; the connector shape alone doesn’t confirm that your preferred setup will work.
Check the computer port, monitor port, cable and required charging capacity together.
Depending on the connections available, you may need a different cable or a separate laptop power supply.
Philips lists 120 Hz for the Philips 27E1N1600AE/00, while a Joybuy listing states 100 Hz.
Don’t let this refresh rate be the deciding factor until you’ve confirmed the exact model variant and product specification.
These examples cover specific product lines and models. The features listed are manufacturer specifications, not an assessment of every product from a brand.
The PD2705U is a useful benchmark to compare for a 27-inch 4K preview with Rec.709 mode.
According to LG, the 27UP850K-W combines a 27-inch 4K screen with USB-C and an adjustable stand.
The ProArt PA279CRV is a 27-inch 4K model worth comparing if you’re looking for colour presets and connectivity.
The 27E1N1600AE/00 is a 27-inch QHD option to compare if the second screen will mainly display work panels.
The UltraSharp U2723QE is a 27-inch 4K model to compare for colour modes and connectivity.
These Joybuy products are suited to an extra screen for previews, timelines or editing panels. Check that the connections and colour settings on each model suit your setup.
 No image available
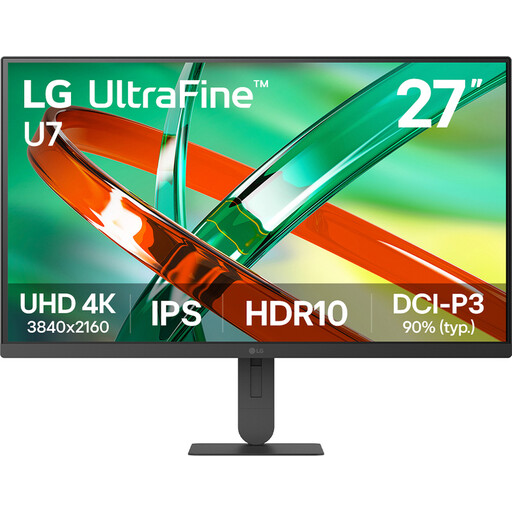
The 27-inch 4K resolution gives you extra workspace for previews and editing panels.
3840 × 2160 pixels; IPS panel; 60 Hz; HDR10. No specific Rec.709 mode is listed.
 No image available
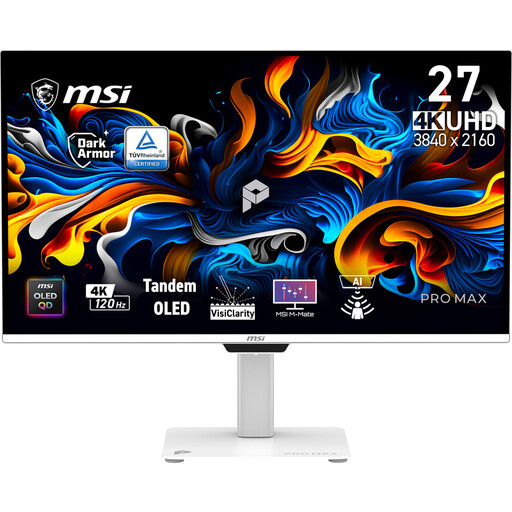
This model combines a 4K workspace with USB-C for a laptop setup; check that the specified power delivery suits your computer.
3840 × 2160 pixels; 99% DCI-P3; USB-C with DisplayPort Alt Mode and up to 98 W Power Delivery; factory calibration; height-adjustable, tiltable and swivel stand.
Avoid displaying static images for long periods.
 No image available
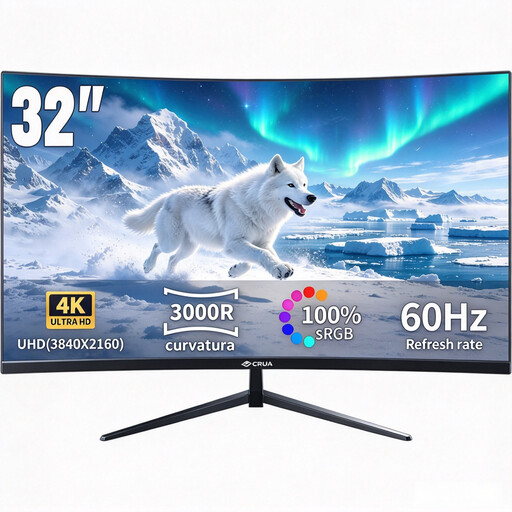
The 32-inch screen gives you a separate workspace alongside your preview monitor; check that it will fit on your desk first.
3840 × 2160 pixels; VA panel; 3000R curvature; 100% sRGB; HDR10 and Adaptive Sync.
 No image available
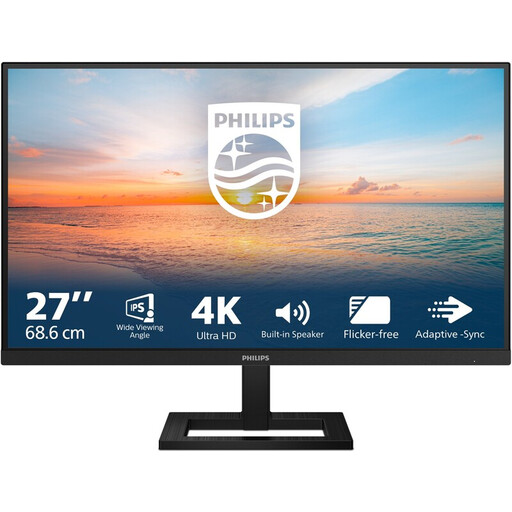
The 27-inch 4K resolution can give you extra room for your timeline and editing panels; check that it connects to your computer.
3840 × 2160 pixels; IPS panel; 60 Hz; 4 ms; HDMI and DisplayPort; height-adjustable stand.
 No image available
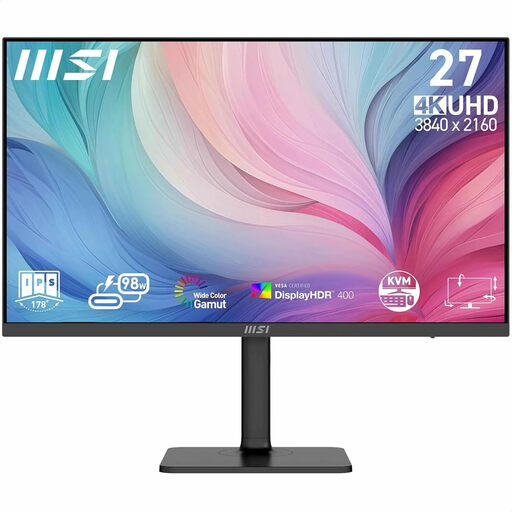
This model is described as suitable for video editing and creative work; check that its USB-C connection suits your laptop and editing setup.
3840 × 2160 pixels; 97% DCI-P3 and 94% Adobe RGB; factory calibration; USB-C with DisplayPort Alt Mode and up to 98 W power delivery; adjustable stand, KVM and PIP/PBP.
Connect the monitor, then use the display settings to identify the screens and arrange them to match their physical positions. First check that your computer and the connection you’re using support a second video signal; Microsoft explains that you can configure displays individually in Windows.
Not just because the video is about cooking. Choose your colour settings to suit your intended SDR or HDR output: Adobe describes Direct 709 for a Rec.709 SDR workflow, with separate settings for HDR. This is workflow information from Adobe, not a rule for every editing application.
With normal use, you’re entitled to a product that meets what you could reasonably expect. According to ACM ConsuWijzer, the retailer is responsible for the statutory guarantee; a manufacturer’s warranty period doesn’t replace this right.
For a standard online consumer purchase, you generally have a statutory cooling-off period of up to 14 days after delivery; ACM ConsuWijzer lists some exceptions. Check the terms for carefully unpacking, trying out and returning your purchase.
The European Commission describes an A–G energy label for monitors, which also includes information about HDR viewing. Compare the label for the exact model, and don’t estimate running costs based on resolution or a product description alone.