
Miniature painter filming fine details
You want viewers to follow your brush tip, layers of paint and tiny shapes without your hand repeatedly obscuring the work.


A dimmable ring light can work well as your main light source if you want your model and hands to be evenly visible from a single camera angle. Front lighting can reduce shadows, but it can also flatten texture. If the model blends into the dark background, a focused light from the side or behind may help. Check that the light is compatible with your mounting setup and power supply, then assess the lighting with a test shot.
You want viewers to follow your brush tip, layers of paint and tiny shapes without your hand repeatedly obscuring the work.
You compare paint colours or show mixing techniques and want to keep your lighting and camera white balance consistent between shots.
You need to fit your camera, light and hands around the same small work area, and want to check that the mount and power supply suit your setup.
Canon Europe explains how fill light can reduce shadows, while light from behind can emphasise outlines. For a painting tutorial, that means checking not only whether the model is evenly lit, but also whether its texture remains visible and the background still looks dark.
Choose this if: you want your model and hands to be evenly visible from a single camera angle.
Bear in mind: fewer shadows can also mean less visible texture; front lighting won’t automatically make the background look dark.
Choose this if: the outline of a dark model blends into the background or you want brushstrokes to look more defined.
Bear in mind: an additional light needs space, power and adjustment; position it so it doesn’t illuminate the background unintentionally.
Choose this if: front-facing ring light makes the texture look too flat or reflects off glossy paint.
Bear in mind: side lighting can create more pronounced shadows from your hands and brush, so you may need a little fill light.
| What to consider | What to check before buying | Who is this important to? |
|---|---|---|
| Fine details without hand shadows | Check that the light can be dimmed and positioned near your lens and work area; take a test shot while painting. | When I film brushstrokes, I don’t want my hand to keep obscuring the detail; around 33% of consumers are most concerned about visible details and fewer hand shadows. |
| Recognisable paint colours | Check the colour settings and stated colour rendering of the exact model; keep the camera white balance the same when making comparisons. | When I compare paint colours between tutorial steps, I want to keep the lighting and camera settings consistent; around 27% of consumers prioritise recognisable paint colours. |
| Separating the model from the background | Test the lighting and the distance between the model and background; consider whether you need a separate focused light. | If my dark model blends into the background, I want to make its outline visible without lighting the background too; around 20% of consumers give this separation top priority. |
| Mounting and power | Measure the available space and check the camera mount, included holder and power supply for the exact set. | At a small worktable, I want to fit my camera, light and hands without them getting in the way of each other; around 20% of consumers make compatible mounting and power their main concern. |
The NEEWER EU product page states 5500 lux at 0.5 m. This figure applies at that measuring distance and doesn’t automatically tell you how much light will reach your work area.
Compare the measurement conditions and test the light where your camera and model will actually be positioned.
Front-facing fill light can reduce shadows, but it can also make shapes less visible. Light from the side or behind can help show contours.
Take a test shot with both light and dark paint, and compare the ring light with a light source moved slightly to one side.
A tripod, holder or power supply isn’t automatically included with every version.
Check the contents of the exact set and make sure the mount fits your camera or phone.
If a holder, adapter or tripod is missing, you may need extra parts for your setup.
The RL-18 is a larger ring light kit to consider if there’s room for a separate light stand beside your painting table.
The LR150 offers adjustable white light for a setup where you position the lamp separately.
The Medow 960 Pro is a larger ring light to compare if you have room for a permanent setup.
Model Groningen is a more compact option with a tripod and phone holder for filming with a phone.
The DVR-384DVC is a specific ring light model to include in your comparison.
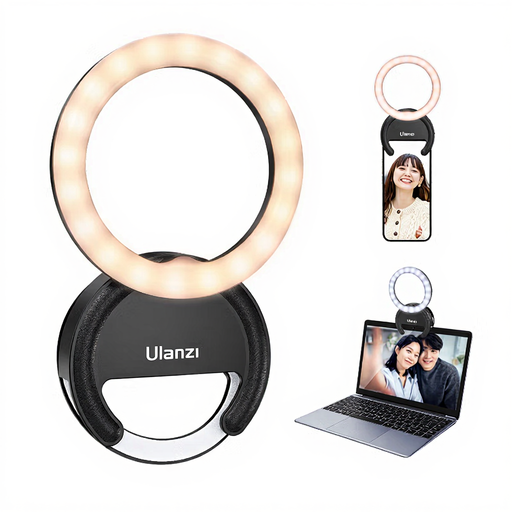
This Joybuy selection focuses on ring lights as the main light source for a phone or camera setup; check first that the mounting options and included parts suit your worktable.
 No image available
The phone mount suits a smartphone filming setup; check that the light and phone won’t get in the way of your painting area.
The product name specifies a 4-inch ring, three colour temperatures from 3000K–7000K and five brightness settings.
 No image available
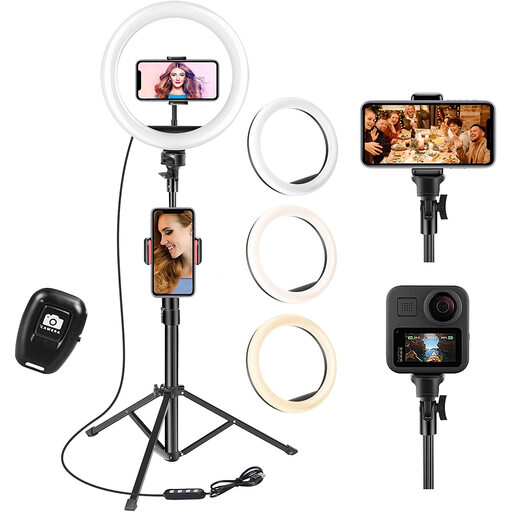
A version with a tripod could work if you have room beside your painting area; measure the available space before choosing your setup.
The product name specifies a 63-inch tripod, remote control, three light colours and ten brightness settings. Check which accessories are included with the exact set.
First, check how the model itself is lit. If its outline disappears, try a focused light from behind or the side rather than simply turning up the ring light; check in a test shot how much light reaches the background.
No, that’s one possible front-facing setup. Moving the light can create more shadow and make shapes more visible; also check that the holder in your chosen set fits your phone or camera.
Check whether the light colour, ambient light or camera white balance has changed. Take comparison shots with consistent settings; a stated CRI alone doesn’t guarantee identical colours on camera.
Test the light at your intended dimming level using your own camera and recording settings. Some LED light sources can cause stripes when used with an electronic shutter; don’t assume the image will be flicker-free based solely on the product description.
Electrical devices are subject to applicable EU product rules. The Dutch government’s Ondernemersplein website states that a CE mark and EU declaration of conformity are required where applicable; the rules depend in part on the device and any wireless functions. Check the information for the exact version.