
Builder filming from above
You want viewers to follow both how the parts fit together and how your hands move. Consider the arm, phone holder and available workspace.


For filming with a phone directly above your workbench, choose a setup with an adjustable arm and enough room for your hands. For close-ups with a camera, a lens-mounted macro ring light is only suitable if your lens is compatible. A larger ring light on a tripod can illuminate a wider work area, but it needs a stable setup. Use a test recording to assess colours, shadows and reflections, and check which product safety rules apply to the specific model.
You want viewers to follow both how the parts fit together and how your hands move. Consider the arm, phone holder and available workspace.
You film small parts close up with a camera. Check that your lens is compatible with a macro ring light and whether you need continuous lighting.
You want paint and material colours to look consistent between recordings. Adjustable lighting and a test recording with a suitable white balance can help.
Start with the camera angle and the device you use. Then consider whether you can adjust the light to suit your materials, and whether reflections might hide details of your build.
| What to consider | What should you check? | Who is this important to? |
|---|---|---|
| Making small details visible | Record a test clip of the smallest building step. Check that both the part and your hand remain visible from the intended distance. | I want to inspect small connections without my hand covering the detail. About 36% of consumers prioritise seeing details clearly. |
| Setting up an overhead view | Measure your phone, including its case, the available table space and the clearance above the model. | I want to position my phone above the build and keep my hands free. About 29% of consumers prioritise a useful overhead view. |
| Keeping colours consistent | Compare a test clip with the actual materials, using the same camera and white balance settings as you plan to use for the tutorial. | I want paint and materials to look consistent in successive clips. About 21% of consumers prioritise colour consistency. |
| Reducing reflections | Film the shiniest part and, if necessary, adjust the angle or distance before recording the whole tutorial. | I mainly work with shiny parts and want to prevent reflections from hiding details. About 14% of consumers prioritise being able to control reflections. |
A ring light with a phone holder does not automatically give you enough room to film a miniature build from above while moving your hands freely.
Compare the mounting system and available movement with a setup that specifically has an adjustable arm for overhead filming.
A fixed colour temperature does not offer the same adjustment options as a light with a variable range. The Godox LR150 manual lists 3000–6000 K; Benel Europe gives a fixed 5600 K for the StudioKing RL-160.
Choose a light to suit the lighting you actually use when filming, and note the settings for future clips.
A compatible lens size does not necessarily mean a macro ring light is ready to use straight away. Check the power supply it needs and what comes with the exact model.
According to Benel Europe, the StudioKing RL-160 requires six AA batteries or a suitable adapter, which must be purchased separately. Also check whether the model you are considering is available.
The Ring-10 Topshot is a table-based ring light setup for overhead filming.
The European RL-18 kit is designed for a more spacious setup with a ring light, tripod and phone holder.
The LR150 is a continuous ring light with adjustable brightness and colour temperature.
The RL-160 is a macro ring light that attaches to a camera lens, not a phone arm for use above a table.
These product picks are aimed at smartphone videos using ring or fill lighting. For overhead filming, check that the mount leaves your workbench clear.
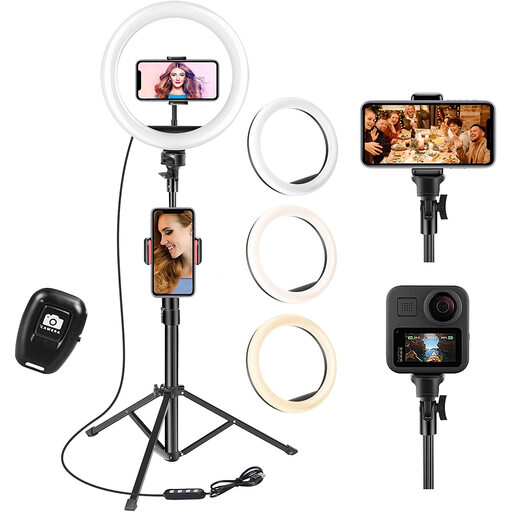 No image available
An option for smartphone videos if you want to use a phone holder and tripod setup; check that it leaves your workbench clear.
The product description lists three colour modes and ten brightness levels.
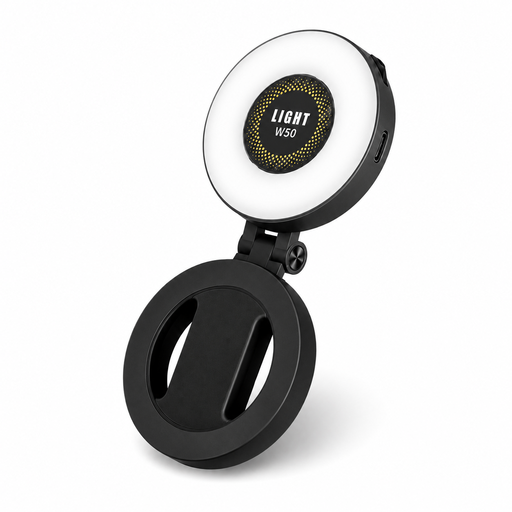 No image available
Suitable for smartphone videos where you want to position a light by your phone; check that the mount works with your device and filming setup.
The product description lists three colour temperatures, adjustable brightness, CRI95+ and a metal ring adapter for other devices.
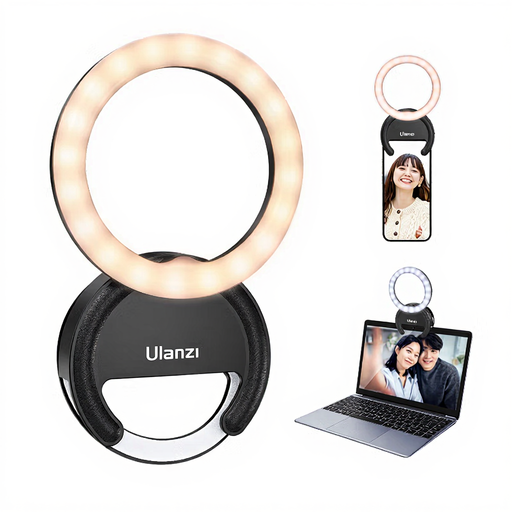 No image available
An option if you want to position a light directly by your smartphone; check whether having a light on your phone suits the camera angle you want above your work.
The product description lists three colour temperatures from 3000 K–7000 K and five brightness levels.
The ring shape alone doesn’t guarantee this. Check the supplied holder, the width of your phone with its case, and whether the camera and your hands will remain unobstructed in the position you want.
Make a test recording using the materials and lighting you plan to use for the tutorial. Keep the camera and white balance settings as consistent as possible, and note the light settings so you can record clips under similar conditions.
Check what’s included and the power supply required for the exact model. Benel Europe lists six AA batteries or a suitable adapter as a separate requirement for the StudioKing RL-160; the Godox LR150 manual lists an adapter and phone holder as included. This does not automatically apply to other models.
The European product rules that apply depend on the specific light and any power supply included with it. The Dutch government’s Business Portal and the European Union’s Your Europe explain that CE marking is required when the relevant rules specify it for the product. Check the information for the exact model; a general product listing does not, on its own, show which rules apply.
First, film the shiniest part using your planned setup. If necessary, change the angle or distance of the light, then check again that paint, glass or shiny parts remain clearly visible.