
Teacher with a permanent filming table
Wants to keep the model and moving hands in the shot together, and can make room for a light stand.


Start with the camera angle: the model and your hands should stay in view, while the light and camera mount remain clear of your painting movements. Then choose light controls to suit your paint and workspace lighting, and test them with a short clip. A larger ring or higher light output won’t automatically prevent reflections, flatten details or solve a lack of space.
Wants to keep the model and moving hands in the shot together, and can make room for a light stand.
Wants to show colour differences on camera and set the white balance to match the light actually falling on the model.
Packs away the filming area after the lesson and needs to consider tripod legs, cables and other people using the space.
First decide where the light, camera and your hands can go without getting in the way of your painting movements or access through the space. Then compare the colour and brightness controls you need for your paint.
| What to consider | What should you check? | Which consumers does this matter to? |
|---|---|---|
| Keeping the model and hands in shot | Check the camera angle, tilt, mount and space for the tripod legs. | If I want to film the model and my moving hands at the same time, the mount needs to leave the camera angle clear; around 33% of consumers prioritise keeping both the model and hands in view. |
| Showing paint colours accurately | Check how the exact model lets you set the colour temperature, and test the camera’s white balance under your workspace lighting. | Anyone explaining paint shades will want to see whether colours remain recognisable under the chosen light; around 27% of consumers prioritise colour rendering. |
| Details and shadows | Record a test clip with the model and your hand; assess the light and camera angles when using glossy paint or if shadows are distracting. | If I want to show texture and brushwork, I want small shapes to remain clear without distracting reflections; around 20% of consumers prioritise detail. |
| Shared workspace | Check what’s included in the bundle, where the tripod legs will go, and whether the power supply and storage space will work for you. | Anyone who shares and clears the space after a lesson will benefit from a set-up that stays out of the way; around 20% of consumers choose with this use in mind. |
The diameter doesn’t tell you whether the camera, your hands, the model and the tripod will all fit.
Clear the space for your intended camera angle and check the mount, tilt and room for the tripod legs in advance.
If your chosen set-up needs a separate support, it could take up extra space on your worktable.
The models reviewed use different methods: stepless adjustment, filters or fixed colour settings.
Check the light controls on the exact version and assess a test clip using your paint and camera white balance.
Versions can differ in their tripod, mount, power supply and light controls.
Check the full model name and what’s included in the bundle you’ve chosen, not just the brand or ring diameter.
If a required mount, support or power supply isn’t included in the bundle, you may need to buy it separately.
Light settings don’t show whether a specific electrical device meets the applicable product requirements. Filming identifiable people also calls for consideration of privacy.
Check the product information and applicable conformity documents for the model on offer. Where possible, keep other people out of shot and decide which privacy basis applies in your situation before recording and publishing.
The LR150 is an option for a permanent lesson set-up where you want to adjust the colour temperature and brightness.
The RL-18 18 Inch LED Ring Light Kit is an option for a permanent phone set-up with a ring and tripod.
The Medow 960 Pro set is designed for a more spacious filming area that is set up more often.
The LUMIS Comfort Bi-Color is a phone-focused set for a space that gets packed away after the lesson.
These product picks focus on ring lights for filming with a phone. Before your painting lesson, check that the camera, your hands and the light will all fit in your workspace.
 No image available
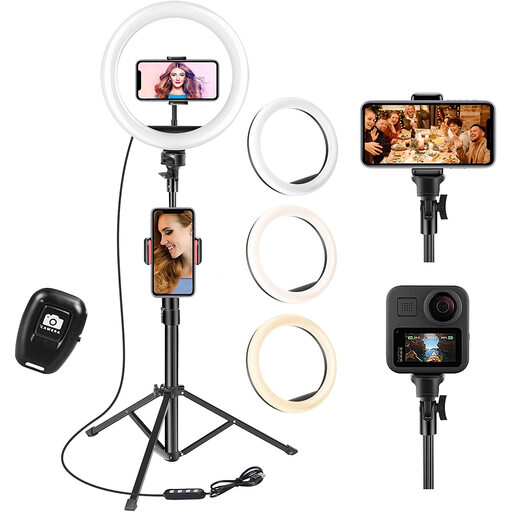
An option for filming with a phone; check that the height and set-up suit the angle you need for your painting lesson.
The product title lists a 10-inch ring, a 63-inch tripod, a remote control, three colour settings and ten brightness levels. The product description mentions a phone holder.
For the specific model on offer, check the applicable CE marking and EU Declaration of Conformity.
 No image available
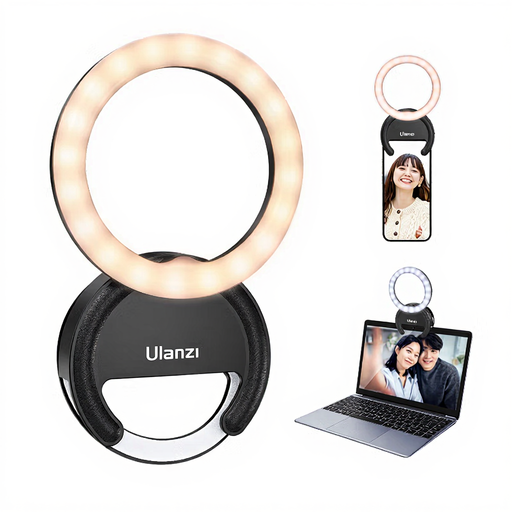
A compact phone light could suit a smaller filming set-up; check that there’s still room for your hands and the model.
The product title lists three colour temperatures from 3000 K–7000 K and five brightness levels. The product description says it attaches directly to a smartphone.
For the specific model on offer, check the applicable CE marking and EU Declaration of Conformity.
Start by recording a short test clip with the actual model, paint and your hands. Check the white balance under the lighting that will stay on during the lesson, and see whether the ring, tripod or mount gets in the way of your brush movements. Canon Europe describes white balance as a camera setting for adjusting the colours to achieve the desired result.
Set the camera’s white balance to match the light falling on the model, then review a test clip under the actual workspace lighting. Canon Europe explains that white balance should suit the result you want; a stated colour temperature alone doesn’t guarantee how your paint will look on camera.
No, it depends on the product and bundle. The NEEWER RL-18 kit lists a tripod and phone holder, while the Godox LR150 manual mentions an adapter and phone holder. Check what’s included with the exact version and whether you need an extra support or power supply for your set-up.
Record a test clip and check which lights are affecting the image. Nikon explains that flicker can be linked to the combination of shutter speed, frame rate and the refresh rate of the lighting; check whether your camera has a suitable anti-flicker setting.
Check the applicable CE marking and EU Declaration of Conformity for the specific model on offer. Ondernemersplein explains that electrical devices sold on the Dutch market must meet the applicable European requirements, and that the manufacturer applies the appropriate CE marking and draws up an EU Declaration of Conformity. A list of lighting specifications is not proof of this.