
Teacher filming stitches from above
You want learners to be able to follow the yarn, crochet hook and hand movements at the same time. So first, consider the camera angle and a stable mount.


For a crochet class filmed from above, first choose a stable mount that can position the camera directly over the work surface; a phone holder alone won’t guarantee this. Next, compare a test recording with the workshop lights on, and check the space needed on the table and floor, the cable route, and the applicable CE marking for the exact light and any adapter.
You want learners to be able to follow the yarn, crochet hook and hand movements at the same time. So first, consider the camera angle and a stable mount.
You’re comparing colours or showing stitch texture. Check how the yarn looks on camera with both the ring light and your existing workshop lighting switched on.
You want to be able to move your filming setup after the class. Think ahead about where the base or tripod, power supply and cable will go.
Suitable for: filming stitches and hand movements from above.
Bear in mind: measure whether the arm and base will fit beside your crochet and keep the camera stable above the work surface.
Suitable for: a permanent filming spot with room beside the workbench and a need for adjustable lighting.
Bear in mind: the tripod needs floor space, and a phone holder doesn’t guarantee a stable overhead view.
Suitable for: a small filming setup or a spot you want to move regularly.
Bear in mind: check that the camera angle and light coverage are suitable for your work surface.
| Buying concern | What to look for | Who is this important for? |
|---|---|---|
| Overhead view of stitches and hands | Check the camera angle, reach and stability with your own phone or camera. Also measure whether an arm or base will fit beside your crochet. | If learners need to see the crochet hook, yarn and hand movements at the same time, a stable overhead view is essential; around 36% of consumers consider this their main buying concern. |
| Yarn colour and stitch detail | Check the information about colour settings and record a test with your own yarn and the workshop lights on. | When comparing colours or explaining stitches, you’ll want to see how the yarn and texture appear in the recording; around 29% of consumers prioritise colour and detail. |
| Space and portability | Measure the available space on and under the table. Check what comes with the light and how you’ll put the setup away after the class. | If you share a workbench, you’ll want to set up and pack away the light without getting in anyone’s way; around 21% of consumers focus mainly on the space it takes up and how easy it is to move. |
| Power supply and video flicker | Check the power supply for the exact version and test a video with all the lights you plan to use switched on. If necessary, adjust your camera settings to suit the light source. | If cables, the power supply and other lights could affect your recording, you’ll want to test the full setup in advance; around 14% of consumers prioritise power supply and video flicker. |
A holder can secure a phone without positioning the camera directly above the stitches. So check the mount’s direction and reach for your chosen camera angle.
Compare the setup with the work surface you want to film and check whether the support can stand securely there.
Colour temperature alone doesn’t tell you how your yarn will look on camera. The camera’s white balance and other light sources also play a part.
Film a small test piece with the workshop lights on, then check the colours and stitch texture in the recording.
Other lights that are switched on and your camera settings can also cause banding in your footage.
Test all the lights you plan to use together, with the brightness and camera settings you intend to use during the class.
A tabletop base, floor tripod and cable each need a different spot in a shared workspace.
Check what’s included in the exact set, measure the available space and plan the cable route before making a decision.
Worth comparing when filming from above is your main requirement.
The LR150 is worth comparing if you’re looking for a permanent lighting spot with adjustable light.
The SRP18-2.4G is worth comparing if you’re looking for a larger ring light with a separate tripod.
The SpotLight Smart 80 II is a compact option worth comparing for a setup with a tabletop stand.
These product picks are intended for smartphone video and lighting during a crochet class. Check for each model whether you can actually position the camera above the work surface. The NVWA states that electrical products covered by the relevant regulations must carry CE marking; check the exact light and any adapter supplied with it.
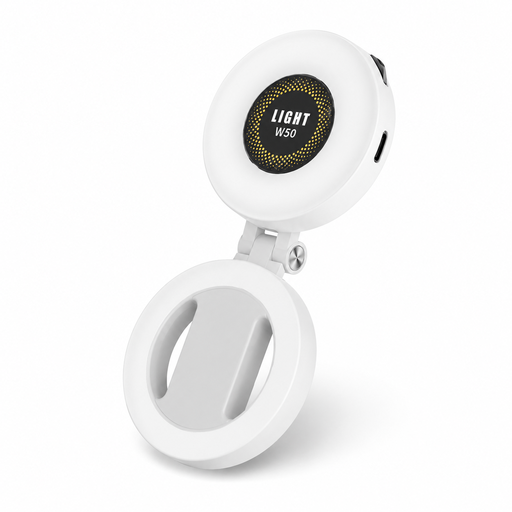 No image available
A compact option to consider for smartphone video; magnetic attachment to a phone isn’t an overhead support for your crochet.
The product title lists a mirror, CRI 95+, 360° LED lighting and compatibility with iPhone and Android devices. Check that the attachment suits your phone and camera angle.
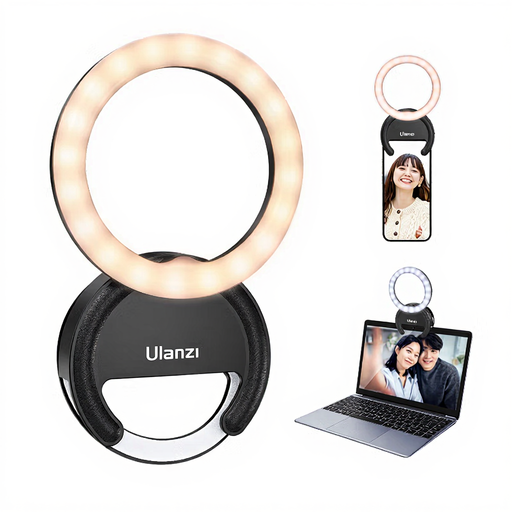 No image available
A small ring light to consider for smartphone video if you’re looking for a compact light source; check separately whether you can achieve your preferred camera angle.
The product title lists three colour temperatures from 3000 K–7000 K and five brightness levels.
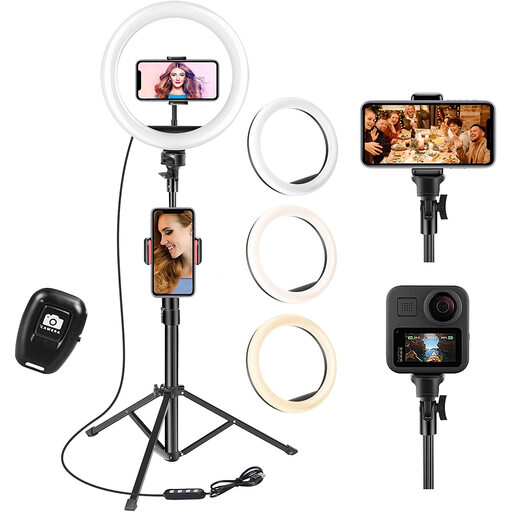 No image available
An option for a permanent filming spot if there’s floor space beside the workbench; check the camera angle before choosing your setup.
The product title lists a 63-inch tripod, remote control, three colour settings and ten brightness levels. The tripod takes up floor space.
Secure the camera at the angle you intend to use and film a short crochet sample. Check that the crochet hook, yarn and hands stay in the frame; then move the light if shadows are hiding a stitch.
According to Canon, the colour temperature of the light and the camera’s white balance affect the colours captured. Record a test with the existing workshop lights on and compare the same yarn using the settings you plan to use during the class.
First, film with all the lights you plan to use switched on. For a 50 Hz light source, Sony recommends trying a shutter speed of 1/50 or 1/100 of a second, among other settings, if your camera offers them; results vary depending on the camera and light source.
The NVWA states that electrical products covered by the relevant regulations must carry CE marking. Check the product information for the exact light and any adapter; a CE logo on its own is not a performance test.
For a consumer purchase in the Netherlands covered by the relevant rules, your statutory guarantee may apply alongside any manufacturer’s warranty. ACM ConsuWijzer explains that, under the statutory conditions, the seller must repair or replace a product that doesn’t meet what you could reasonably expect, free of charge, or refund your purchase.