
Card makers with limited sockets
You want to draw directly on the screen without automatically having to plug in a second power adapter. Whether you can do this depends on your computer’s video and power capabilities.


Start with your computer’s USB-C port: a single cable only saves you an extra socket if the port provides the required video signal and enough power. Then choose based on workspace, pen performance and colour workflow; screen specifications do not guarantee that a print will match. For the specific product, also check the product information and whether a CE mark is required.
You want to draw directly on the screen without automatically having to plug in a second power adapter. Whether you can do this depends on your computer’s video and power capabilities.
You check colours on the pen display, while also allowing for the printer and paper profiles. Bleed is also important for designs that extend to the cut edge.
You draw lettering or illustrations directly beneath the pen tip, so you compare the working area, pen performance and shortcut keys, as well as the connections.
When making greeting cards with limited sockets, the connection is a natural place to start. Then consider colour management, drawing controls and the space taken up by cables and accessories.
| What to consider | What to check before buying | Who is this relevant to? |
|---|---|---|
| Connection and power | Check video support, available USB-C power and the connection instructions for the exact version. | If you want to draw without using an extra socket, you’ll want to know whether your computer can power the screen through a single cable. Around 36% of consumers prioritise connection and power. |
| Colour on paper | Check the colour mode and use the printer and paper output profile; consider a test print if colour accuracy is critical. | If you have cards printed, you’ll want to know how your design is likely to look on your chosen paper. Around 29% of consumers prioritise predictable print colour. |
| Pen performance and working area | Compare the active drawing area, the pen included and any shortcut keys. | For small lettering and illustrations, you’ll want to draw precisely beneath the pen tip and have enough room for details. Around 21% of consumers put drawing controls and working area first. |
| Space and accessories | Check what’s in the box, the cables required, the stand and the power setup for the exact model. | If you have limited desk space, you’ll want to know in advance how much room the display and its required connections will take up. For around 14% of consumers, workspace and accessories are the main concern. |
A USB-C connector alone doesn’t prove that the computer can provide both video and enough power. You may need an additional power connection, which means you’ll still need a socket.
Check your computer port’s specifications and the connection instructions for the exact display version.
Huion describes the power and connections for these versions differently, so the instructions for one model do not automatically apply to the other.
Compare the model generation, ports, cables included and power setup for the specific product.
Huion states that the full USB-C cable is not included with the Kamvas 13 (Gen 3).
The final colour also depends on colour management and the combination of printer and paper.
Use the printer’s output profile where available, and check a test print if the colour needs to be precise.
For the Xencelabs Pen Display 16, the manufacturer specifies different brightness conditions for a single-cable connection and use with a powered hub.
Decide in advance whether the single-cable setup will be bright enough for your work.
The powered hub is required to reach the maximum brightness specified by Xencelabs, and it uses a socket.
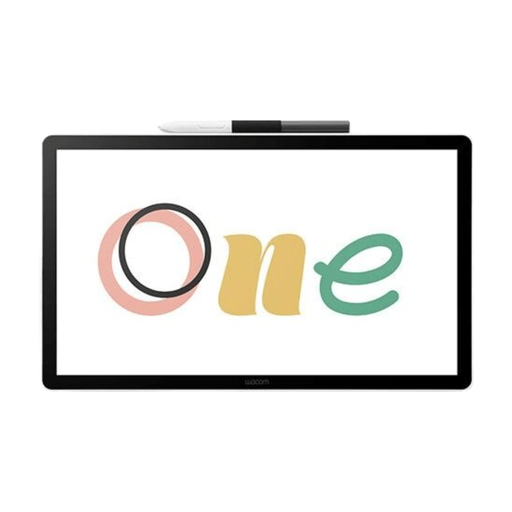
The Movink 13 is a lightweight option with a single-cable connection, provided your computer supplies the required video signal and power.
Compare the original Kamvas 13 and the Kamvas 13 (Gen 3) separately: their connection instructions are not interchangeable.
The Artist Pro 14 (Gen 2) is an option if pen performance and a built-in stand are important to you.
The Pen Display 16 suits those who prefer a larger working area, with a trade-off between using one cable and achieving maximum brightness.
This selection focuses on drawing directly on a pen display with minimal separate connections, as you might when designing greeting cards.
 No image available
The product description mentions drawing directly on the screen and using a single USB-C cable for data and power; check that your computer’s USB-C port provides the required video signal and power.
Screen size: 14.0".
No, it depends on the display and the computer port. Check video support, available power and the instructions for the exact model generation. Wacom specifies at least 15 W for single-cable use with the Movink 13; for the Kamvas 13 (Gen 3), Huion also describes a separate power connection when using USB-C video.
Use a suitable profile for the printer and paper where available, and check a test print if the colour needs to be precise. Adobe explains how colour management handles conversion to the printer; screen specifications alone cannot predict the print result.
Include bleed in the print file and follow the printer’s required dimensions. Adobe gives 3 mm as a common example, but a printer may require more.
For a purchase made by a consumer in the Netherlands, statutory rights are separate from a commercial manufacturer’s warranty. According to the ACM, there is no fixed statutory warranty period: what you could reasonably expect from the product and normal use are the deciding factors. The retailer is your point of contact.
The relevant EU product rules apply to electrical and electronic equipment; a CE mark is required when the rules for that product category stipulate it. Check the product information and marking on the specific item, as a brand name or product page alone does not prove that these requirements have been met.