
Fine-line illustrators
If you draw small details, look at the visible drawing area, screen resolution and how precisely you can control your pen strokes. Wacom and Huion list these screen features for the models covered here.


First, choose a drawing area that lets you comfortably assess your illustrations and fine lines, then check that the pen display can connect to your computer. For print work, colour modes and calibration data are useful points of comparison. However, screen specifications alone can’t guarantee a match with the final print: make sure the document profile also matches the print workflow.
If you draw small details, look at the visible drawing area, screen resolution and how precisely you can control your pen strokes. Wacom and Huion list these screen features for the models covered here.
When creating colour variations for a book, it’s important to distinguish your screen settings from the profiles and conversions used in the print process. Huion describes the colour modes for the Kamvas 16 (Gen 3), while Adobe explains how printer and paper profiles affect colour output.
If you want to draw directly on screen without taking up too much workspace, measure the space available and check your computer’s video output. Wacom lists specific connection requirements for the One 14.
Start with the drawing area and the details you want to assess, then check the colour workflow, available desk space and connection requirements.
| What to consider | What to look for | Who it matters to |
|---|---|---|
| Fine lines and an overview of your work | Compare the active drawing area and resolution of the exact model. Also allow space for tool panels. | I want to draw details while keeping an eye on my page and tools; around 33% of consumers prioritise line control and an overview of the page. |
| Colour for print | Check the available colour modes and calibration data. Ask the publisher or printer which document and output profiles you need. | I’m assessing colour variations for a book and want my files to suit the print workflow; around 27% of consumers give print colour the highest priority. |
| Desk space | Measure the space available and compare it with the overall dimensions and active drawing area. Check whether a stand is included. | I have a small home desk and want a practical setup that takes up no more room than necessary; around 20% of consumers prioritise the desk space available. |
| Connections and accessories | Compare your computer’s video output with the requirements of the exact model, and check which accessories are included with that version. | I want to connect my existing computer and know in advance what else my setup will need; around 20% of consumers give connections and accessories the highest priority. |
Final colour output also depends on the printer, paper and relevant profiles. A screen specification alone won’t tell you how an illustration will look in print.
Ask the publisher or printer which profiles are required, and assess a proof separately from the screen specifications. Adobe explains that printer and paper profiles help determine which colours can be printed.
Matching colour profiles and print proofs may involve extra work.
To connect the Wacom One 14 with a single USB-C cable, you need a computer with DisplayPort Alt Mode or compatible Thunderbolt support.
Check your computer’s ports and the connection instructions for the exact model. For the USB-A and HDMI setup described, Wacom lists a separately available converter.
With that USB-A/HDMI setup, you may also need to factor in the separately available converter.
The name can refer to different versions. Wacom lists a 2560 × 1600-pixel screen for the current Cintiq 16 DTK168, so check the full model code before comparing specifications.
Compare the model code, resolution and connections of the specific version, rather than relying on the product name alone.
Included controls and stands vary by model and package. Xencelabs, for example, says that Quick Keys aren’t included with the Pen Display 16 Lite, but are included with the Bundle.
Check what comes with the version you’ve chosen. Wacom lists an optional adjustable stand for some setups; don’t assume it’s included without checking.
Quick Keys or an optional stand may need to be bought separately.
The models covered range from a 14-inch pen display to the Cintiq 16 DTK168, with its larger drawing area.
The Kamvas 16 (Gen 3) is a 15.8-inch model you can compare for drawing space, controls and colour settings.
The Artist Pro 16 (Gen 2) is a 16-inch option where pen controls, connections and the stand are worth considering.
The Pen Display 16 Lite is aimed at those comparing a 16-inch 4K OLED screen and different ways of holding a pen.
The PD1610 is a 16-inch model with a 16:10 screen ratio, making it easy to compare with other sizes.
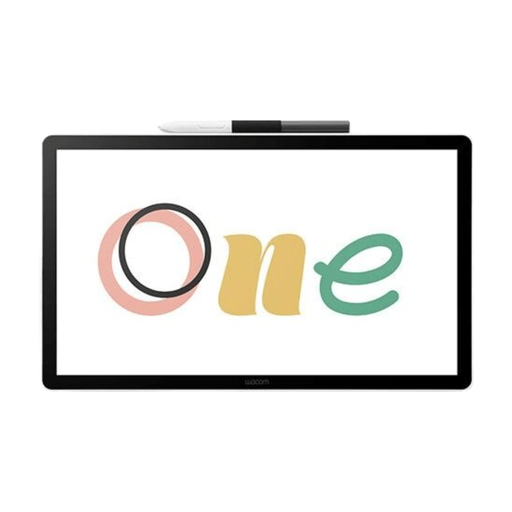
This product selection focuses on a compact pen display for computer-based illustration work. Before buying, check that its connection is compatible with your computer’s video output.
 No image available
The 14-inch drawing area is an option for illustration work in a compact home workspace.
Full HD screen with an active drawing area of 309 × 174 mm.
The product description lists a battery-free pen with 4096 pressure levels and tilt support up to ±60°.
A computer with DisplayPort Alt Mode or compatible Thunderbolt support is required to use a single USB-C cable. The USB-A/HDMI setup described requires a separately available converter.
Not the Wacom One 14 discussed here: Wacom describes it as connecting to a laptop or PC. Check that your computer has the required video output and is compatible with the drawing software you want to use.
No. For a single-cable connection to the Wacom One 14, Wacom specifies a USB-C port with DisplayPort Alt Mode or a compatible Thunderbolt port. The USB-A/HDMI setup described requires a separately available Wacom Converter.
The Joybuy product description for the Wacom One 14 lists a battery-free pen and three replacement nibs included in the box. It recommends cleaning the screen with a soft, dry microfibre cloth; check the care instructions for other models separately.
According to the Dutch government, there’s no fixed statutory guarantee period in the Netherlands: a product must be of satisfactory quality, and its expected lifespan depends on factors including the product and the information provided at the time of sale. A manufacturer’s guarantee and separately purchased insurance are separate from this statutory right.
For distance purchases from a business, the Dutch government says you generally have a 14-day cooling-off period; check the applicable exceptions and returns policy. According to its guidance, purchases from a private individual aren’t covered by the same distance-selling rules.
EU rules on CE marking may apply to electrical and electronic equipment. The relevant assessment depends on the product rules and the specific equipment; a model name or listing alone doesn’t prove that a particular item complies with those rules.