
Interviewer in a noisy hall
You want the person telling their story to remain easy to hear while people are talking elsewhere. Finding a quiet spot and positioning the microphone close to them will help you decide how to set things up.


Start by finding the quietest place you can, then position the microphone close to the person telling their story. One microphone may be enough if both speakers can sit close to it and a test recording sounds clear in the hall. If you need to make sure both voices are easy to hear, using a dedicated microphone for each speaker is a safer option. A directional pickup pattern or a choice of several patterns won’t guarantee that background noise disappears or that both voices are recorded at the same volume.
You want the person telling their story to remain easy to hear while people are talking elsewhere. Finding a quiet spot and positioning the microphone close to them will help you decide how to set things up.
You want to capture both questions and answers, and decide whether one table microphone will do or each speaker needs their own.
You want to connect everything quickly, check the levels and monitor the audio through headphones before a long interview.
When to choose it: Choose this set-up if both speakers can sit close together and a test recording captures their voices clearly.
The trade-off: A microphone that picks up more of the table may also capture more hall noise. Multiple pickup patterns don’t guarantee that both voices will be recorded at the same volume.
When to consider it: Consider this if the interviewer and storyteller can’t sit close enough to one microphone for both voices to be captured clearly.
The trade-off: You’ll need compatible connections and a recording workflow that can capture both voices at the same time.
The University of Leicester’s East Midlands Oral History Archive recommends placing table microphones as close as possible to the interviewee. So, test the location and the complete set-up in the hall before the interview starts.
| What to consider | What to look for | Who it matters to |
|---|---|---|
| Clarity when there’s background chatter | Check the pickup pattern and whether you can position the microphone nearby. Test the recording in the hall using headphones. | If I want the storyteller to remain easy to hear while others are talking, I’ll look for a quiet spot and test the microphone close to the speaker. Around 36% of consumers prioritise clarity in noisy halls. |
| Both voices being audible | Work out whether both speakers can sit close to one microphone. If using two USB microphones, check that your computer and software can record from both inputs at once. | I want to be able to listen back to the questions and answers without one speaker’s voice getting lost. Around 29% of consumers put capturing both voices first. |
| Connecting and checking the set-up | Check the USB connection and included cable. Look for a headphone output and level or monitoring controls. | When I’m recording a long conversation, I want to be able to check easily in advance what the microphone is picking up. Around 21% of consumers prioritise easy connection and recording checks. |
| A different recording set-up | Decide whether you need USB or might also use XLR. Check which cables and stands are included with the microphone. | I may want to use the same microphone in a different set-up later, so I check which connection I actually need. Around 14% of consumers prioritise flexibility for future upgrades. |
People talking nearby and the distance to the storyteller can affect how clearly they can be heard. A directional pickup pattern doesn’t mean that all background noise will disappear.
First, find a quieter spot and test the intended position while the hall is being used as usual.
If the story is hard to hear, you may need to record the interview again.
The interviewer’s voice may be too quiet in the recording if the microphone is aimed at the storyteller.
Record both voices during a test and listen back before deciding whether one microphone will do.
A second microphone may require an extra connection and a compatible recording set-up.
Having two connection options on one microphone doesn’t mean that it will record two voices separately. To record via XLR on a computer, you’ll need suitable additional audio equipment.
Decide in advance how many voices you want to record separately and which connections you’ll use.
The PodMic USB is a dynamic microphone with USB-C and XLR, designed for a set-up close to one speaker.
The handheld ATR2100x-USB combines a cardioid dynamic microphone with USB and XLR, for those who want to adjust the positioning during an interview.
The Yeti is a USB table microphone with multiple pickup patterns for interviews where the set-up may vary.
The Profile USB is a cardioid condenser table microphone with USB-C and on-microphone controls.
The MV7+ has USB-C and XLR connections and is designed to record one speaker.
The Seiren V3 Mini is a compact USB condenser microphone for one speaker sitting close by.
These product picks are for interviews where you can position the microphone close to one speaker.
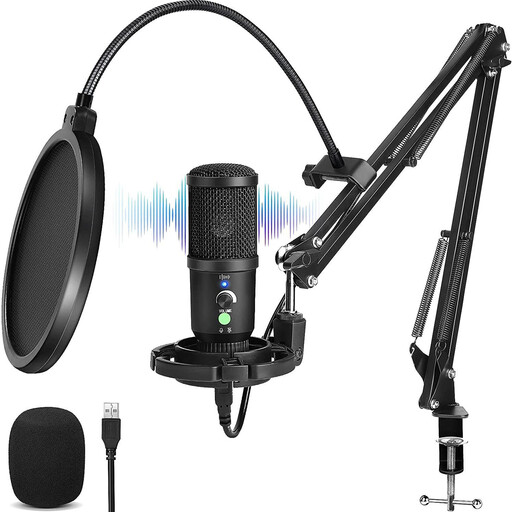 No image available
Could suit a set-up where you position the microphone close to one speaker. Check the results with a test recording in the hall.
USB condenser microphone; cardioid pickup pattern.
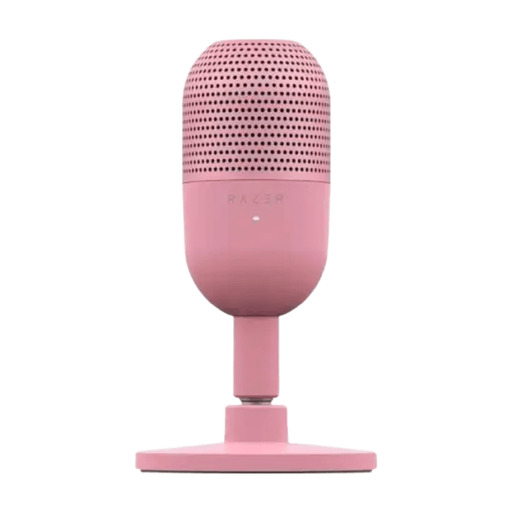 No image available
A compact option for one speaker sitting close by. Its directional pickup pattern won’t ensure that two speakers sitting further away are captured equally clearly.
USB microphone; supercardioid pickup pattern; tap-to-mute controls.
If possible, choose a spot away from people talking and position the table microphone close to the storyteller. Make a test recording before the interview. Placing a soft surface under a table set-up can help reduce reflections from a hard tabletop.
It depends on your computer and recording software. Before buying, check whether both inputs can be recorded at the same time, then create a test file and listen back to both voices.
For USB, a compatible model can connect directly to a compatible device. To record via XLR on a computer, you’ll need suitable additional audio equipment. Don’t buy it just because the microphone has an XLR output.
Record a short clip with all the speakers and listen back before you begin. Check the cable, stand and connection too, and repeat the test if the seating or microphone position changes.
A recording that identifies someone may contain personal data. According to the Dutch Data Protection Authority, you need a lawful basis under the GDPR to collect and use it; consent is one possible basis. The Dutch Data Protection Authority says that, in principle, personal data may only be published online with consent. So, discuss the purpose, storage and any access or publication with the storyteller in advance, and assess each of these steps separately.