
Interviewer in a noisy flat
This interviewer wants to record the narrator clearly and can place the microphone close to their mouth. RØDE recommends a speaking distance of around 5–10 cm for the PodMic USB.


If you can place the microphone close to the narrator, start with a focused dynamic USB microphone and test the recording from the actual seats. If both people need to be clearly audible at the same time, compare a shared microphone with a suitable pickup pattern against separate microphones. If you plan to use two USB microphones, check first that your computer and software can record both signals.
This interviewer wants to record the narrator clearly and can place the microphone close to their mouth. RØDE recommends a speaking distance of around 5–10 cm for the PodMic USB.
This person wants to be able to listen back to both the questions and the answers, so they need to test how a shared microphone picks up voices from the actual seating positions. Audio-Technica lists shared microphone use as an option.
This volunteer wants to get started without a separate audio interface, but needs to check the connection, monitoring and saved test recording. The Library of Congress recommends testing recording equipment before the interview.
Choose this option: if the narrator is sitting in a fixed position and can speak close to the microphone. RØDE recommends a distance of around 5–10 cm for the PodMic USB.
Bear in mind: the interviewer on the other side of the table may be recorded more quietly.
Choose this option: if a simple computer setup is important and both voices are clear enough in a test recording.
Bear in mind: the pickup pattern needs to suit both seating positions; a wider pattern may also pick up more room noise. Audio-Technica lists shared use as an option, not a guarantee for every setup.
Choose this option: if both voices matter and one shared microphone doesn’t pick them up clearly enough in a test recording.
Bear in mind: using two USB microphones at the same time isn’t straightforward; check first that your computer and software can record both signals.
| What to consider | What to look for | Who should pay extra attention? |
|---|---|---|
| How clearly the narrator can be heard | Check the positioning distance and polar pattern. Make a test recording with the usual background noise and listen back through headphones. | If my priority is hearing the narrator clearly, I’ll test the microphone close to the intended speaking position. Around 36% of consumers prioritise clarity. |
| Recording two voices | Test both seating positions with the exact model’s pickup pattern. If you’re using two USB microphones, check that your computer and software can record both inputs; Audio-Technica warns that this isn’t always straightforward. | If both the questions and answers matter, I want to hear how each person sounds from their own seat. Around 29% of consumers prioritise the clarity of both speakers. |
| Connecting and checking your setup | Check that the USB connection is compatible with your computer, that recording works and that you can listen back to the signal before the conversation. The Library of Congress recommends testing your equipment and microphones in advance. | If I want to record without a separate interface, I need to be able to check before the interview that the recording is actually being saved. Around 21% of consumers prioritise a simple, easy-to-check recording setup. |
| Complete setup | Check what’s included with the exact version against what you already have, such as a stand or arm, a compatible cable and headphones. Audio-Technica’s product page lists USB-C and USB-A cables with the ATR2100x-USB. | If I want to put together a working test setup quickly, I need to know in advance which extra parts I’ll need. Around 14% of consumers prioritise having a complete setup. |
Shure describes noise cancellation as a feature of the MV7+, but the results in your flat will depend on where you record and the noise around you.
Make a test recording with the usual background noise. Listen back and adjust the microphone position or recording time if needed.
Finding another place to record or testing again may take extra preparation time.
A microphone aimed close to the narrator may pick up the interviewer further away more quietly. RØDE describes the PodMic USB as being for close-up speech.
Decide which voice takes priority, and test both seating positions if both voices matter. If necessary, compare a shared setup with separate microphones.
Audio-Technica notes that using two USB microphones at the same time isn’t always straightforward; your computer and software recording settings also play a part.
Before the interview, make a test recording and play it back to check that both microphones have been recorded.
Setting up and checking two inputs may take extra preparation.
You may need a stand or arm, cable and headphones for your recording space. Shure doesn’t list a desktop arm as included with the MV7+ version described.
Check what’s included with the exact version and compare it with the parts you already have.
The PodMic USB is a focused dynamic microphone with USB-C and XLR connections, designed for close-up speech recording.
The ATR2100x-USB is a dynamic handheld microphone with USB-C and XLR connections; Audio-Technica lists a desk stand as included.
The MV7+ is a USB-C and XLR option for close-up speech recording, with adjustable processing and a headphone output.
The Yeti is a USB microphone with several pickup patterns to explore for a shared table setup.
These USB microphones are options to test for speech recording in a noisy flat. For each model, assess how clearly it picks up both speakers from their own seats.
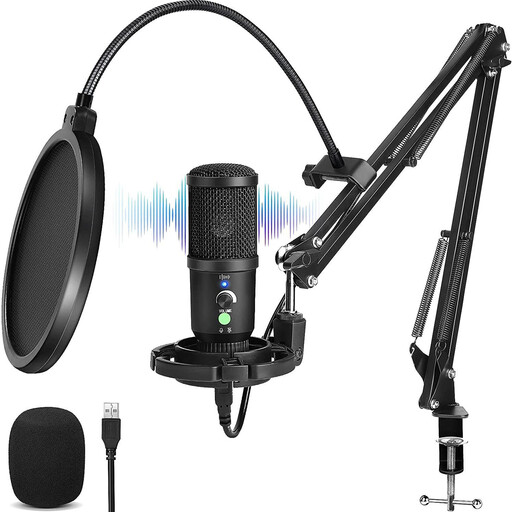 No image available
The product name specifies a cardioid pattern. Make a test recording from the intended seating positions and listen to check that both voices remain clear.
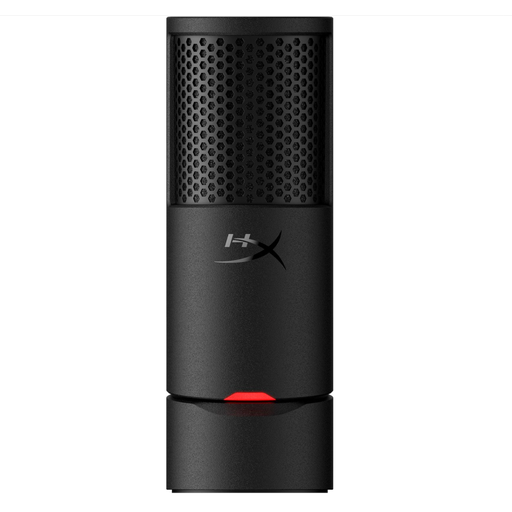 No image available
The product name specifies a cardioid USB microphone. Test the recording with the background noise and seating positions you’ll have during the interview.
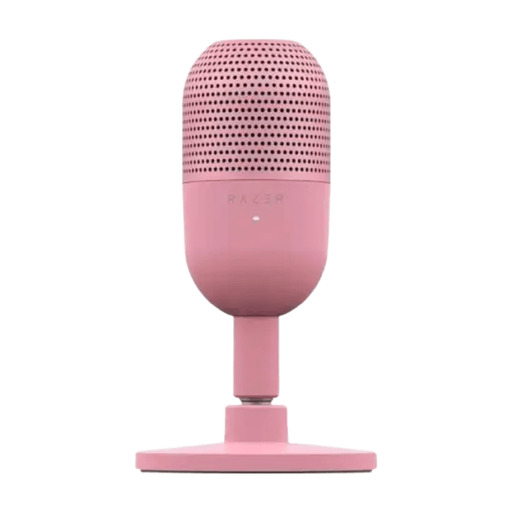 No image available
The product name specifies a USB microphone with a supercardioid pattern and tap-to-mute. Test the recording from the actual seating positions before the interview begins.
It can, depending on the position and pickup pattern of the exact model. Test both seating positions with the room noise in the background. Audio-Technica lists shared use as an option, but that doesn’t guarantee both voices will be clear in every setup.
Make a short recording with both voices, play the file back and check the connections and microphones. The Library of Congress recommends testing your equipment before the interview.
When you buy as a consumer, you’re entitled to a product that works as it should, and the retailer is your point of contact if there’s a problem. According to the Dutch Government, there’s no fixed statutory warranty period in the Netherlands; the circumstances of the fault and what you could reasonably expect from the product are taken into account.
It’s important to distinguish between recording a conversation and publishing it. A policy from the Municipality of Enschede says that recording a conversation you’re taking part in isn’t a criminal offence, even without giving prior notice; this local rule doesn’t, by itself, determine what applies to every kind of publication. The Dutch Data Protection Authority outlines separate rules for publishing personal data and a limited exception for purely personal or household use. The Oral History Association recommends obtaining informed consent and discussing publication arrangements; this is professional guidance, not a general Dutch legal rule on consent.