
Painters filming paint colours
You want to capture paint colours and a white background consistently. Nikon notes that automatic white balance does not always render white accurately, so match your lighting to your camera settings.


For a small detail in an oil painting and limited workspace, an adjustable compact panel may be enough. For a larger area or more even lighting, consider a larger panel or a pair of separately adjustable lights. The Canadian Conservation Institute describes lighting from both sides as a starting point for even illumination, while raking light can bring out more texture. Take test shots with your own camera to check for reflections, colours, the white background and any flicker.
You want to capture paint colours and a white background consistently. Nikon notes that automatic white balance does not always render white accurately, so match your lighting to your camera settings.
You want to make brushstrokes visible without reflections overpowering the detail. The Canadian Conservation Institute describes the direction of light as an important part of your setup.
You’re looking for a light that you can position and power without stands or cables getting in the way. Check which support and power accessories are included with the version you choose.
Choose this if: you’re filming a small detail and have limited space around your camera and work surface.
The trade-off: the light may not spread very far, and a single light may not illuminate the background separately.
Choose this if: you want to show a larger part of the painting and its background.
The trade-off: you’ll need more space, and should check whether a support and battery are included in each package.
Choose this if: you have room to position light sources separately on both sides and want to try out even lighting.
The trade-off: two lights need extra space and supports, and require careful adjustment; raking light can bring out brushstroke texture more clearly.
| What to consider | What to look for | Who is it for? |
|---|---|---|
| Reflections and texture | Change the angle of the light and compare test shots with more even lighting and raking light. Assess both the sheen and the brush texture. | If I want to avoid distracting reflections on glossy paint, I need to be able to adjust the direction of the light while still seeing the texture. Around 36% of people with this filming need prioritise controlling reflections. |
| Paint colours and white | Check the adjustment range of the exact light variant, and set your camera’s white balance under the lighting you’ll use to film. | When I need recognisable paint colours and a neutral-looking background, I want to assess both in a test clip. Around 29% of this group prioritise colour and white. |
| Light spread | Review a test shot showing the full frame, and compare illuminance figures only when the measuring distance and settings are the same. | If my shot includes both a detail of the painting and part of the background, I want to check that one light illuminates the area appropriately. Around 21% of this group want to light a larger area. |
| Space and power | Check the support, adapter and any battery for the exact variant you’ve chosen. For video, also test for flicker using your own camera settings. | When space is limited or I want to move the light while filming, the mounting and power options need to suit my setup. Around 14% of this group prioritise space and power. |
CRI is a stated specification of the light. The angle of the light and your camera’s white balance also affect how the paint and background appear on screen.
Compare the specifications for the exact model and record a test clip using your intended lighting and a fixed white balance.
Manufacturers may state light output at different distances and settings. These figures aren’t necessarily comparable for your filming location.
Note the measuring distance and settings for each figure, then assess the full frame in a test setup.
NEEWER says the stand supplied with the NL660 varies by package, and the NP-F battery isn’t included.
Check what’s included with the specific variant, and plan where to position stands and cables around the painting.
The manufacturer lists a range of 2500–9000 K for the Ulanzi VL49 RGB, while a Joybuy listing gives 2500–9500 K. Don’t assume the versions are identical without checking.
Before buying, check the full model identity and the specifications of the version on offer.
The NL-116AI is a compact panel for a tabletop setup; the larger NL660 is designed to be positioned separately.
The LP series includes separate bi-colour panel variants, such as the LP400Bi and LP600Bi, for an adjustable setup.
The P60x is a bi-colour panel worth considering if you want to combine manual positioning with adjustable colour temperature.
The VL49 RGB is a small rechargeable light to consider as a portable fill light, rather than as an obvious choice for the main light when filming a whole painting.
This Joybuy selection focuses on compact, portable lighting for small details. Check that the light’s shape suits your setup: one model is a torch-shaped video light rather than a panel.
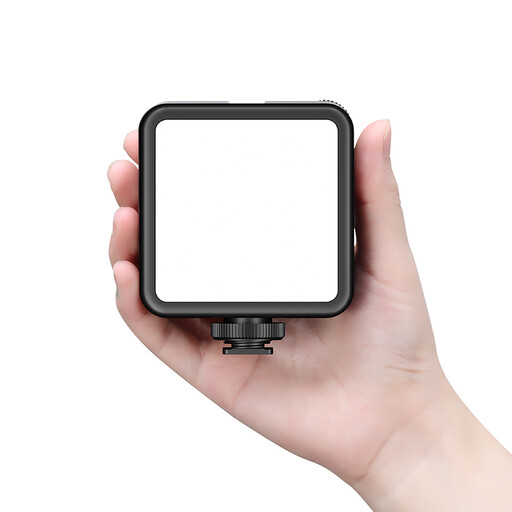 No image available
The built-in battery and cold shoe mount suit a portable camera setup.
The product description lists 81 LEDs, stepless brightness and colour temperature adjustment, and the option to connect multiple VL81 lights.
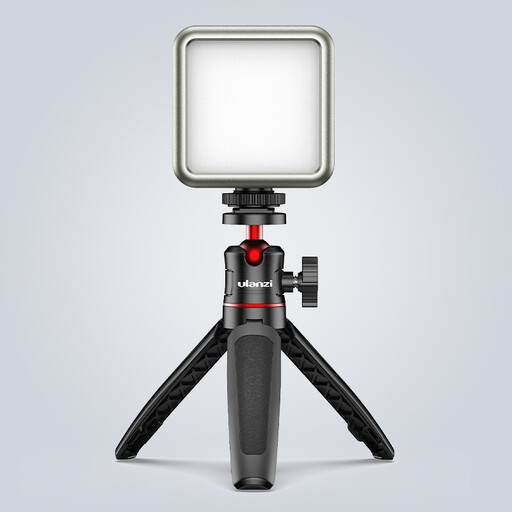 No image available
The compact size and rear magnet can be handy if you want to move the light around for a small detail.
The product title lists RGB, dimming and a range of 2500–9500 K. The manufacturer gives a range of 2500–9000 K for the VL49 RGB, so check which version is on offer. The description also says the light isn’t waterproof and recommends a standard adapter with a 5V output.
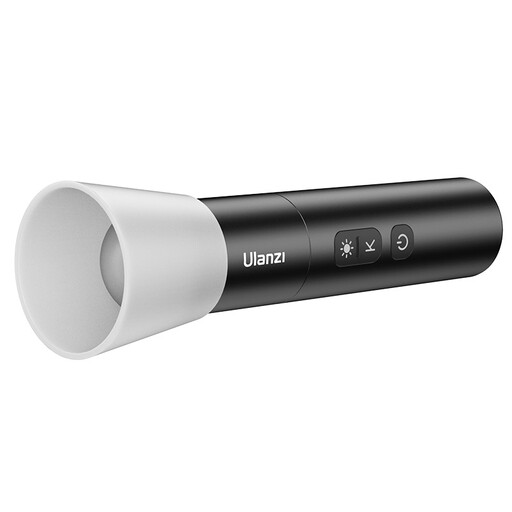 No image available
This model is torch-shaped, not a panel; consider it only if this type of light suits your filming.
The product title lists a range of 2000–5500 K, four brightness settings and a 2000 mAh battery. The description mentions a zoom lens that lets you switch between a wide beam and a spot beam.
The description warns against looking directly into the light for extended periods and using it near flammable materials.
Start with a test shot using light angled in from both sides. The Canadian Conservation Institute describes this setup as a starting point for even illumination. Use raking light when you want to make brushstroke texture visible, and compare the images before buying extra lights.
Check your camera’s white balance under the lighting you’ll actually use to film. Nikon’s guide to white balance shows that automatic white balance doesn’t always render white accurately. Also check in a test clip that the paint colours still look recognisable.
Record a test using the brightness setting you want, and adjust the shutter speed or anti-flicker setting if your camera supports it. Sony explains that the most effective setting depends on the flicker frequency and the camera, so a claim about a light doesn’t replace testing it with your own equipment.
That depends on the product version and the EU rules that apply to it. Business.gov.nl and Your Europe explain that a CE mark is required for products covered by EU rules that require this marking. This involves a conformity assessment and, where applicable, an EU declaration of conformity. CE isn’t an independent assessment of colour rendering.
No. The Government of the Netherlands states that there is no fixed legal guarantee period in the Netherlands: you’re entitled to a product that works properly, and what you can expect depends on factors including the product and the information provided at the time of sale. A manufacturer’s guarantee is in addition to this; if a product is faulty, contact the seller.