
Overview photographer
You mainly photograph complete folded pieces on a table and want to position your camera and lens at the distance available.


For overview shots of complete folded pieces, a mirrorless camera with a standard zoom lens is a sensible place to start. For small folds that need to appear large in the frame, a dedicated macro lens is more suitable. When shooting under artificial light, key considerations include adjustable white balance, a stable setup and test shots with your own lights. For deep, stationary paper constructions, focus stacking can help you combine different focus distances in your workflow.
You mainly photograph complete folded pieces on a table and want to position your camera and lens at the distance available.
You want to capture small folded edges or paper texture at a large scale, so you compare the magnification and working distance of dedicated macro lenses.
You take repeatable photos under lights and want to be able to control colour casts, depth of field and exposure.
First decide whether you’ll mainly photograph complete pieces or small details. Then consider whether you need extra depth of field for a stationary subject.
The percentages below relate to purchasing priorities when photographing folded paper art under artificial light.
| What to consider | What should you check? | Who is this important for? |
|---|---|---|
| Colour under artificial light | Check whether the camera offers RAW shooting and adjustable white balance. Canon Europe explains how RAW gives you scope to adjust white balance afterwards. | If I want consistent colours with fixed lights, I take a test shot with a neutral surface. Around 33% of consumers prioritise colour control under their own lights. |
| Magnification for details | Compare the maximum magnification at the focal length you use, and check whether the camera, subject and lighting will fit on your table. Canon Netherlands lists a maximum of 0.16× at 45 mm with autofocus for the RF-S 18-45mm; Nikon Netherlands lists 1:1 for the dedicated NIKKOR Z MC 50mm f/2.8. | I want to show small folded edges or paper texture at a large scale, so I pay attention to the lens. Around 27% of consumers put magnification for small fold details at the top of their list. |
| Sharpness throughout the depth | Check whether the exact camera body supports focus bracketing or focus stacking, and whether the feature works with your lens. Canon lists focus bracketing and depth compositing for the EOS R50; OM SYSTEM lists Focus Stacking for the OM-5 Mark II. | For a deep, stationary paper construction, I want to capture several layers in focus. Around 20% of consumers put depth of field first. |
| Complete kit | Compare the exact contents of the box and the lens mount; don’t assume a standard zoom replaces a macro lens. | I want to put together a practical kit without overlooking a lens I need. Around 20% of consumers prioritise having all the equipment they need. |
The stated magnification of a standard zoom can differ from that of a dedicated macro lens. Canon Netherlands lists a maximum of 0.16× at 45 mm with autofocus for the RF-S 18-45mm; Nikon Netherlands specifies 1:1 for the NIKKOR Z MC 50mm f/2.8.
First decide how large the smallest detail needs to appear in the frame, then compare the lenses rather than just the camera bodies.
A dedicated macro lens may be necessary if you want to capture small details at a much larger scale.
A camera kit and a separate lens are not the same set-up. The included lens helps determine whether the combination you choose is suitable for overview shots or close-up work.
Check the exact contents of the box and the lens mount before comparing kits.
You may need to add a different lens and a stable, well-lit set-up to your equipment.
Focus stacking combines shots taken at different focus points. It requires a fixed set-up, and the camera features mentioned are model-specific.
Consider this approach mainly for stationary subjects, and check that it’s supported by the camera body and lens you plan to use.
This approach requires extra shots and may involve post-processing.
The EOS R50 is worth comparing for overview shots with the RF-S 18-45mm kit zoom.
The Z50II is a Z system camera, while the separately sold NIKKOR Z MC 50mm f/2.8 is an option for detail-focused shots.
The OM-5 Mark II is a camera body worth comparing if Focus Stacking is part of your workflow.
The Alpha 6400 has an E-mount; the separate E 30mm F3.5 Macro is a lens option for detail photography.
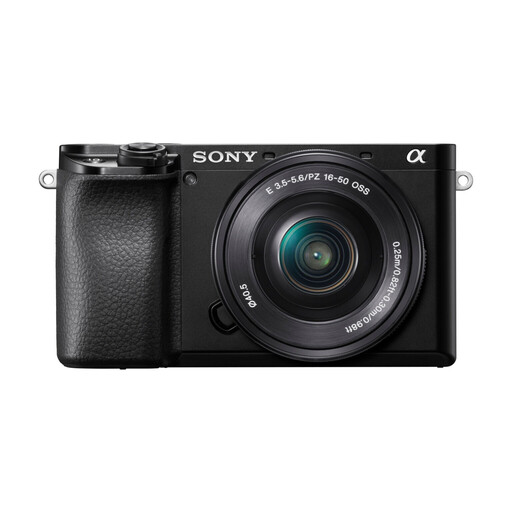
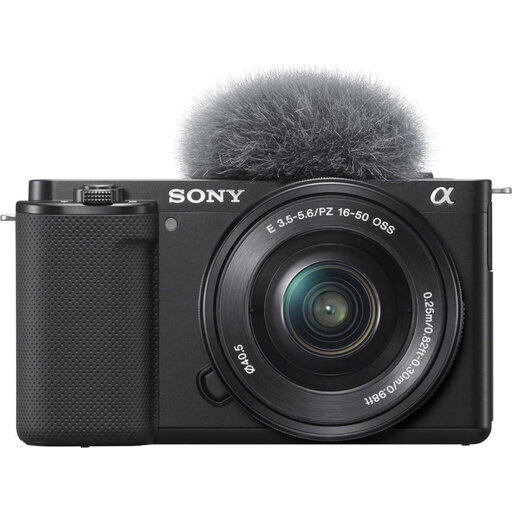
These Joybuy products are mirrorless camera kits with zoom lenses, suited to photographing and framing complete folded pieces.
 No image available
A kit with a zoom lens to consider if you want to frame complete folded pieces.
Lens in the product name: 16-50mm f/3.5-5.6 OSS II.
 No image available
This kit with a zoom lens is worth considering for framing complete folded pieces.
Lens in the product name: 16-50mm zoom lens.
Not necessarily: start by framing your subject from the distance you’ll be shooting at. For small details, the lens’s magnification matters more. Canon Netherlands lists a maximum of 0.16× at 45 mm with autofocus for the RF-S 18-45mm, while Nikon Netherlands gives a magnification of 1:1 for the separate NIKKOR Z MC 50mm f/2.8.
Set the white balance to match the light you’re using and take a test shot with a neutral reference surface. Canon Europe explains that RAW shots give you scope to adjust the white balance afterwards; also assess the light itself.
Take test shots with your own lights and compare the available shutter settings and exposure times. Canon describes the limitations of electronic shutters; this doesn’t guarantee that a particular camera will correct flickering from every light.
For a stationary subject, you could try a focus bracket. Canon lists focus bracketing and depth compositing for the EOS R50; OM SYSTEM lists Focus Stacking for the OM-5 Mark II. Check that the feature works with your chosen lens and keep the set-up unchanged throughout the sequence.
Not necessarily. The Government of the Netherlands states that works of art may be protected by copyright. Check who owns the rights to the design shown and whether you need permission before publishing the work; owning the camera doesn’t determine those rights.