
Detail photographer
You want to capture fine lines and small lettering at a larger scale, so start by checking the magnification of a compatible lens. Nikon and Fujifilm specify 1:1 magnification for certain macro lenses.


First, choose a lens that can make the details large enough in the frame. Then work out how to control reflections and artificial light. A kit zoom may be enough for a whole pin, but check the magnification of the included lens for small lettering. Focus bracketing is a separate technique, not a substitute for the right lens or lighting.
You want to capture fine lines and small lettering at a larger scale, so start by checking the magnification of a compatible lens. Nikon and Fujifilm specify 1:1 magnification for certain macro lenses.
You want to control harsh highlights, colour variations or streaks under lamps. Adobe discusses diffused light for product photography, while Sony explains white balance and flicker issues.
You take similar product shots regularly and want consistent framing and a complete set-up. Canon recommends using a tripod to take consistent product photos.
Consider lens magnification, control over light and colour, and how complete the set is as separate factors.
A good fit if: you mainly want to photograph whole pins and simple compositions.
Trade-off: check whether the included lens magnifies small details enough; you may need to buy a macro lens separately later.
A good fit if: you need fine enamel lines, small text or clasps to appear large in the frame.
Trade-off: check the lens mount and magnification; a separate lens adds to your kit and the overall cost.
| What to consider | What should you check? | Who is it for? |
|---|---|---|
| Small details and depth of field | Check the magnification and mount of the exact lens. If you need multiple focus planes, see whether the camera body supports focus bracketing or stacking. | If I want to capture small lettering at a larger scale, I first look at lens magnification and sharpness across the depth I need. Around 33% of consumers prioritise magnification for detail. |
| Reflections and highlights | Assess a test shot of your pins under your lamp. Check whether you can move the light source or diffuse the light. | If I want to reduce harsh reflections on shiny enamel, I need to be able to move the lamp and pin, then assess the result. Around 27% of consumers put reflection control first. |
| Colour and artificial light | Check the white balance options. If your lamp causes streaks, see whether the exact model has a suitable anti-flicker or shutter feature. | When I photograph a range of pins under the same lamp, I want to compare their colours accurately. Around 20% of consumers make colour and consistency their top priority. |
| How complete the set is | Check what’s in the box, the lens mount and magnification; also take into account any lighting or stabilisation equipment you already have. | If I want to put together a complete photography set-up, I want to know in advance which lens and lighting I’ll need. Around 20% of consumers prioritise having a complete set. |
A kit lens and a separate macro lens are not the same lens. Canon lists the RF-S 18-45mm with the EOS R50 kit; the magnification of the RF 85mm F2 Macro applies to that separate lens.
Check exactly what’s in the box and the lens magnification before putting together your complete set.
The direction and softness of light affect shadows and highlights, as Sony explains. So, alongside choosing a camera, you’ll also need to consider your lighting set-up.
Take a test shot of your pins and, if needed, adjust the position of the lamp or the subject.
Softer light may require extra diffusion or an adjustable lighting set-up.
Focus bracketing takes multiple shots; Fujifilm describes stacking and combining them afterwards as the next steps.
Check whether the exact camera model only captures the sequence or can also combine the images in-camera.
Combining a sequence may take extra time in post-production.
The EOS R system gives you the option to compare a kit lens with an RF macro lens chosen separately later on.
The Z system lets you assess a camera body such as the Z50II with a separate macro lens.
The X system lets you compare a camera such as the X-S20 with a separate XF macro lens.
The E-mount is an option if the lens combination and settings suit the kit you already have.
You can assess the Micro Four Thirds option with the OM-5 Mark II, a separate M.Zuiko macro lens and, if needed, stacking.
This Joybuy selection features mirrorless cameras with a kit zoom as a starting point for framing whole pins. If you need small details to fill the frame, assess the magnification of the included lens separately.
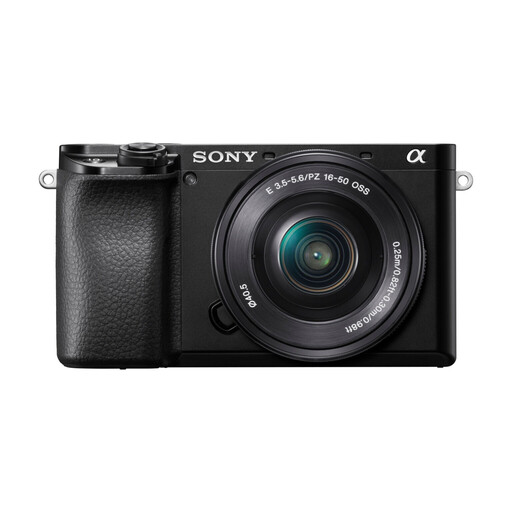 No image available
The kit zoom is a good starting point for framing whole pins; check whether its magnification is enough for fine lettering.
Lens: 16-50mm f/3.5-5.6 OSS II.
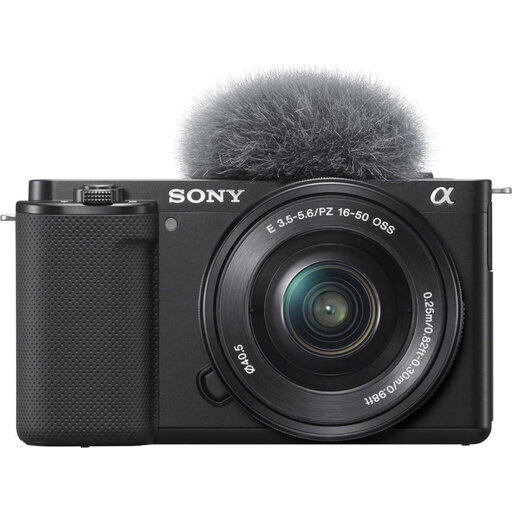 No image available
The 16-50mm zoom lens is a good starting point for framing whole pins; check its magnification for the small details you want to capture.
Lens: 16-50mm zoom lens.
No. Check the magnification of the lens actually included with the set and compare it with the framing you want; a separate macro lens is a different option.
Start with steady framing and try diffused light. Move the lamp or the pin and check the highlights in a test shot. Set the white balance deliberately if you want to take a series of comparable images.
Sony explains that flickering light sources can cause streaks when used with a shutter. Check the shutter or anti-flicker options on your exact camera model and test them with the lamp you’re using; don’t assume every camera has this feature.