
Builders who film their work
You want your fingers, tools and small components to remain clearly visible together in the shot. So, don’t just consider brightness: think about the position and softness of the light too.


If you mainly film your hands and small components, choose an adjustable light that you can position close to your workbench and soften as needed. A panel suits a fixed, compact set-up; a COB light with a modifier gives you more ways to shape the light, but takes up extra space. A small battery-powered light is handy for mobile or local fill lighting, but check its coverage and test the colour and flicker with your own camera.
You want your fingers, tools and small components to remain clearly visible together in the shot. So, don’t just consider brightness: think about the position and softness of the light too.
You want materials to look consistent across different stages of a project. Adjustable colour temperature and fixed camera settings can help; a stated CRI alone doesn’t guarantee accurate colour in your video.
You need to fit your camera and light into a limited space. Compare the mounting options and available power supply, and check which accessories are included with the version you choose.
Suitable if: you have a fixed workspace and want to light your table, hands and model from a useful angle.
Bear in mind: the size and mounting option need to suit your table; also check whether the version includes a diffuser, stand and power supply.
Suitable if: you don’t want to use floor stands and have a clear edge on your desk.
Bear in mind: check the clamp capacity and power supply. Elgato says the Key Light Air MK.2 needs a suitable adapter of at least 30 W for its full stated brightness; this isn’t included.
Suitable if: you have space for a separate light and a compatible modifier to direct or soften the light.
Bear in mind: check which parts are included with the version you’re buying. Manufacturers’ measurements aren’t directly comparable if the distance and reflector differ.
Suitable if: you move your set-up often or only want to add light to a small part of your model.
Bear in mind: test whether the light covers both your model and your hands from your chosen distance, and lasts long enough for a lesson.
| What to consider | What to look for when buying | Who is this important for? |
|---|---|---|
| Visibility of hands and details | Check whether you can position the light around your camera and hands, and whether you can use a diffuser or suitable modifier. | When I film building steps, I want to make sure my hands don’t obscure my work. Around 36% of consumers prioritise visibility of hands and miniature details. |
| Consistent material colours | Check the adjustable colour temperature and assess material samples with your own camera too; keep the white balance the same when comparing similar shots. | For a portfolio, I want materials to look consistent across different stages. Around 29% of consumers give colour consistency top priority. |
| Space and mounting | Measure the clear edge of your table and the space around your camera; check the clamp or stand, power supply and modifier for the specific version. | If my workbench is small, the light needs to fit alongside my camera set-up without blocking my workspace. Around 21% of consumers prioritise a suitable mount and a complete set-up. |
| Recording time and flicker | Check that the power supply will last for your planned recording time, and make a test recording with your own camera, frame rate and light settings. | During a longer lesson, I don’t want to run out of light halfway through or see distracting bands in the footage. Around 14% of consumers prioritise a reliable power supply and flicker-free recording. |
A stated light measurement depends in part on the distance and reflector used. For small components, the direction and softness of the light matter too.
Only compare measurements taken under the same conditions, and make a test recording while carrying out the same actions as in your lesson.
Versions may differ in the mounting hardware or power supply included. A light that doesn’t fit your table properly, or is missing a required part, could mean you need to change your recording set-up.
Read the parts list for the exact version and compare it with your table, camera and available power supply.
Whether a compact light can cover your model and both hands depends on the distance and set-up.
Use one for local fill lighting if that’s what you need, and test its coverage and battery life during a full practice lesson.
The NL660 panel is an option if you want to position an adjustable panel beside your workbench.
The Key Light Air MK.2 is designed for a fixed desk set-up, with a clamp and USB-C power.
The SL60IIBi is a bi-colour COB option for a set-up with space for a separate light and modifier.
The COB 60x S is a compact COB option for a fixed or portable set-up with modifiers.
The VL49 RGB is a small battery-powered light for local fill lighting or a portable set-up.
This selection includes COB video lights and compact battery-powered lights for focused or portable lighting when filming a miniature-making lesson.
 No image available
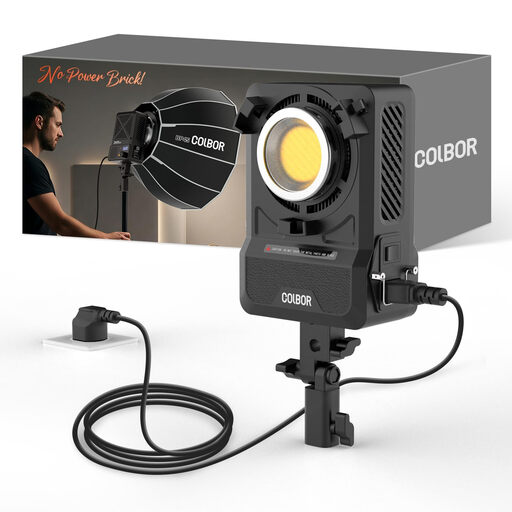
Suitable for a set-up where you want to use a compatible modifier on the Bowens mount.
200 W; bi-colour 2700–7000 K; Bowens mount; built-in power adapter design.
 No image available
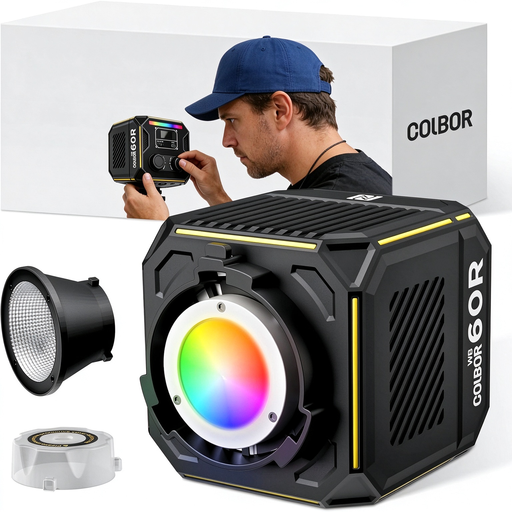
The built-in battery is useful if you don’t want to rely on a mains cable while filming.
60 W; 59 Wh battery; bi-colour 2700–6500 K and full colour.
The product information specifies a 60 W 20 V/3 A PD charger and the supplied USB-C to USB-C cable to activate the battery.
 No image available
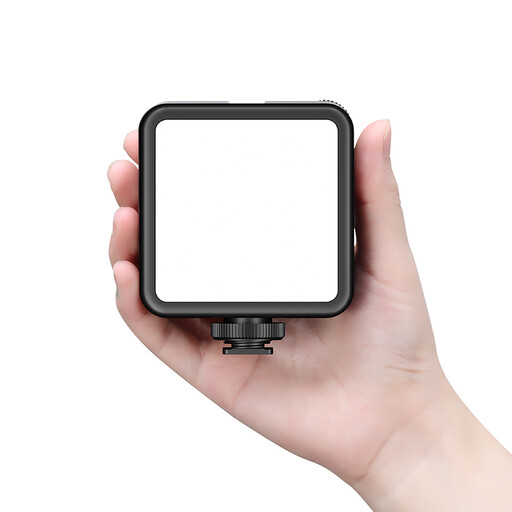
A compact rechargeable light to consider if you need a portable set-up.
Rechargeable LED light; the product name states that it is black.
 No image available
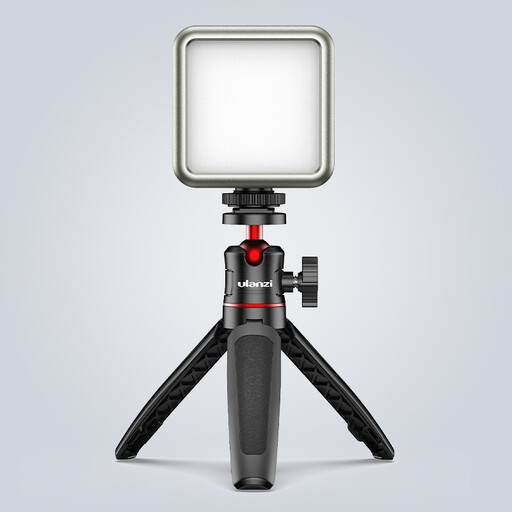
The magnet and battery make it suitable for a small, portable set-up or local fill lighting; test whether the light covers your entire work area.
2000 mAh battery; dimmable; the Joybuy product name states 2500–9500 K. Ulanzi states that the RGB version has a colour temperature of 2500–9000 K, so check which specification applies to the version on offer.
The product information recommends a standard 5V adapter and warns against fast chargers with a higher voltage.
 No image available
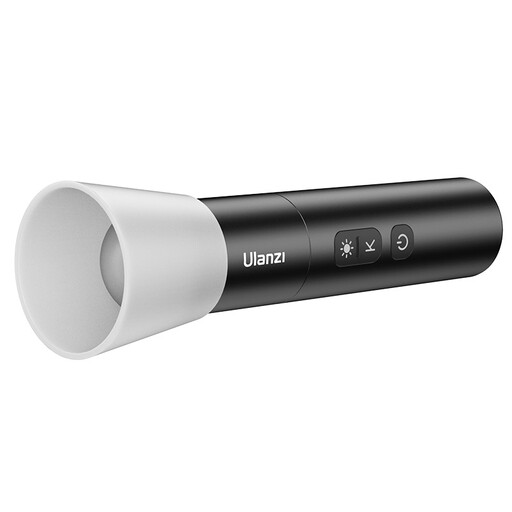
The zoom beam may suit you if you want to focus light on one part of your work; try it out on your miniature first.
Bi-colour 2000–5500 K; four brightness levels; 2000 mAh battery; 187 g.
According to the product information, don’t shine the light directly into your eyes from close range.
Make a short test recording from the camera angle you’ll use, and carry out the building steps on camera. Move the light or use a suitable diffuser if details disappear behind your hands; diffusion increases the effective size of the light source.
No. A stated CRI doesn’t guarantee accurate colours in your video. Keep the ambient light and white balance the same for comparable shots, and check the results with the materials you use.
Test the light at your chosen brightness using your own camera and video settings. Sony Support reports that some light sources can flicker during video recording; the result also depends on your recording settings.
For each version, check the mount, diffuser or modifier, power supply and any battery. NEEWER offers the NL660 with or without a stand; for the Key Light Air MK.2’s full stated brightness, Elgato specifies a suitable power supply of at least 30 W, which isn’t included.
For applicable electrical equipment, the manufacturer must meet European requirements and provide the required CE marking and EU declaration of conformity. Business.gov.nl describes these obligations for placing products on the market; general product specifications don’t prove that an individual model complies.