
Home voice-over artist with noisy neighbours or traffic
You’re recording a single presenter and can position the microphone close by. Your main priority is clear speech despite noise from around the flat.


For recording a presentation voice-over in a noisy flat, a directional microphone that you can position close to your mouth is a sensible starting point. But first, make a test recording in the room where you’ll be recording: direction and distance won’t help with every type of noise. Choose USB for a direct connection to your computer, USB/XLR if you may want to use an audio interface later, or a USB condenser microphone if you can make the room quiet enough. Noise reduction isn’t a reliable solution for background voices or sudden noises.
You’re recording a single presenter and can position the microphone close by. Your main priority is clear speech despite noise from around the flat.
You want to get started without a separate audio interface and listen back while making a test recording.
You want to record via USB for now, with the option of using an XLR interface later. So check which features only work via USB.
When recording a single speaker, where you record and how close you are to the microphone matter more than relying on post-production. Check the results with a test recording.
| What to consider | What to look for | Who is this important for? |
|---|---|---|
| Clear speech despite background noise | Check whether you can position the microphone close to your mouth and point it away from sources of interference. Also test how it handles noise coming from in front. | If I’m recording a single voice in a flat with noisy neighbours or traffic, I want it to remain clear. Around 42% of consumers say that clear speech despite background noise is their main concern. |
| Quick connection and monitoring | Check whether USB is compatible with your computer and whether the specific model has a headphone output. | If you want to record directly on a laptop and monitor your voice as you speak, a simple connection is a key consideration. Around 25% of consumers prioritise a direct connection. |
| Complete setup | Check which stand, cables and other components are included with the version you’re considering. You’ll need a suitable interface to record via XLR on a computer. | If I want to keep the cost of my first recording setup down, I need to know which parts I’ll still need. Around 17% of consumers focus mainly on the complete setup. |
| Vocal detail in a quiet room | Consider a USB condenser microphone if you can make the room quiet enough. Assess the results by recording in your own space. | Consumers who can reduce background noise and value vocal detail may also compare USB condenser microphones. Around 16% of consumers prioritise vocal detail in a room where the noise can be controlled. |
A directional pickup pattern or noise filter won’t prevent every sound in the recording area from being picked up. Shure says that the MV7+ denoiser doesn’t remove background voices, barking dogs or keyboard clicks.
Make a test recording where you plan to record, move closer to the microphone if possible and point it away from sources of interference.
If voices or sudden noises are still audible, you may need to record the voice-over again.
You’ll need a suitable audio interface to connect an XLR microphone to a computer. Features can also vary depending on the connection: Shure says that the MV7+’s digital effects aren’t applied to the XLR signal.
Decide in advance whether you want to record via USB or XLR, and check which features are available with that connection for each model.
A microphone that’s too far away, or can’t be positioned securely nearby, won’t automatically solve the problem of your voice getting lost in background noise. RØDE recommends a speaking distance of around 5–10 cm for the PodMic USB.
Compare test recordings made in the actual recording space and check which stand, cable or other components are included with the version you’ve chosen.
For speech, Audio-Technica offers both a dynamic USB/XLR option and a separate USB condenser microphone.
RØDE describes the PodMic USB as a dynamic USB/XLR microphone for applications including voice-overs.
According to Shure, the MV7+ combines USB/XLR connectivity with digital recording features available via USB.
Samson describes the Q2U as a dynamic USB/XLR option for a first speech recording setup.
Joybuy product picks for voice recording, with a range of connections and microphone types. Check which setup suits your recording space and device.
 No image available
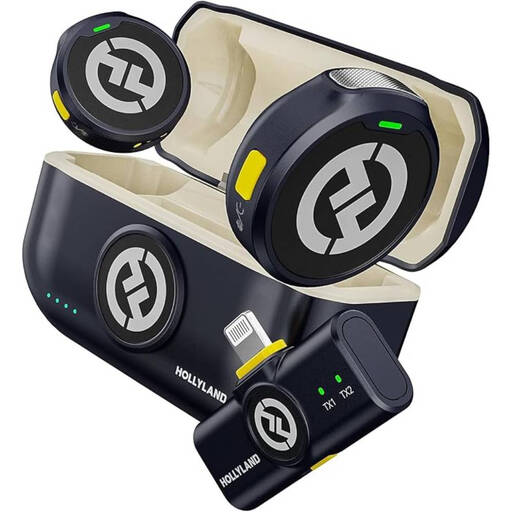
A wireless lavalier microphone system for voice recording. Check in advance that the included transmitter and receiver are compatible with your recording device.
Listed specifications: 48 kHz/24-bit, a transmitter weight of 9 g and a transmission range of 300 m.
 No image available
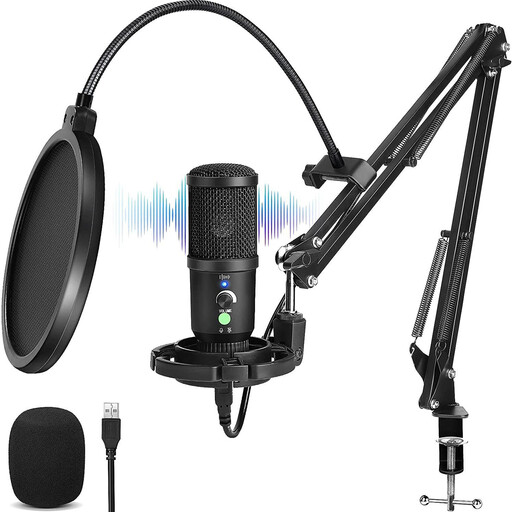
A USB condenser microphone with a cardioid pickup pattern and monitoring, for anyone looking for a USB setup that lets them listen while recording. Test the background noise in your own space; a cardioid pattern doesn’t block out sound completely.
 No image available
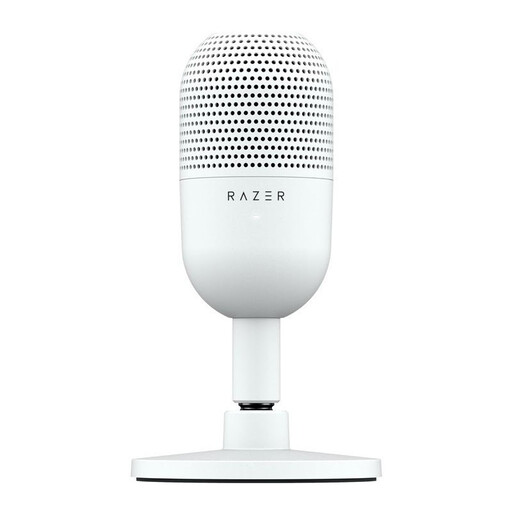
A compact USB microphone for a desktop setup. Its listed supercardioid pickup pattern doesn’t guarantee that background noise will stay out of your recording.
The product name lists USB and tap-to-mute.
 No image available
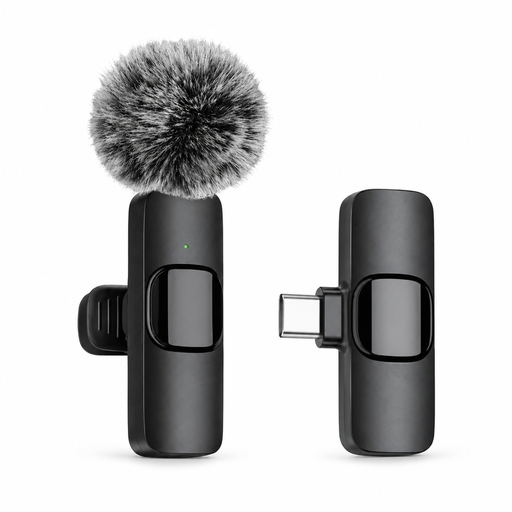
A wireless mini microphone for recordings and interviews. Check that the Type-C connection is compatible with your recording device.
The product name lists a Type-C interface.
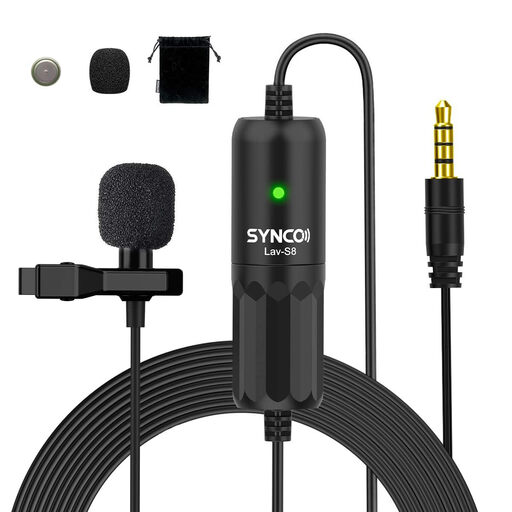 No image available
According to the product information, this lavalier microphone is suitable for devices including PCs and laptops. Its listed omnidirectional pickup pattern doesn’t focus on your voice over sounds coming from other directions.
The product information lists a 3.5 mm connection. Check that it’s compatible with your device.
No, not automatically. Shure says the MV7+ denoiser doesn’t remove background voices or individual clicks; Audacity also says its Noise Reduction feature isn’t suitable for irregular traffic noise. So start by making a short test recording with the microphone close to you and pointed away from sources of interference.
You can connect it via USB to a compatible computer. To connect via XLR, you’ll need a suitable audio interface. Shure also says that the digital effects mentioned for the MV7+ aren’t applied to the XLR signal.
Make a test recording, keep the speaking distance consistent and listen as you record if the model offers direct monitoring. RØDE recommends a speaking distance of around 5–10 cm for the PodMic USB; don’t assume the same advice applies to other models.
No. According to the Netherlands Authority for Consumers and Markets, statutory warranty in the Netherlands has no fixed term. It depends on what you could reasonably expect from the product under normal use. If a product is faulty, the seller is responsible for providing an appropriate solution.
No. Dutch government information explains that CE is not a quality mark. The EU product rules that apply must be established for the specific product; a CE mark isn’t an audio test.