
Voice artist who can hear booth noise
You can hear ventilation or reflections in a test recording and want to narrate recipes clearly, without expecting a microphone to improve the room’s acoustics.


First, make a test recording in the booth and listen for ventilation noise or reflections interfering with your recipe narration. If you can speak close to the microphone, a directional model may be a suitable choice, but it won’t fix the acoustics. USB keeps things simple, while USB/XLR leaves the option of an XLR setup open. A studio condenser microphone is mainly an option if the booth is already quiet and acoustically suitable.
You can hear ventilation or reflections in a test recording and want to narrate recipes clearly, without expecting a microphone to improve the room’s acoustics.
You only record narration on a computer and want a simple connection, headphone monitoring and a practical microphone position.
You want to record now and may want to use an XLR interface later. So you’re comparing the complete recording setup, not just the microphone.
First, make a test recording with the ventilation set as you’d use it while recording. Then decide which connection and microphone position suit your workflow.
| What to consider | What should you check? | Who is this important for? |
|---|---|---|
| Clarity with booth noise | Make a test recording with the ventilation on, and listen to the pauses as well. Compare different speaking positions. | If I can hear ventilation or reflections, I want to know whether my voice will still be clear in the booth. Around 33% of consumers prioritise reducing booth noise. |
| Connecting and monitoring your recording | Check the connection to your recording device, the cable supplied and whether the model offers direct headphone monitoring. | If I want to record on a computer without a separate interface and hear my voice back straight away, I look for a simple connection. Around 27% of consumers prioritise this direct workflow. |
| Plosives and positioning | Check whether a pop filter and a suitable stand or mount are included. Try to see if you can position the microphone comfortably. | If I record recipes over several takes, I want to put the microphone in the same place each time and keep plosives under control. Around 20% of consumers focus mainly on this. |
| The complete recording chain | Check whether you’ll need an interface and cables. For an XLR condenser microphone, also check whether phantom power is required. | If I want to use XLR now or in the future, I want to know what equipment the whole setup requires. Around 20% of consumers focus mainly on expandability and the complete setup. |
Reflections and mechanical noise won’t disappear simply by changing microphones or using digital processing. Shure explains that a microphone cannot effectively separate direct speech from reflected speech.
First, record a short passage with the ventilation set to its usual level, then listen to both your voice and the pauses. If necessary, adjust your recording position or where you speak.
You may also need to adjust your recording space or add acoustic treatment.
According to Shure, the MV7X has XLR only and does not connect directly to a computer; the MV7+ also has USB.
Check the full model name and map out the connection all the way to your recording device.
For computer recording using XLR only, you’ll need a separate audio interface. Also check which cables are right for your setup.
The included mounts and pop filters vary by model, and positioning affects how much room noise you record.
Check what’s in the box and whether you can record comfortably while reading your recipe.
Depending on the microphone you choose, you may need a suitable arm, stand or pop filter.
The ATR2100x-USB is a dynamic USB/XLR option for anyone who wants to record directly and keep an analogue connection available too.
The NT-USB Mini is a compact USB condenser microphone, while the NT1 5th Generation is a separate studio model with USB and XLR.
The MV7+ has USB and XLR; the MV7X is a different model with XLR only.
The Wave:3 MK.2 is a USB condenser microphone designed for a computer-based workflow.
The Joybuy picks below range from clip-on and wireless microphones to USB desktop models. Check that each model’s connection and positioning suit your booth and recording device.
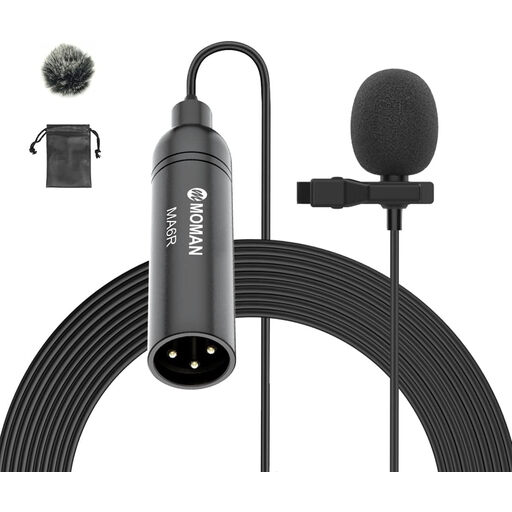 No image available
This clip-on microphone is designed for use with a smartphone. Check that its connection is compatible with your recording device.
The title lists a 6 m cable, a 3.5mm connection and an omnidirectional pickup pattern.
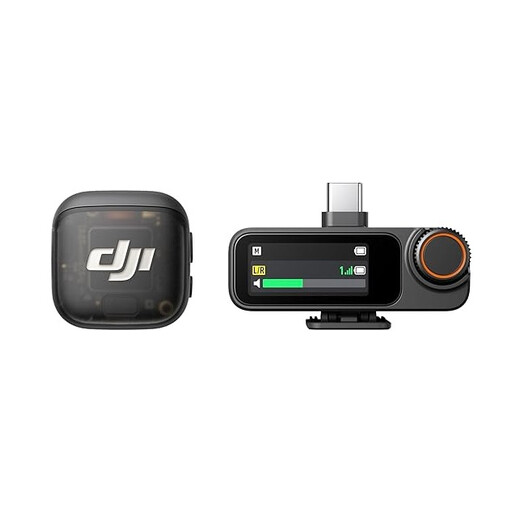 No image available
This wireless set is described as suitable for use with a phone or camera. Check that the receiver and adapter work with your recording setup.
The title lists one transmitter, one receiver and a USB-C phone adapter, with compatibility for iPhone, cameras and Android.
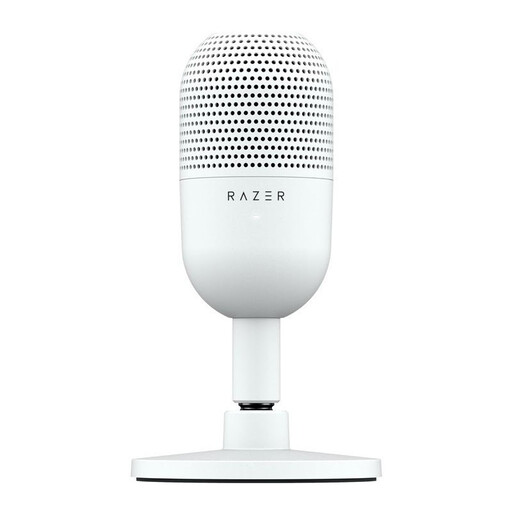 No image available
This USB desktop model may suit a computer setup. Check that you can position the microphone at the distance and angle you want.
The product information lists a supercardioid pickup pattern and tap-to-mute controls.
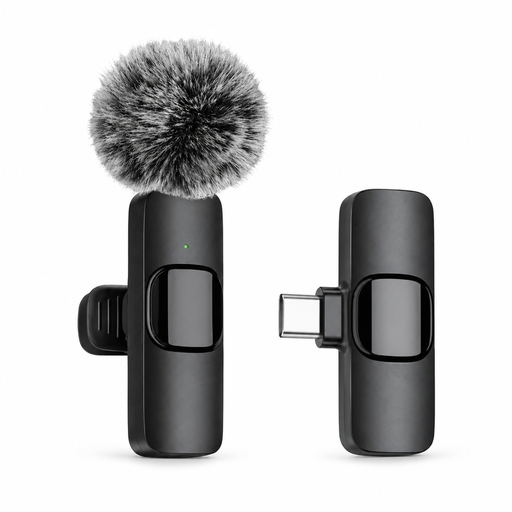 No image available
The product title mentions live streaming, recording and interviews. Check that the Type-C connection is suitable for your recording device.
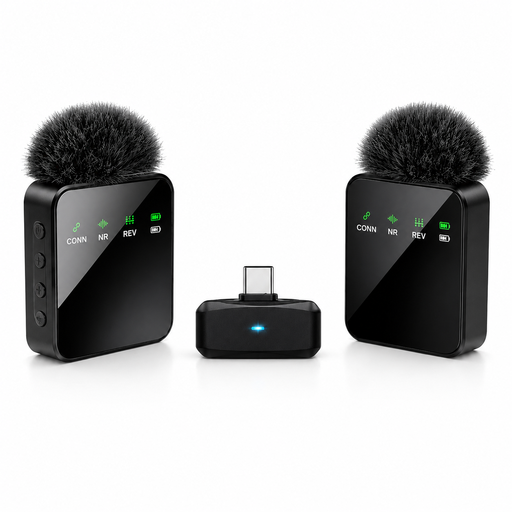
The title lists a set with two microphones and a Type-C interface.
 No image available
This model is described as suitable for live streaming, recording and interviews. Check that the Type-C connection works with your recording device.
The product title lists two microphones and a Type-C connection.
That may be practical, but listen to a test recording first: at a greater distance, the balance between direct speech and reflected sound can change. You could also try using a boom arm or repositioning your recipe sheet to create a comfortable workspace without moving the microphone further away.
Select the microphone as the input on your recording device and, if the model supports it, use the headphone output to monitor your voice as you speak. RØDE describes this setup for the NT-USB Mini. For other models, check the manual and connection details.
To record on a computer with the analogue-only Shure MV7X, you’ll need a separate audio interface. For an XLR condenser microphone, also check whether it requires phantom power and whether your chosen interface supplies it.
According to the ACM, if a product does not perform as you could reasonably expect under normal use, you’re entitled to an appropriate remedy from the seller under the statutory warranty. Online consumer purchases usually come with a 14-day cooling-off period; check whether a legal exception applies to your purchase.
No, this does not automatically apply to every type of microphone. According to the Dutch government, CE marking is compulsory for product groups covered by the relevant rules. Check the product category and documentation for the exact device.