
Recording solo alongside colleagues
You practise or teach while others are working at the same desk. A recording focused on your voice and a place where you can position the microphone close to you matter more than capturing the whole table.


If you mainly want to record your own voice while others are working at the same desk, start with a cardioid microphone positioned close to you, then make a test recording to see how much background noise comes through. If you need both the teacher and pupil to be audible, consider the microphone’s position and recording mode: a wider pickup pattern may also capture more sound from around you. Also check the stand, connection and arrangements for recording identifiable voices.
You practise or teach while others are working at the same desk. A recording focused on your voice and a place where you can position the microphone close to you matter more than capturing the whole table.
You want to be able to listen back to both voices, and need to consider whether a wider recording will also pick up other activity at the desk.
You set up your recording space each time and pack it away afterwards. A compact USB setup and a stand that fits on your desk are important things to consider when choosing.
First decide whether the recording should include only your voice or also the voice of someone you’re speaking to. Then choose based on the microphone’s position, connection and the amount of desk space you have available.
The percentages below indicate which needs may be priorities for consumers using this setup for a language lesson.
| What to consider | What to look for | Who should pay extra attention? |
|---|---|---|
| Keeping your own voice clear | Check the pickup pattern and whether you can position the microphone close to you, facing the side you speak into. Make a test recording while the desk is being used as usual. | If I record my pronunciation while others are working at the same desk, I want to know how much of their voices will be picked up. Around 36% of consumers mainly need a focused solo recording. |
| Recording both voices | Decide whether one recording needs to include both people, and test the microphone from the actual seating positions. Logitech lists cardioid and omnidirectional modes for the Yeti Nano; the omnidirectional mode picks up sound from all around. | If the teacher and pupil want to listen back together, recording both voices matters more than capturing just my pronunciation. Around 29% of consumers prioritise recording both lesson participants. |
| Quick setup on a small desk | Check the dimensions, the USB connection required and whether the stand keeps the microphone where you want it. Samson lists a desktop stand for the Q2U; check what’s included with the version you choose. | If I have to set up and pack away my recording space each time, I want it to take up as little room as possible. Around 21% of consumers mainly prioritise a compact setup that’s easy to put together. |
| Monitoring and connections | Check whether the model supports direct headphone monitoring. To record to a computer using an analogue XLR connection, you may need a suitable audio interface or mixer. | If I want to check what the microphone is picking up during the lesson or expand my setup later, these connection options matter. Around 14% of consumers prioritise monitoring or flexible connections. |
A cardioid polar pattern is designed to pick up less sound from certain directions, but it won’t completely exclude nearby voices. How much of your colleagues’ voices comes through also depends on the microphone’s position and activity at the desk.
Point the speaking side towards the speaker and make a test recording with the microphone positioned where you plan to use it during the lesson.
According to Logitech, the Yeti Nano’s omnidirectional mode picks up sound from all around. This could also capture other activity at the shared desk.
Test whether both voices are clear enough from the actual seating positions, and how much background noise is picked up. If you need separate level controls, look into whether a setup with multiple microphones and a mixer would suit you.
A model that needs to be close to your mouth will need a suitable space or mounting option. If you’re recording through an analogue XLR connection, the signal will also need to be converted so your computer can use it.
Check what stand and cables are included with each version, and whether you already have the equipment needed for your chosen connection.
Depending on the model and connection, you may need a separate stand, boom arm or audio interface.
The Q2U is a dynamic cardioid USB/XLR microphone for solo recordings. Samson also lists a desktop stand, headphone output and cables.
The PodMic USB combines a dynamic cardioid microphone with USB-C, XLR and direct monitoring.
According to Logitech, the Yeti Nano has cardioid and omnidirectional pickup modes for different ways of recording at a table.
According to HyperX, the SoloCast 2 is a cardioid USB condenser microphone with a built-in shock mount and pop filter.
The MV7+ is a dynamic USB/XLR option with software settings and direct monitoring.
These product choices are suited to solo recordings at a shared desk and situations where several people need to be included in the recording. Check that each model’s connection and positioning suit your recording device and workspace.
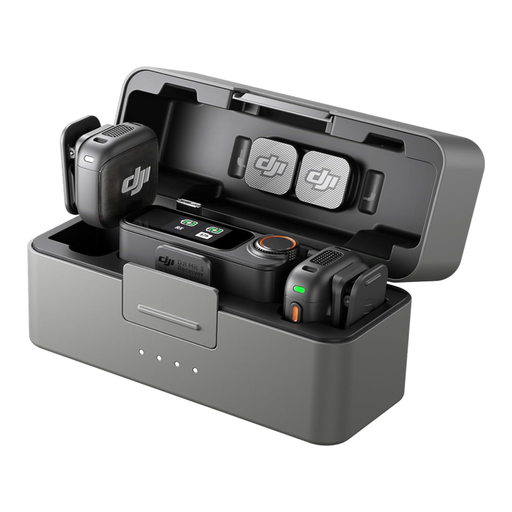 Image unavailable
A set with two transmitters and one receiver may suit a recording where both the teacher and pupil need to be heard.
The product name lists two transmitters, one receiver and a charging case. Check that the connections are compatible with the device you want to record on.
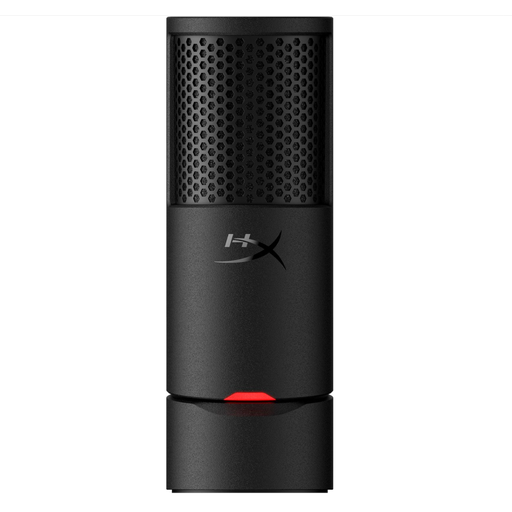 Image unavailable
A USB microphone for anyone mainly looking to make solo recordings at a shared desk.
HyperX describes this model as a cardioid USB condenser microphone with a built-in shock mount and pop filter. Test the recording where you plan to use the microphone.
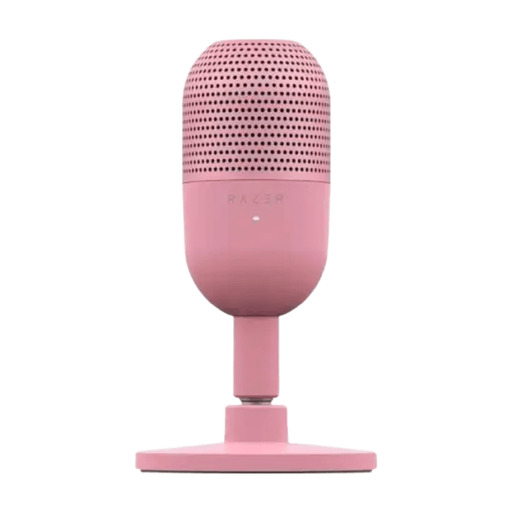 Image unavailable
A compact USB microphone for anyone looking for a small setup for voice recordings.
The product name lists USB and tap-to-mute. Check that the connection is compatible with your recording device and that the controls suit the way you work.
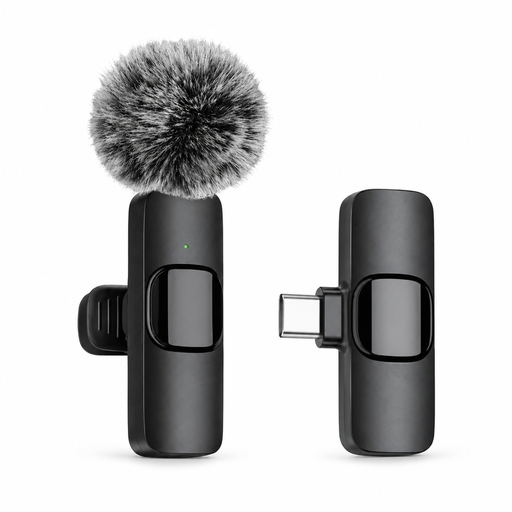 Image unavailable
A lavalier microphone may be an option if you want to record a conversation or interview.
The product name lists a wireless microphone with a Type-C interface. Before buying, check that it works with the device you want to use to record the lesson.
Not necessarily. If both voices need to be recorded on one device, an omnidirectional mode such as the one on the Yeti Nano may be an option, but Logitech says this mode picks up sound from all around. Test both seating positions and the usual background noise at the table before relying on this setup.
Point the correct speaking side towards the speaker and check the positioning with a short test recording. RØDE recommends a distance of around 5–10 cm from the mouth for the PodMic USB; don’t assume the same distance will work for other models.
For an analogue XLR signal, Samson describes using an audio interface or mixer to convert the signal for the computer. With a model that has its own USB output, you can connect directly via USB. Check the connections and included cables for each model.
For a consumer purchase in the Netherlands, the seller is responsible for providing an appropriate solution if the product doesn’t perform as you could reasonably expect under normal use. ACM ConsuWijzer states that statutory guarantee doesn’t have a fixed term of exactly two years; what solution is appropriate depends on the circumstances.
This depends on who is recording, why they’re doing so and what happens to the recording; don’t assume that taking part in the lesson means you’ve agreed to it being shared. The Dutch Data Protection Authority refers to the need for arrangements about making and storing recordings, and informing pupils, in online education. Agree the purpose, people involved, storage and any sharing in advance, and check the applicable rules and the educational institution’s arrangements.