
Solo intro in a noisy room
You’re recording the introduction yourself and can position the microphone close to you. Above all, you want your voice to remain clear despite the room noise.


If you’re recording the intro alone at a desk, start with a dynamic USB microphone that you can position close to your mouth; RØDE specifically recommends around 5–10 cm for the PodMic USB. If both the interviewer and guest will be speaking, choose a set-up with one microphone or transmitter per speaker, and check how both voices are recorded. A quieter location and a test recording still matter: Shure stresses that a microphone cannot improve a room’s acoustics by itself.
You’re recording the introduction yourself and can position the microphone close to you. Above all, you want your voice to remain clear despite the room noise.
You’ll both be speaking and want to avoid one voice being much further from the microphone than the other.
You’re recording with a phone or camera, moving while you speak, or want to keep a desk microphone out of shot.
Suitable if: you’re speaking alone and can stay close to the microphone during the intro.
Bear in mind: one microphone won’t automatically capture two voices clearly if they’re some distance away; room noise will still be audible too.
Suitable if: both the interviewer and guest will be speaking and won’t always be sitting next to the same microphone.
Bear in mind: check how both signals are recorded on your computer or phone, and whether the receiver is compatible.
Suitable if: the microphone needs to stay out of shot and you can position it close to a speaker who is mostly sitting still.
Bear in mind: a shotgun microphone doesn’t zoom in on sound; the greater the distance, the harder it is to distinguish voice from echo and background noise.
First decide how many people will be speaking and where you can position the microphone. Then check the connection and any additional equipment you’ll need.
| What to consider | What to look for when buying | Who is this important for? |
|---|---|---|
| Speech with room noise | Can you position the microphone close to the speaker and point it towards them? Make a test recording and listen back. | If I’m recording alone, I want my voice to stay clear without relying on noise processing; around 36% of consumers prioritise clear speech in the presence of room noise. |
| Two speakers | Check the number of microphones or transmitters, and how both voices are recorded, either separately or together. | When both the interviewer and guest are speaking, I don’t want either of them to be too far from the microphone; around 29% of consumers prioritise clear audio for both voices. |
| Connection and set-up | First choose whether you’ll use a computer or phone; then check the port, cable and any receiver you might need. | If I want to record using my existing computer or phone, the connection needs to be compatible and the set-up should be easy to use; around 21% of consumers prioritise the connection and set-up. |
| Additional equipment | Check what’s included in the box and which stand, cable or recording input you already have. | For a complete recording set-up, I want to know which extra items I’ll need and whether I might want to expand it later; around 14% of consumers start by considering the equipment and connection options they need. |
A shotgun microphone won’t bring a voice closer from a great distance. The further away the speaker is, the more noticeable the echo and background noise may become.
Position the microphone as close to the speaker as possible and point it towards their mouth. Also check that your chosen set-up can stay out of shot.
Each speaker’s distance from the microphone affects how much of their voice is captured compared with the room noise.
Decide in advance who will be speaking and make a test recording to check whether both voices are captured from close enough.
You may need a second microphone, a compatible recording input or a system with two transmitters; check which equipment will work with your set-up.
USB, XLR and a receiver for a phone are different connection options. So a microphone won’t necessarily work with every device or recording set-up.
Compare what’s included in the box with your computer, phone and existing recording equipment. Bear in mind that you may need to buy a stand, compatible cable or XLR recording input separately.
Worth considering for a fixed speaking position with the PodMic USB, or a mobile phone set-up with the Wireless Micro.
The MV7+ is a dynamic microphone designed for close-up use, with USB-C and XLR.
The AT2040USB is a dynamic USB desk microphone for focused recording.
These Joybuy products are suited to an interview recording with two transmitters or a solo recording via USB; check the connection and any additional equipment you need for each model.
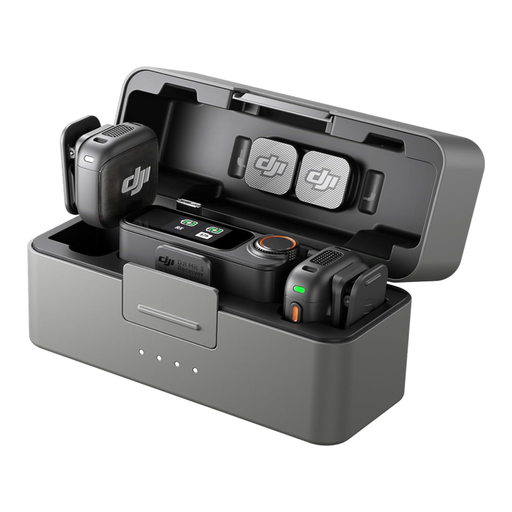 No image available
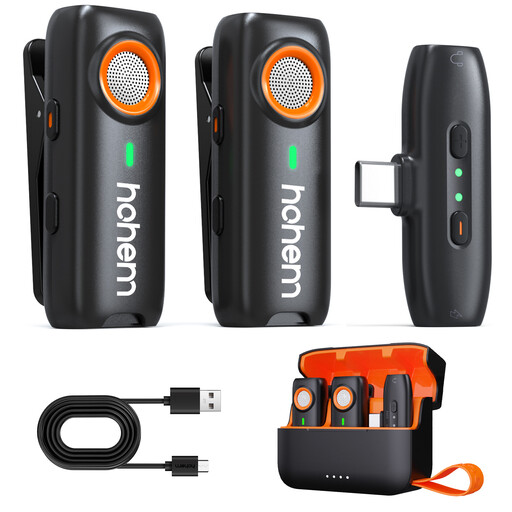
The two transmitters and one receiver are suited to recording with two speakers; check how the receiver connects to your recording device.
The product description mentions interviews and recordings with two people.
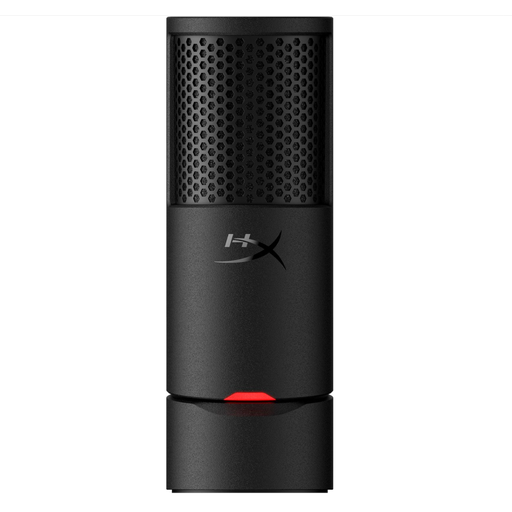 No image available
This USB microphone is suited to a solo intro recorded on a computer; keep it close and listen back to a test recording.
The description mentions a cardioid polar pattern, mute function, integrated shock mount and pop filter. A USB-C to USB-A cable is listed.
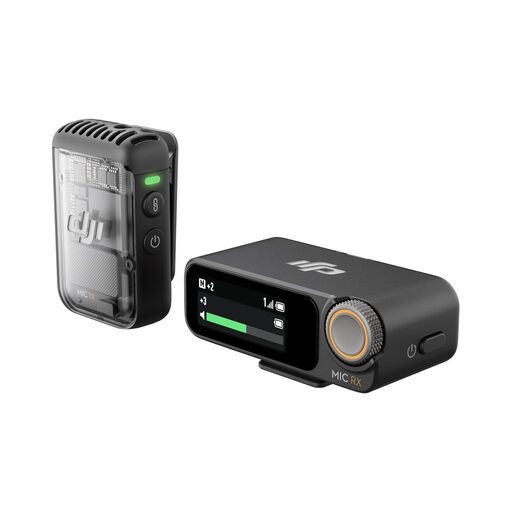 No image available
The version with one transmitter is suited to a mobile solo recording; check which adapter works with your device.
The product information lists compatibility with iPhone, Android and cameras, as well as USB-C, Lightning and 3.5mm adapters. The transmitter can be attached with a clip or magnet.
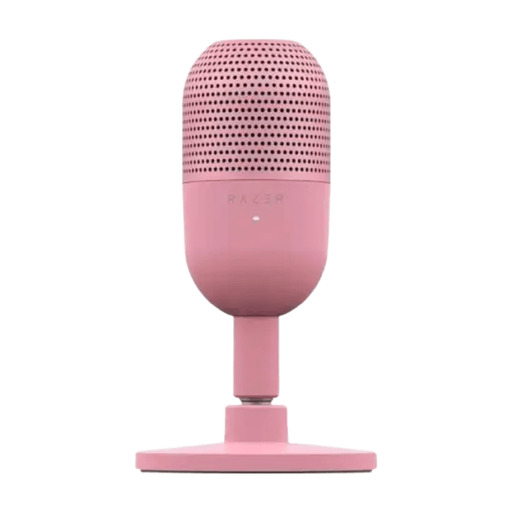 No image available
This USB microphone is suited to a solo recording on a computer; check in advance that you can position it close enough to the speaker on your desk.
The product description lists USB, compatibility with PC and Mac, a mute function and a supercardioid polar pattern.
 No image available
The clip-on set-up is designed for mobile interviews; check that the listed connection is compatible with your phone, camera, tablet or laptop.
The product description mentions attachment with a clip or magnet. A TF card for local backup recording is not included.
Don’t count on it. First, record closer to the speaker and choose a quieter location if possible; a microphone can’t fix a room’s acoustics. Shure lists digital noise processing as a feature of the MV7+, but listen for yourself to see how it performs in your space.
Point the microphone towards the speaker, make a test recording and listen through headphones for voices and background noise. RØDE specifically recommends a distance of around 5–10 cm for the PodMic USB; this distance doesn’t automatically apply to every model.
According to the Dutch government, in many cases you have a 14-day cooling-off period when buying remotely from a business; the seller must tell you what cooling-off period applies. Check the terms of the specific purchase, as a purchase from a private individual isn’t necessarily covered by the same rules.
That depends on how you intend to use it; don’t assume you automatically have permission. The Dutch Data Protection Authority says that in most cases you need permission to publish other people’s personal data online, and describes separate exceptions, including strictly personal or household use. Before publishing anything publicly, decide on the purpose and the applicable legal basis.