
Presenter dealing with a Wi-Fi dead spot
You present in a spot where the existing signal is too weak and want to know where best to place an additional access point.


Start by checking where the Wi-Fi is dropping out: at the presentation spot, between the mesh nodes or between the network and the screen. If you can run an Ethernet cable between suitable locations, look first for a system that supports wired backhaul. If not, the positioning of the nodes and the wireless connection between them are key. Also test whether a guest network allows access to the presentation screen.
You present in a spot where the existing signal is too weak and want to know where best to place an additional access point.
You can run a cable to the presentation spot and want to weigh up whether a wired connection between mesh nodes would work for your setup.
Visitors need to get online and may need to access a screen, without automatically gaining access to your private network.
First, check the connection where you present, then work out whether you can run a cable between the mesh nodes.
| What to consider | What should you check? | Who is this important for? |
|---|---|---|
| Coverage at the presentation spot | Check how many mesh nodes there are, where they can be placed and what the connection is like where you present. | If I present somewhere with weak Wi-Fi, I want to know whether I can position an extra node there effectively. Around 36% of consumers prioritise coverage at the presentation spot. |
| Connection between mesh nodes | Check whether Ethernet backhaul is supported, how many ports will remain available and whether you can run a cable between the nodes. | If I want to avoid interruptions while presenting, I first check whether I can connect the mesh nodes with a cable. Around 29% of consumers prioritise a stable connection between the nodes. |
| Guest access and screen connection | Check the guest network and local access settings; test them with a guest device and the screen you plan to use. | If visitors need to present from their own device, I want to set up guest access and make sure the screen is still reachable. Around 21% of consumers prioritise controlled guest access and screen connectivity. |
| Existing equipment and costs | Make a note of the router you already have and how many nodes and ports you need; also check which features come with additional requirements. | If my current network is still usable, I only want to expand it where necessary. Around 14% of consumers prioritise reusing equipment and avoiding unnecessary purchases. |
Actual coverage and throughput depend on factors including building materials and obstacles. TP-Link warns that real-world coverage may differ from the stated coverage.
Test the connection where you actually use your laptop and presentation screen.
In the Deco router mode described by TP-Link, the guest network and main network are separate. This could put a screen on the main network out of reach of a guest device.
Test your chosen network and screen combination before a presentation. Only change local access settings if this suits your security requirements.
The Deco X50 and X50-PoE are different versions, with their own placement and power options. Also check how many mesh nodes are actually included in the pack you choose.
Check the full model name, number of nodes, power supply and connections on the product page and packaging.
A missing mesh node or incompatible power supply could mean you need to make an additional purchase.
Each node in the Deco X50 range has three gigabit ports. The separate X50-PoE version is also designed for wall or ceiling mounting and PoE power. TP-Link describes these connections and placement options for the relevant models.
ASUS describes the ZenWiFi BD4 as a dual-band Wi-Fi 7 mesh system, with two 2.5G Ethernet ports per node and AiMesh compatibility.
The FRITZ!Repeater 3000 AX is an expansion option for a compatible FRITZ! network. FRITZ! lists two gigabit LAN ports and a LAN connection to a FRITZ!Box.
Google describes a wired connection between compatible nodes for Nest Wifi Pro.
These Joybuy products are mesh Wi-Fi options for use across multiple rooms. For each version, check the number of mesh nodes, the connections and how it links to the presentation screen.
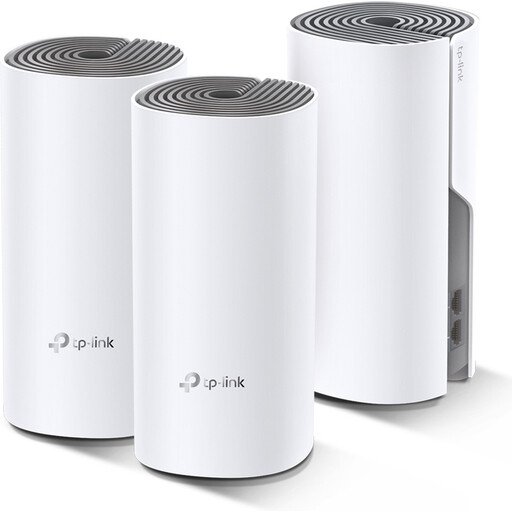 Image unavailable
The three mesh units give you several possible locations for Wi-Fi points around the loft.
Wi-Fi 5; two Ethernet ports per unit, with a maximum speed of 100 Mbit/s according to the product description.
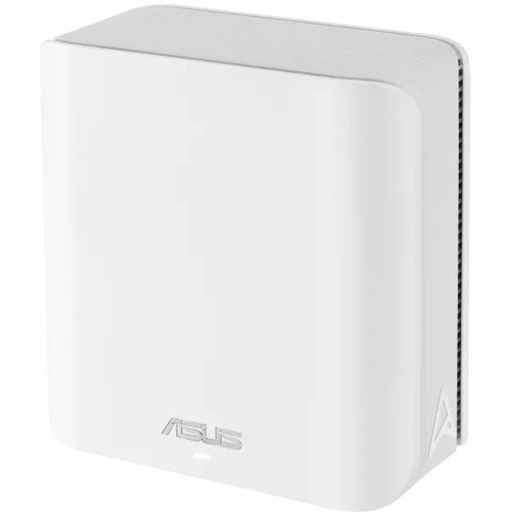 Image unavailable
This version could suit you if you are looking for an option with wired backhaul and wired connections.
Wi-Fi 7 and two 2.5G Ethernet ports according to the product information. The listing states that one mesh node is included; check the pack contents if you need several nodes.
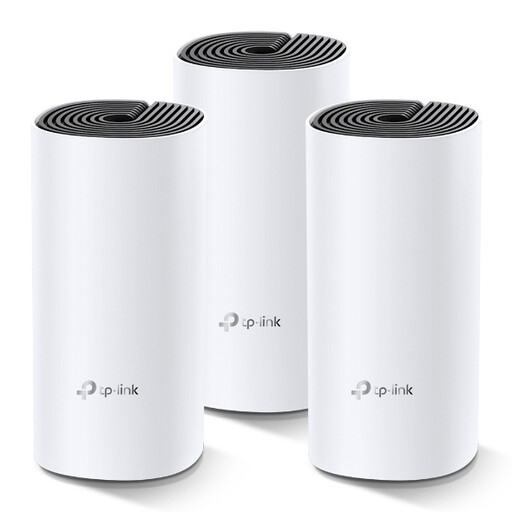 Image unavailable
The three mesh units let you place Wi-Fi points in several locations.
Wi-Fi 5 and two Ethernet ports per unit according to the product information. The description also mentions guest network management; test whether the guest device can reach the presentation screen.
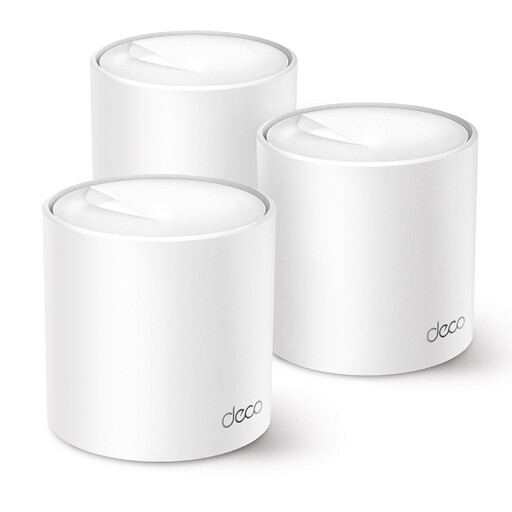 Image unavailable
The pack includes three mesh units and could be useful if you want to position Wi-Fi points in several locations.
Wi-Fi 6 and three gigabit Ethernet ports per unit according to the product description. Actual coverage also depends on your surroundings.
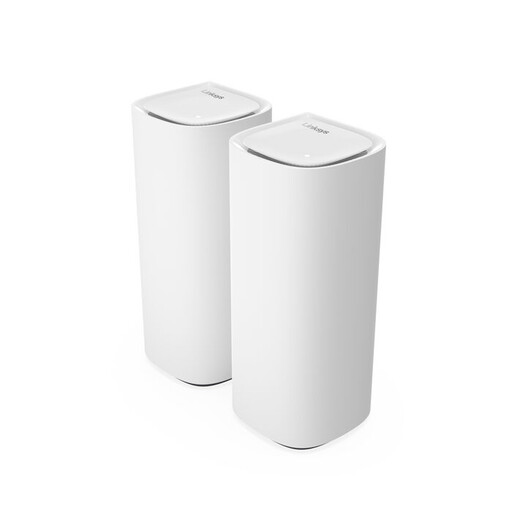 Image unavailable
The product information states that two mesh nodes are included for a multi-node setup.
Tri-band Wi-Fi 7 according to the product information; a Wi-Fi 7 label alone does not determine how well the connection will work in your loft.
Not always. Test both the Wi-Fi at the presentation spot and the connection between the extra node and the main router. Tweakers describes wired backhaul as the more stable way to connect mesh nodes when cabling is possible.
Not automatically. TP-Link states that the main network and guest network are separate in the Deco router mode described. In the access point mode described, a local access setting may be available, depending on the model and software version. Test your chosen screen and network combination beforehand.
Position the nodes where they have a usable connection to one another, or connect them by cable according to the instructions. Once everything is set up, check the connection at the presentation spot and keep the firmware on your equipment up to date. Features may vary by model and software version.
No. According to the Dutch government, statutory consumer protection applies alongside any manufacturer’s or seller’s warranty. There is no fixed statutory time limit in the Netherlands; if a product is faulty, contact the seller.
Radio equipment placed on the EU market must meet the applicable requirements and carry the correct CE marking, according to the Dutch Authority for Digital Infrastructure. Check the marking on the device you receive and follow the instructions; the marking does not guarantee Wi-Fi coverage in your loft.