First, choose a lens that’s compatible with your camera’s mount and sensor size. Then decide whether you mainly want to photograph the whole patch or individual stitches. A close-up lens with a maximum magnification of up to 1:2 may be enough for an overall view and modest detail. For smaller stitches, 1:1, 1.4× or 2:1 offers greater magnification, but calls for more precise focusing and a stable set-up. Maximum magnification alone won’t tell you whether the whole patch will fit in the frame.
Who is this guide for?
Maker who wants to show off the stitches
You want to capture small embroidery details clearly and need the right magnification and precise focusing. Product information from Canon Netherlands and Laowa Netherlands covers options for higher macro magnification; Nikon USA explains why close-up focusing calls for extra care.
Seller photographing patches
You take repeatable photos of complete patches in window light and want to control the composition, lighting and focus. Canon Europe explains how to use window light with a reflector or white card for product photography.
Photographer looking for one lens for several jobs
You want to photograph patches without choosing a lens designed mainly for extreme close-up detail. Canon Netherlands and Nikon Netherlands’ product specifications show that some macro lenses are also positioned by their manufacturers for everyday photography.
What should you look for when buying?
Close-up to 1:2
Suitable for: whole patches, compositions and modest close-ups, provided the lens is compatible with your Canon EOS R camera.
The trade-off: a maximum magnification of 0.5× is less than that of 1:1 and 2:1 lenses; check that the stitches you want to show will appear large enough in the frame.
Macro up to 1:1 or 1.4×
Suitable for: individual stitches that need to appear larger in the frame, with a lens that’s compatible with your camera system.
The trade-off: Canon, Nikon, Sony, Sigma and Fujifilm offer different mounts and models; the stated minimum focusing distance is not the same as the clear space in front of the lens.
Manual macro up to 2:1
Suitable for: very small stitch details and a compatible APS-C camera, if you’re comfortable focusing manually.
The trade-off: according to Laowa Netherlands, the Sony E version reviewed has no autofocus or electronic communication; precise positioning is important.
First compare your desired framing and camera compatibility. Then consider whether you’ll have enough room to work and control focus in window light.
| What to consider |
What should you check? |
Who should pay particular attention? |
| Magnification for stitches |
Compare the maximum magnification with the framing you want, and check that the mount is compatible. |
If I want to show small stitches individually, I prioritise detail over an overall photo. Around 31% of consumers put magnification for stitch detail first. |
| Mount and sensor size |
Note your exact camera model, mount and sensor size, then check the specific version of the lens you’ve chosen. |
I want to avoid buying a lens that won’t fit my camera, so compatibility is my first check. Around 25% of consumers prioritise a compatible mount and sensor format. |
| Sharpness and window light |
Check sharpness across the raised stitches and consider whether a stable set-up and adjusted lighting are practical. |
If I want to take repeatably sharp photos of the whole patch in window light, I also consider the darker side and my set-up. Around 25% of consumers make consistent sharpness and lighting their top priority. |
| Versatility |
Decide what else you want to photograph and whether you can use the same lens for it. |
I want to use the lens for more than just patch photography, so I weigh that flexibility against a lens designed for extreme detail. Around 19% of consumers prioritise versatility. |
Common mistakes
-
Choosing the highest magnification to photograph the whole patch
A 2:1 lens is designed for a smaller area than you’ll often need to show a whole patch. Greater magnification also makes precise focusing and positioning more important.
First decide whether you want to show the whole patch or just a few stitches, then compare magnifications such as 0.5×, 1:1 and 2:1.
-
Confusing minimum focusing distance with working distance
The stated focusing distance isn’t the clear space between the front of the lens and the patch. That space affects how you can position the camera and window light.
Check the available space in front of the lens for the magnification and set-up you want to use.
-
Expecting image stabilisation to solve every focusing problem
Image stabilisation and the limited depth of field in macro photography are two different things. Nikon USA notes that macro photography may call for a tripod to keep the camera steady.
Check sharpness across the whole patch with a stable set-up, and make sure raised stitches fall within the area in focus.
Relevant macro lens brands
Canon
For Canon RF cameras, Canon Netherlands lists both a versatile close-up lens and a model with greater magnification.
- According to Canon Netherlands, the RF 35mm F1.8 MACRO IS STM offers maximum magnification of 0.5×, while the RF 100mm F2.8L MACRO IS USM offers up to 1.4×.
- The RF 35mm doesn’t reach 1:1. Check that the mount is compatible with your camera and that the magnification suits the framing you want.
Nikon
Nikon Netherlands positions the Z MC 50mm f/2.8 for everyday photography too, and the Z MC 105mm f/2.8 VR S as a longer macro lens.
- Nikon lists 1:1 magnification for both Z MC models.
- The stated magnification doesn’t tell you how much clear space you’ll have in your set-up; also consider depth of field with raised stitches.
Sony
According to Sony Netherlands, the Sony FE 90mm F2.8 Macro G OSS is a 1:1 macro lens with a Sony E mount.
- Sony lists a minimum focusing distance of 0.28 m and maximum magnification of 1.0×.
- The minimum focusing distance isn’t the clear space between the lens and the patch; check the working space available for your shot.
Sigma
According to Sigma, the Sigma 105mm F2.8 DG DN MACRO | Art is available with either a Sony E or L mount.
- Sigma lists maximum magnification of 1:1 for this model.
- Choose the right mount version for your camera; the two versions aren’t interchangeable.
Laowa
Laowa Netherlands lists a manual 65mm f/2.8 2X Ultra-Macro version for Sony E on APS-C.
- Maximum magnification is 2:1, which is suitable for individual small details when you need that high level of magnification.
- According to Laowa Netherlands, the Sony E version reviewed has no autofocus or electronic communication; check which mount version you need.
Fujifilm
According to Fujifilm, the FUJINON XF80mmF2.8 R LM OIS WR Macro is an XF macro lens.
- Fujifilm lists maximum magnification of 1× and a focusing range starting at 25 cm.
- The stated minimum focusing distance isn’t the clear working space in front of the lens. Fujifilm lists a weight of around 750 g.
Joybuy products for close-ups
These Sony E lenses are suitable for close-ups and trying different compositions. They aren’t macro lenses for high magnification, so choose them only if a standard lens can capture your patch as you want it.
 No image available
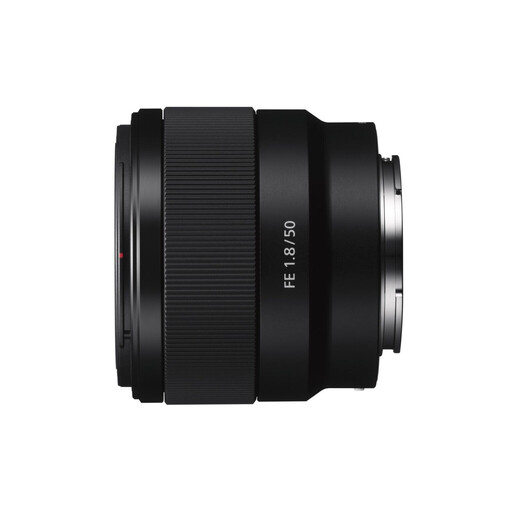
Sony E 50mm f/1.8 OSS Black
Worth considering if you use a Sony E camera and want to photograph other close-ups as well as patches; it isn’t a high-magnification macro lens.
50 mm; f/1.8; OSS.
View at Joybuy
 No image available
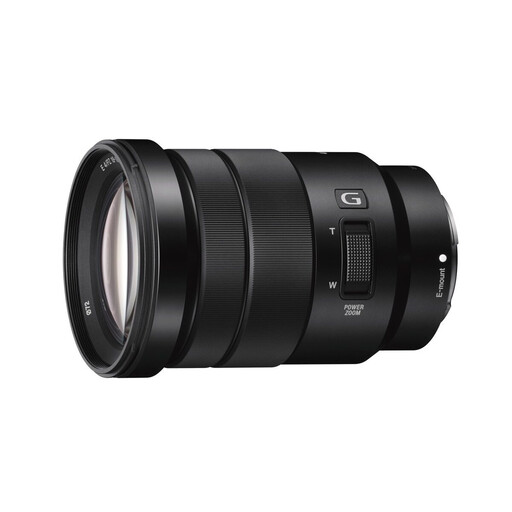
Sony E PZ 18-105mm f/4 G OSS
The zoom range could suit you if you want to try different compositions with a Sony E camera; check in advance that the details you want to show will appear large enough in the frame.
18–105 mm; f/4; OSS.
View at Joybuy
 No image available
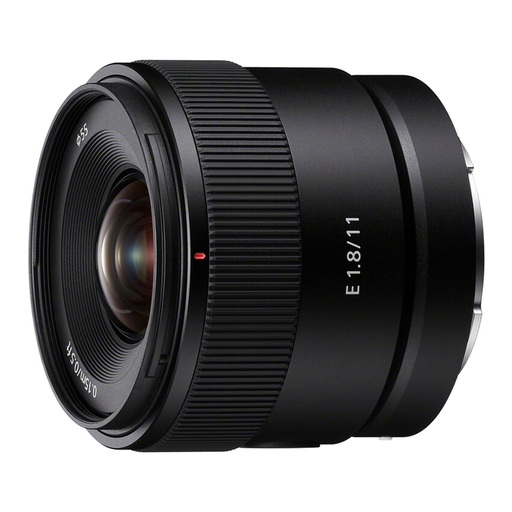
Sony E 11mm F1.8 APS-C (SEL11F18)
This ultra-wide-angle lens is an option for wide framing on a compatible Sony E camera with an APS-C sensor, but not for high magnification of individual stitches.
11 mm; F1.8; APS-C.
View at Joybuy
Frequently asked questions
Do I always need 1:1 magnification to photograph a whole embroidered patch?
No, not necessarily. The magnification you need depends on the patch’s size, the sensor and the framing you want. A 1:2 lens may be enough for close-ups; choose greater magnification if the stitches won’t otherwise appear large enough in the frame.
What can I do if the raised stitches aren’t all in focus at once?
Keep the camera steady, make the patch as parallel to the camera as possible and check focus across the subject. Depth of field can be very limited in macro photography; a shot with significant depth may call for an adjusted focusing technique.
How can I brighten a dark side when using window light?
For product photography, Canon Europe recommends using a reflector or a large piece of white card to bounce light back onto the darker side. Check the exposure again when the daylight changes.
What are my rights when buying online from a business in the Netherlands?
According to the Dutch government, in many cases you have a 14-day cooling-off period when buying at a distance; exceptions and the type of seller matter. If there’s a problem with a product, the Dutch government says the seller must offer a solution under the statutory guarantee.


