
Tile maker photographing whole tiles
You want to capture dimensions, patterns and edges consistently. The right framing and a fixed shooting setup are important.


First, choose a lens with the right mount, then decide whether you’ll mainly be photographing whole tiles or small glaze details. For a full tile, framing, edge-to-edge sharpness and room for your setup matter more than maximum magnification. For small details, magnification and the working distance in front of the lens matter more. Reflections and limited depth of field also make lighting, camera position and focusing important.
You want to capture dimensions, patterns and edges consistently. The right framing and a fixed shooting setup are important.
You want to show small features clearly, balancing magnification against the space left in front of the lens for lighting.
You want to manage reflections and limited depth of field, so your lighting and camera setup matter just as much as your choice of lens.
First, check the mount and the framing you need. Then compare magnification and working distance for close-up shots. For glossy tiles, try test shots with the light in different positions too.
| What to consider | What should you check? | Who is this important for? |
|---|---|---|
| Mount | Check the exact lens mount and version for your camera. | I want to make sure the lens fits my camera body before weighing up other features. Around 28% of consumers put compatibility first. |
| Fitting a whole tile in the frame | Measure the tile and the available distance between the camera and tile; check the edges in your test shots too. | If I want to capture the patterns, dimensions and edges of a whole tile, the area I want to photograph needs to fit in the frame. Around 22% of consumers give capturing the entire tile their highest priority. |
| Small details | Compare the size of the detail with the crop you want, and check whether 1:1 is enough before considering a 2:1 lens. | For crazing or fine glaze texture, I mainly want to know how large the detail will appear in the frame. Around 17% of consumers rank detail magnification above other buying factors. |
| Gloss and reflections | Try different lighting positions. If you’re using a filter, check the size required for your exact lens. | I want to manage reflections so the glaze finish remains clear, without unintentionally changing its visible sheen. Around 17% of consumers prioritise how gloss is rendered. |
| Working distance and setup space | Compare the working distance at the magnification you’ll use, and test whether the camera, tripod and lighting will all fit together. | When I’m shooting in a small home studio, there needs to be enough room for both the lens and the lighting. Around 16% of consumers say setup space is their top priority. |
Minimum focusing distance is measured from the camera sensor, so it doesn’t tell you how much space there is between the front of the lens and the tile. Sony gives the FE 90mm F2.8 Macro G OSS a minimum focusing distance of 0.28 m and a working distance of around 13 cm at its closest focus; these are two different measurements. Nikon states that the Z MC 50mm f/2.8 leaves around 5 cm of space in front of the lens at its closest focusing distance.
Compare the working distance at the magnification you actually need, and test your setup with your tile and lighting.
Laowa lists 2:1 for the Canon RF version reviewed here, making it suitable for very small details. For an overview of a whole tile, framing and shooting distance remain key.
First decide how many overview and detail shots you need, then choose the magnification required.
Reflections are affected by the position of the light and the shooting angle. A polarising filter can affect reflections, but it may also change the visible sheen.
Try different lighting positions and take test shots before choosing a filter or another lens.
Laowa’s Dutch product page states that the Canon RF version of the 100mm f/2.8 2X Ultra-Macro APO has no autofocus or electronic communication with the camera.
Check the mount and features of the exact version, not just the name of the lens range.
For cameras with a Nikon Z mount, macro lenses are available with 50 mm or 105 mm focal lengths.
The FE 90mm F2.8 Macro G OSS is a 1:1 macro option for a compatible Sony E-mount camera.
The RF 100mm F2.8L Macro IS USM is designed for a compatible Canon RF camera.
The 105mm F2.8 DG DN MACRO | Art is a 1:1 option available in Sony E and L-mount versions.
The 100mm f/2.8 2X Ultra-Macro APO is designed for very small details; the version reviewed here is for Canon RF.
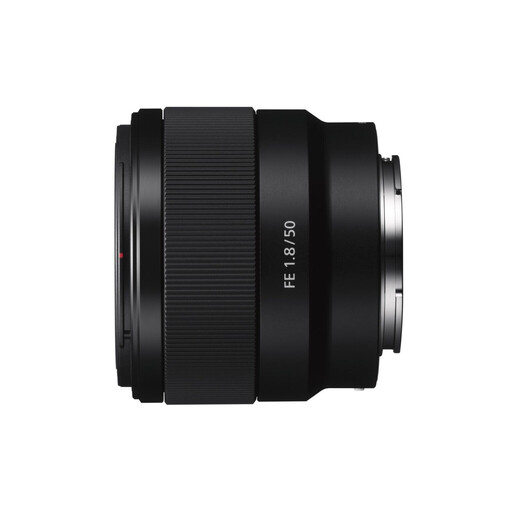
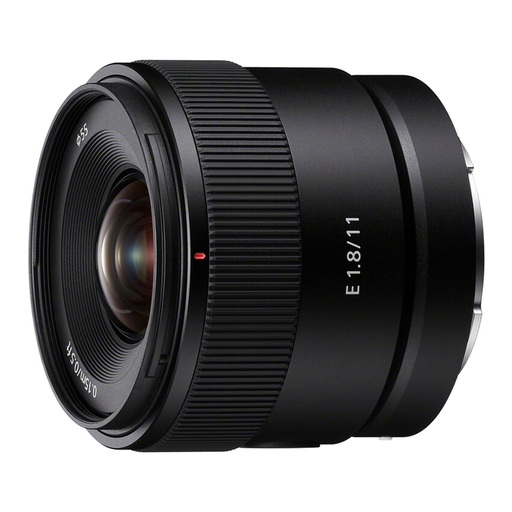
These Sony E lenses are associated with close-up and product photography, but their product names don’t identify them as dedicated macro lenses. Check that the exact version is right for your camera and the tile image you want to create.
 No image available
A lens to consider for close-up and product photography. Take a test shot to check whether the tile texture appears large enough in the frame.
The product name specifies Sony E, 50mm, f/1.8 and OSS. Check compatibility with your camera and the crop you want.
 No image available
The product information mentions close-up photography. Check with your own camera whether you can achieve the framing and level of detail you want.
The product name specifies Sony E, 11mm, F1.8, APS-C and Wide Angle. Check that this version suits your camera and tile setup.
No, not if you want to fit the whole tile in the frame. First check the framing, shooting distance and sharpness across the surface; maximum magnification isn’t necessarily the most important feature.
Use a fixed camera setup and keep the framing and background consistent. For very close shots of relief, check whether a single image gives you enough depth of field. If not, you can combine several images focused at different distances.
No, the result depends on the lighting and shooting conditions. Nikon describes reducing reflections as one possible use for a filter. Also check that the filter size fits your exact lens and that the visible sheen remains as you want it.
When you buy from a business at a distance, you generally have a 14-day cooling-off period, subject to the relevant conditions and exceptions. The Dutch government also states that you’re entitled to a product that works properly. There is no fixed statutory warranty period in the Netherlands, and the seller is your point of contact if something is wrong.