
Puzzle filmer dealing with hand shadows
Films themselves fitting puzzle pieces from above and wants fill light on the window’s shadow side. Canon Europe describes using fill light opposite the main light as a way to reduce shadows.


Start with the window light and record a test shot. If your hands cast shadows over the puzzle pieces, try a reflector on the shadow side first. Add artificial light only if visibility is still poor: a dimmable panel works well for a fixed table setup, while a COB light needs room for a separate light modifier. Also check the placement, power supply and applicable product safety information for the specific version.
Films themselves fitting puzzle pieces from above and wants fill light on the window’s shadow side. Canon Europe describes using fill light opposite the main light as a way to reduce shadows.
Wants puzzle colours and details to look consistent between shots, and pays attention to adjustable lighting and the camera’s white balance. Adobe explains that the selected white balance affects the colours in the recording.
Has little room for a light and tripod, or regularly moves the setup. Mounting and power supply are also factors in the choice, so check the details for the specific version.
For a puzzle demonstration using window light, your choice mainly depends on shadows, consistent colour and the space around your work surface.
Choose this when: the window already lights the puzzle well and you mainly need extra light on the shadow side.
Trade-off: you won’t need power for a lamp, but the direction and strength of daylight change throughout the day.
Choose this when: you want to add light precisely on the shadow side in a fixed table setup.
Trade-off: check whether the tripod and any battery are included with your chosen version, and whether the diffuser suits your recording.
Choose this when: you have room to position a separate light modifier out of shot and want flexibility to adjust your setup.
Trade-off: a light output figure measured with a reflector doesn’t automatically tell you how much light you’ll get with a softbox. Also consider the power supply and fan noise.
Choose this when: you have limited setup space or want to light a small area of the work surface.
Trade-off: check in shot that the puzzle is still lit evenly enough; a compact light alone doesn’t guarantee this.
| What to consider | What should you check? | Who is this most important for? |
|---|---|---|
| Hand shadows and visibility | First, record a test shot using window light and a reflector. Then see whether dimmed fill light on the shadow side helps without overpowering the window light. | If my hands block the work surface, I want to keep the pieces on the shadow side visible. Around 36% of consumers prioritise reducing hand shadows. |
| Consistent colour | Check the colour temperature range and test the recording with a suitable white balance on your camera. | I want colours and details to remain recognisable as the window light changes. Around 29% of consumers prioritise consistent puzzle colours. |
| Space, mounting and power | Check the mounting options, what’s included in your chosen kit, and where you can position the light, tripod and cable out of shot. | With limited table space, I want to position the light without the tripod or cable appearing in shot. Around 21% of consumers prioritise setup space and power. |
| Flicker and recording noise | Record a short video using your usual camera settings and spoken commentary. Check the footage for bands and listen to the audio. | If I’m recording commentary, I want to avoid flicker or fan noise disrupting the recording. Around 14% of consumers prioritise undisturbed picture and sound. |
The maximum figure amaran gives for the 100x S applies at 1 metre with the included reflector. It doesn’t automatically tell you how much light will reach a puzzle with a softbox fitted.
Only compare light output at the same distance and with the same light modifier, and check what’s included in your chosen kit.
Depending on the material and camera angle, reflections may make details less visible in the footage.
Test with the actual puzzle from your chosen camera angle. Move or diffuse the light if glare obscures any details.
For version 4376B, SmallRig quotes a maximum of 45 minutes at full power. A manufacturer’s description of fan noise doesn’t tell you how audible the light will be during your recording.
Check the version and power supply, then record a test shot with spoken commentary.
The NL660 is a bi-colour panel for a fixed table setup, with versions available both with and without a tripod.
The 100x S is a bi-colour COB light with a Bowens mount, for anyone who wants to choose a separate light modifier.
The RC 60B is a portable COB option with a built-in battery, suitable for a setup you need to move around.
The SL60IIBi is a bi-colour COB light with a Bowens mount, designed for use with a light modifier.
The VL81 is a compact rechargeable light for limited setup space or targeted fill light.
This selection features compact, portable lights for targeted fill light when setup space is limited. Check that your chosen light makes the part of the puzzle you need visible. For the specific Dutch version, check whether CE rules apply and whether the required marking is present.
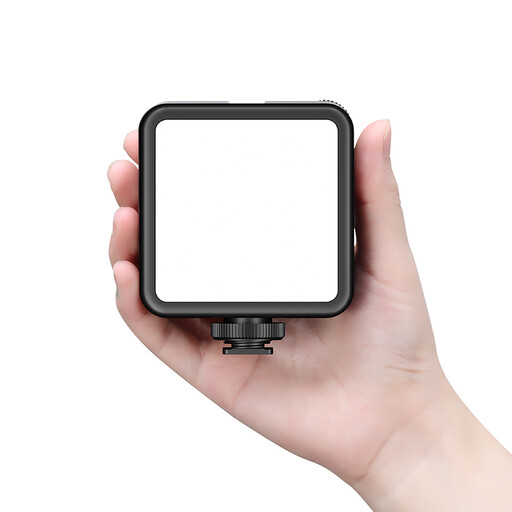 No image available
Suitable for a portable setup requiring targeted fill light. The product description lists adjustable brightness and colour temperature, as well as a cold shoe mount.
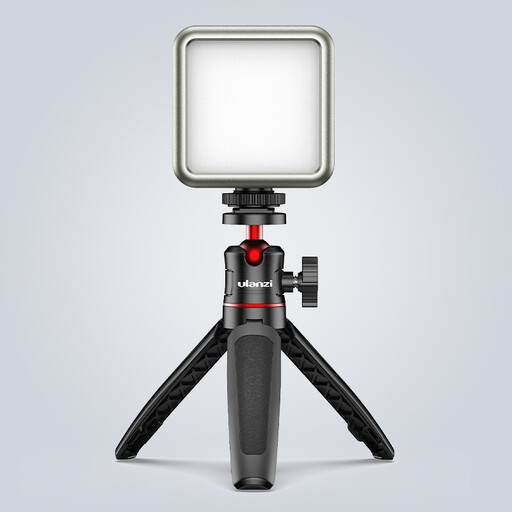 No image available
A compact battery-powered light for extra illumination when setup space is limited. The product name lists dimming, an adjustable range of 2500K–9500K and a magnet on the back. Don’t point the light directly into your eyes at close range. Use a 5 V adapter and keep it away from moisture.
 No image available
A mini fill light for a small setup or targeted lighting. The product information lists a 500 mAh battery, a magnetic base and a 1/4-inch thread. Don’t point the light directly into your eyes at close range.
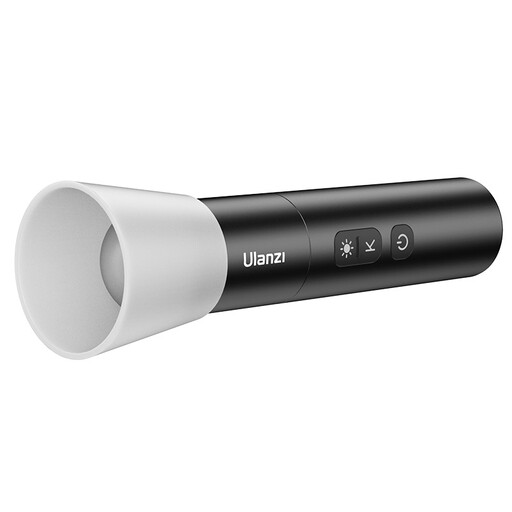 No image available
This portable version could suit a mobile setup needing extra light. The product name lists bi-colour lighting, four brightness levels, a zoom function, a 2000 mAh battery and a weight of 187 g. Don’t point the light directly into your eyes at close range, and use a certified USB-C cable.
No. Start by recording a test shot and try a reflector on the shadow side. Add an adjustable light only if pieces or actions are still difficult to see.
Check how the window light changes during the recording and, if needed, adjust the colour temperature of a bi-colour light. Also check your camera’s white balance; a Kelvin figure doesn’t guarantee that two light sources will have exactly the same colour.
Test the light with your own camera settings. Sony explains that LED lighting can cause flicker or banding in video; adjusting the camera settings may help, depending on the camera and light source.
It depends on the version. NEEWER lists the NL660 with and without a tripod; the NP-F battery mentioned isn’t included. Check what’s in your chosen kit before buying.
That depends on the EU rules that apply to the product. The Dutch government and the European Union’s Your Europe website explain that CE marking applies only to products covered by specific EU rules. So check whether those rules apply to the specific version and whether the required marking is present.