
Collectors with shiny badges
If you photograph metal or enamel, you want to keep the text and raised details clear without a bright reflection obscuring them. Nikon USA describes diffusion as a way to soften light.


For a single badge and limited table space, a compact, dimmable panel can work as fill light beside a window. Choose a larger panel with diffusion if you need more control over how the light spreads. Neither option will automatically eliminate reflections on metal or enamel, and the power supply and mounting need to suit your setup.
If you photograph metal or enamel, you want to keep the text and raised details clear without a bright reflection obscuring them. Nikon USA describes diffusion as a way to soften light.
When photographing several badges, it’s useful to be able to control the colour temperature and white balance as the window light changes. Adobe recommends using a neutral white or grey surface when assessing white balance.
A small fill light may suit a compact home setup, but the power supply and mounting need to work with the spot where you want to position the panel. The Ulanzi VL49 RGB and SmallRig P96 are examples of compact panel models.
Choose this option: if you have limited workspace and mainly want to brighten the shadows on a single small badge.
Bear in mind: a small light source may remain visible as a distinct reflection; you may need to move or soften the light.
Choose this option: if you want to light several badges, work from further away or cover a larger reflective area.
Bear in mind: a larger panel takes up more space, and a quoted lux value alone won’t tell you how soft the reflection will look on your badge.
| What to consider | What to look for | Who should consider this? |
|---|---|---|
| Shine and clarity | Check whether you can move the panel and soften the light with diffusion. | If I’m photographing shiny enamel, I want to keep the raised details and text visible without a reflection obscuring them; around 33% of consumers prioritise controlling glare. |
| Colour in changing window light | Check the adjustable colour temperature range and use a neutral surface to check the white balance. | When the window light changes, I want to assess my badge’s colour consistently; around 27% of consumers prioritise colour control. |
| Space and positioning | Compare the dimensions and check whether the mount will work with your table or camera setup. | On a small table, I want to fit the panel beside the badge without blocking my workspace; saving space is the main consideration for around 20% of consumers. |
| Power and components | Check the power source, mounting and exact package contents for the version you’re considering. | I want to be able to set everything up straight away and know whether the power supply and mount will work with my setup; around 20% of consumers prioritise getting a complete kit. |
CRI is a colour-rendering specification; visible reflections also depend on the light source and your setup.
Assess colour control and reflection management separately. Check whether you can soften and reposition the light.
A maximum lux value applies to the measurement conditions specified by the manufacturer and doesn’t directly describe the light on your table.
Only compare values alongside their measurement distance, and first choose a panel size and light modifier that suit your badge.
Package contents vary by model and version. Without a suitable mount, you may not be able to position the panel where you want it.
Read the package contents before buying and check that the power supply and mounting suit your setup.
If a required mount, power supply or diffuser isn’t included, you may need to source it separately.
These brand references relate to specific panel models and can help you compare features and versions; mentioning a brand doesn’t mean a model is available.
The VL49 RGB is a compact option for fill light in a small setup.
The P96 Video LED Light 3286 is a compact bi-colour option for setups with limited space.
The NL660 is a larger bi-colour panel for those looking for more coverage and control over the direction of the light.
The LP series includes bi-colour and RGB panels; for neutral fill light, the LP400Bi is a different version from the LP400R.
The P60x is a bi-colour panel for those considering a larger light source with light modifiers.
This Joybuy selection includes LED video and fill lights suited to a compact badge setup beside window light.
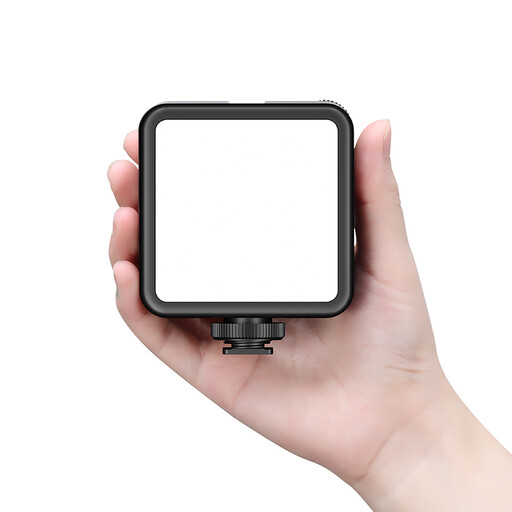 Image unavailable
An LED video light to consider as fill light beside a window when putting together a compact badge setup.
Rechargeable LED video light.
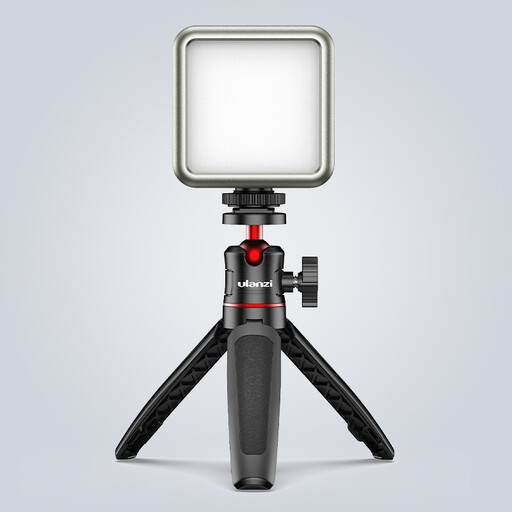 Image unavailable
A compact option to consider if you want to position a dimmable fill light on a small table.
The product title lists a 2000 mAh battery, dimmable lighting and a magnet.
According to the product information, use a 5 V adapter; avoid chargers with a higher voltage.
 Image unavailable
A mini fill light to consider if you want to position a small panel flexibly beside the badge.
The product title lists a 500 mAh battery and magnetic mounting. The stated runtime is up to 1.5 hours per charge.
Use the window as your main light and place the dimmed panel on the shadow side. Move the panel or diffuser while looking at the badge: with shiny materials, the position of the light source partly determines which reflection is visible. This is a setup technique, not a guaranteed result.
Assess the white balance using a neutral white or grey surface, and check it again if the window light changes. Adjustable colour temperature lets you match the panel to the conditions, but it doesn’t replace checking the white balance.
Check the package contents, and use a power supply and mount that suit the exact version. Ulanzi lists a USB-C cable and mounting points for the VL49 RGB; amaran lists a mains power supply, softbox and grid for the P60x. Don’t assume these components are included with other models or listings.
According to ACM ConsuWijzer, online product purchases generally come with a statutory 14-day cooling-off period after delivery, with some exceptions. The legal guarantee is separate from any manufacturer’s warranty: if a product breaks too soon under normal use, the seller is responsible for providing an appropriate solution.
No, a logo in a product photo doesn’t in itself confirm that the version being offered has been assessed. Ondernemersplein, the Dutch government’s business portal, explains that electrical appliances placed on the market must comply with the applicable European rules; for a compliant appliance, the manufacturer must affix a CE marking and draw up an EU declaration of conformity. Check the documentation for the exact model and version.