
Colour-critical landscape editor
You edit exposure brackets and want to match the colour gamut and calibration to your output, for example when you’re also assessing prints. Adobe recommends calibrating your monitor for Lightroom Classic.


Start by choosing a monitor with colour settings you can manage, and position it comfortably for both sitting and standing. Then compare the resolution and screen size with the details you need to assess. Choose a wider Adobe RGB gamut or HDR only if it suits your output workflow. Manufacturer specifications describe a model’s capabilities, not the performance of every individual unit.
You edit exposure brackets and want to match the colour gamut and calibration to your output, for example when you’re also assessing prints. Adobe recommends calibrating your monitor for Lightroom Classic.
You check panorama joins, fine textures and editing panels. The resolution and screen size should suit the details you want to see, as well as the space available on your desk.
You switch between sitting and standing while editing and want to position the screen comfortably in both postures. Arboportaal recommends setting the top of the screen slightly below eye level.
Start with colour management and screen positioning at both desk heights. Then compare detail, connectivity and HDR based on your own output and computer.
| What to consider | What should you check? | Who is this important for? |
|---|---|---|
| Colour and calibration | Compare coverage of each colour space with your output requirements, and check which colour modes and calibration options the model offers. | For landscape photography, I want to assess colour and exposure in a way that suits my output. Around 28% of consumers make colour management their top priority. |
| Resolution and screen space | Compare the native resolution and screen diagonal with your need for detail and the space available on your desk. | When I inspect panorama joins and fine textures, I want to see them clearly without losing sight of my available workspace. Around 22% of consumers prioritise inspecting detail. |
| Position when sitting and standing | Check that the screen reaches your preferred height in both desk positions. If you’re using an arm, also compare the VESA size and weight capacity. | I want to reposition my screen properly after changing the desk height. Around 22% of consumers prioritise a suitable sit-stand setup. |
| Connections and power | Check that your computer and cable support the required video connection, and that the USB-C charging power suits your laptop. | For a laptop workspace, I want to connect the display and power conveniently, without choosing connections that aren’t compatible with my computer. Around 17% of consumers prioritise suitable laptop connections. |
| HDR for HDR output | First decide whether you actually edit and export in HDR. Then compare measurements for the exact monitor model. | When I deliver HDR images, I want to assess the final image on a suitable setup. Around 11% of consumers make HDR output their top priority. |
HDR support and the visible rendering of highlights and contrast are two different things. An HDR label alone doesn’t tell you how the image will look in your workspace.
If HDR performance matters to you, check independent measurements for the exact model.
The adjustment range needs to suit both your sitting and standing heights. A stand that works well in one position may not work as well in the other.
Assess the setup in both positions. If you’re using a monitor arm, also check that its VESA size and weight capacity are suitable for the screen.
A stated colour-space coverage figure doesn’t tell you whether your monitor settings and profile are properly matched to your workflow.
Choose a colour space to suit your output and include calibration in your workflow. Regular self-calibration may require calibration equipment.
The stated charging power varies by model and needs to suit your laptop. A USB-C port alone doesn’t confirm that your computer supports the video signal and power you need.
Check your computer’s video output and required charging power. Depending on the combination, you may need a separate power supply or a suitable cable.
The features mentioned apply to the specific models below and aren’t a judgement on every product range from these brands.
The PhotoVue SW272U and SW272Q models are useful points of comparison for photographers weighing up colour gamut, calibration and an adjustable stand.
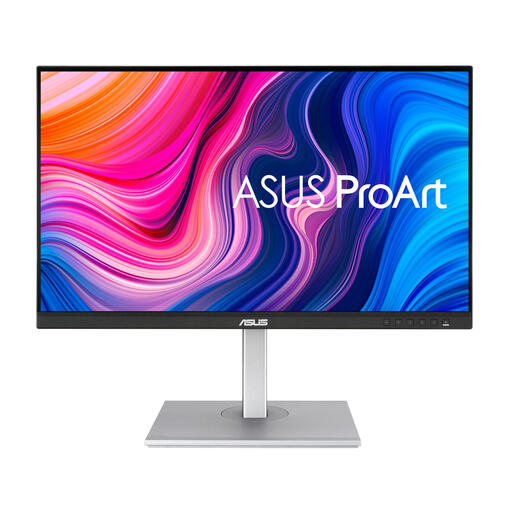
The ProArt PA279CV, PA279CRV and PA329CRV represent different options for sRGB, Adobe RGB, screen size and laptop power.
The ColorEdge CS2740 is a 27-inch 4K model for anyone comparing a stated wide Adobe RGB gamut with hardware calibration.
The UltraSharp U2725QE is a useful reference for anyone looking for a 27-inch 4K workspace with an adjustable stand and laptop connectivity.
These product choices are suited to colour management, detailed image inspection and an adjustable workspace for landscape editing.
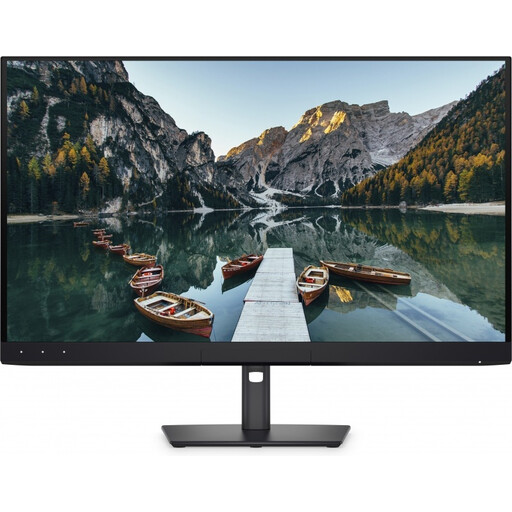 No image available
Suits a workflow where colour coverage, calibration and 4K detail all matter.
32 inches, 4K UHD, 120 Hz and QD-OLED. The specifications list a built-in colourimeter, 10-bit colour and 94% Adobe RGB; the adjustable stand offers height, tilt and swivel adjustment.
The stated Adobe RGB coverage is lower than that of the models listed with 99% or more, so weigh this against your output requirements.
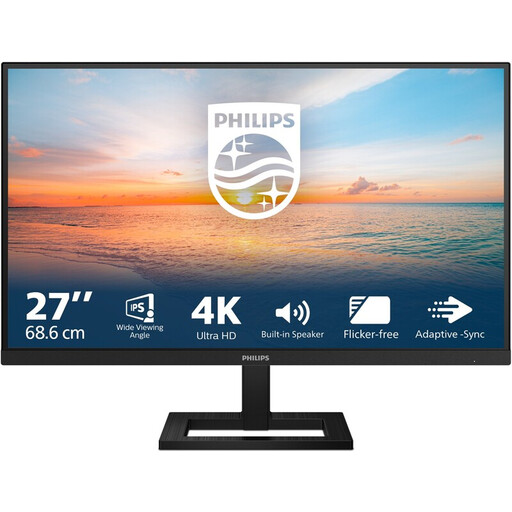 No image available
Suits anyone looking for 4K resolution and a height-adjustable stand on a 27-inch screen.
The stated resolution is 3840 × 2160, with 60 Hz and 4 ms; connections include HDMI and DisplayPort.
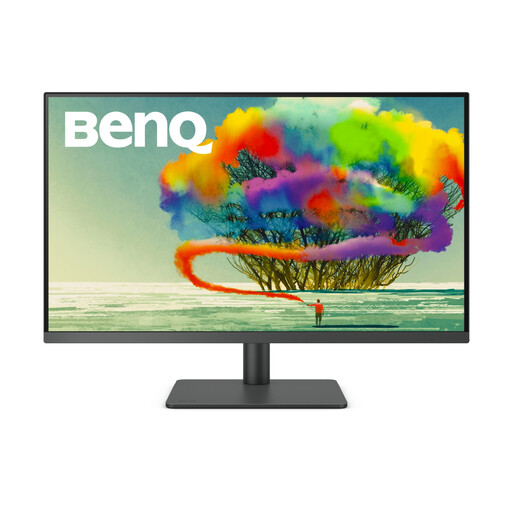 No image available
Suits anyone who wants to view fine details and multiple editing panels on a 31.5-inch screen.
The stated resolution is 3840 × 2160. The specifications list 99% sRGB, Calman verification, height and tilt adjustment, and USB-C power delivery up to 90 W.
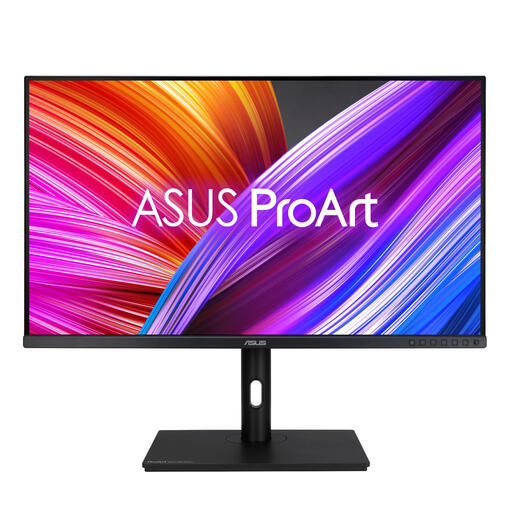 No image available
Suits anyone who values a larger screen and a stated sRGB workflow over 4K resolution.
The resolution is 2560 × 1440. The specifications list 100% sRGB, factory calibration and a stand with height, tilt, swivel and pivot adjustment.
The stated resolution offers fewer pixels than 4K for inspecting fine details.
 No image available
Suits an sRGB-focused workflow with a 27-inch screen and height adjustment for a sit-stand setup.
The resolution is 2560 × 1440. The specifications list 100% sRGB, factory calibration, Calman verification and USB-C power delivery up to 65 W.
The stated resolution offers fewer pixels than 4K for inspecting fine details.
No, HDR display isn’t essential for merging exposures. Adobe describes merging to a panorama or HDR panorama as an editing step. Choose an HDR display if you also want to assess and export HDR images.
Reposition the screen whenever you change the desk height. Arboportaal recommends a slightly downward gaze, with the top of the screen just below eye level, and changing your posture regularly.
A factory calibration statement describes the calibration at the time of delivery; it doesn’t mean the settings will continue to suit your workflow. Adobe recommends calibrating your monitor for Lightroom Classic. Tailor ongoing maintenance to how colour-critical your editing is.