
DIY counter builder
You want to use physical keys and possibly a display to build your own counter. Adafruit explains how to read key presses and the rotary encoder on the MacroPad RP2040; you’ll still need to build and test the counting function.


Choose a programmable macropad if you want to build the counter on the device itself, a number pad if you want to control a computer-based counter with dedicated keys, or a standard keyboard if you mainly want to write code and read documentation stored locally. Adafruit explains how to read key presses and a rotary encoder, but you’ll need to build the counter logic yourself. For a computer-based counter, the software must recognise the assigned input. Prepare the necessary documentation, development software and files in advance, and check separately whether the counter and its count can be used without an internet connection.
You want to use physical keys and possibly a display to build your own counter. Adafruit explains how to read key presses and the rotary encoder on the MacroPad RP2040; you’ll still need to build and test the counting function.
You want to have instructions, firmware and the necessary libraries ready locally. Saving a guide on its own doesn’t mean the counter or every stage of development will work without an internet connection. The Adafruit Learning System describes the project files and associated libraries.
You write or use the counter on a computer and are looking for suitable key input, either from a standard keyboard or a separate programmable pad. Keychron describes the Q0 Max as a number pad, while Logitech describes the K120 as a USB keyboard.
Choose this option: if you want to include physical counter controls and possibly a display in your own project.
Bear in mind: you’ll need to programme and test the counter; a control pad doesn’t automatically work as a counter.
Choose this option: if the computer keeps track of the count and you want your own physical controls.
Bear in mind: the counter software must recognise the assigned keys. Also check in advance how you can change the layout offline.
Choose this option: if you mainly write code, read documentation and use the counter on a computer.
Bear in mind: a standard keyboard doesn’t have its own counter display or keep track of a count independently.
| Buying concern | What to look for | Relevant consumers |
|---|---|---|
| Building the counter yourself | Check that the version has the controls and display you want, and find out which components are included. | If I want to programme the counting rules on the device myself, I’ll look for the necessary controls and components; around 40% of consumers make DIY building their main buying concern. |
| Preparing for offline use | Save the instructions and files for the correct hardware and software version locally, then test the process without an internet connection. | If I want to work on the go or somewhere without internet access, I’ll want to know in advance whether all the necessary files are saved locally; around 30% of consumers prioritise offline preparation. |
| Controlling a computer-based counter | Check which keys the counter app uses and test the assignments on your own computer. | If I use a counter programme on my computer, I’ll want to operate the counter using familiar physical keys; around 20% of consumers prioritise controlling a computer-based counter. |
| Typing code and reading documentation | Check the connection, key layout and whether the instructions are available locally. | If I mainly enter code and refer to instructions stored locally, I may not need a separate programmable pad; around 10% of consumers make standard input their main buying concern. |
A pad can read input without already including a working knitting row counter. You’ll need to decide and test the counting rules, display and how the count is saved.
Decide in advance whether the count should be stored on the device or in a computer programme. Also test incrementing, correcting and resetting the count.
Allow time to programme and test the controls, and to check whether the count is retained after switching off.
A guide saved locally is not the same as having the firmware, compatible libraries and all the necessary development software available locally. QMK describes both a locally set up development environment and an online configurator.
Save the necessary files in advance and go through the entire process once without an internet connection.
The Adafruit MacroPad RP2040 Bare Bones still needs switches and matching keycaps to make a complete keypad.
Compare the contents of the exact version with the Starter Kit before ordering; don’t rely on the model name alone.
For the bare-bones version, you’ll need to source the necessary switches and keycaps separately.
The MacroPad RP2040 is a build platform with keys, a rotary encoder and an OLED display.
The Q0 Max is a number pad for anyone who wants to control a computer-based counter using assigned keys.
The K120 is a wired keyboard for entering code and using a counter programme on your computer.
The Keyboard and Hub is an input device for a Raspberry Pi computer.
ZSA is worth considering if you’re also looking for a configurable everyday keyboard for your project.
This selection focuses on wired keyboards for entering code and controlling a computer-based counter. The keyboard itself doesn’t automatically include a knitting row counter.
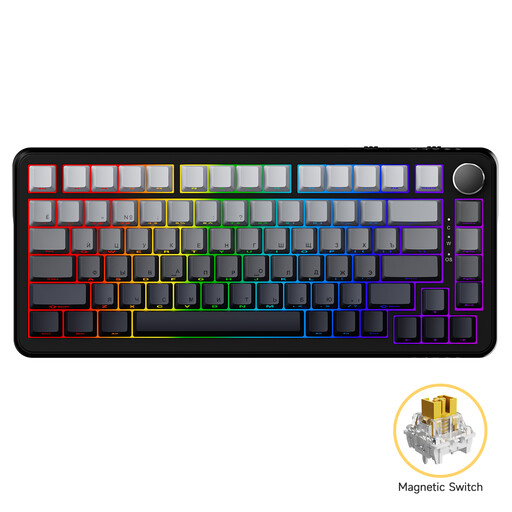 No image available
A wired keyboard for entering code and general computer use.
The product name specifies 82 keys.
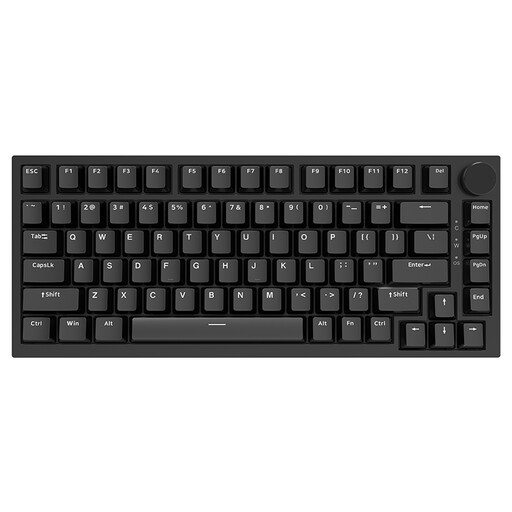 No image available
For entering code and using a counter programme on your computer.
The product name specifies a wired connection, 83 keys and a rotary encoder.
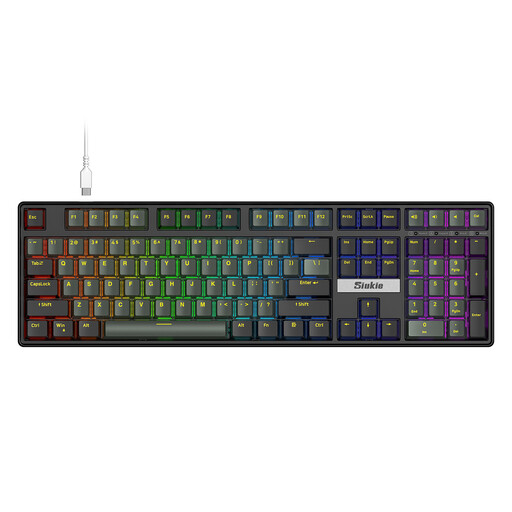 No image available
A wired keyboard for typing and general computer use.
The product name specifies 108 keys and detachable switches.
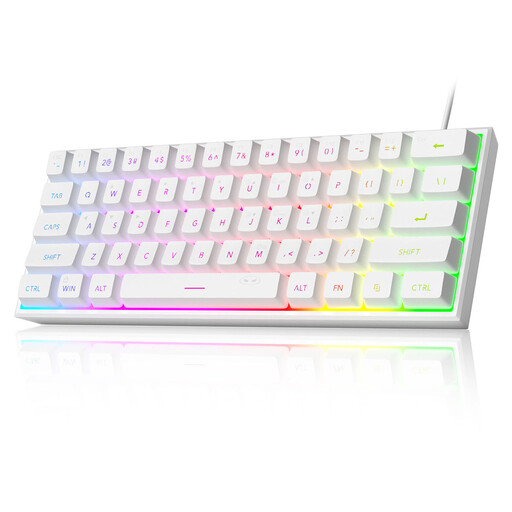 No image available
A wired keyboard for entering code and general computer use.
The product name specifies a 60% layout and 61 keys.
No. Adafruit explains how to read key presses and the rotary encoder, but you’ll need to programme and test the counting rules, display and any storage for the count yourself.
Save the guide and project files locally, and download firmware and a library bundle that match your version of CircuitPython. Install and test everything in advance; saving the guide locally on its own isn’t enough.
That depends on the configuration method for your chosen keyboard. QMK describes a development environment that you can set up locally, while the graphical Configurator works online. Set up the necessary method in advance and test it without an internet connection.
Check which components are missing before you start assembling it. According to Adafruit, the Adafruit MacroPad RP2040 Bare Bones needs twelve MX-compatible switches and matching keycaps to make it a complete keypad.