
Softly spoken voice-over artist
You want to record a calm tour narration that’s easy to understand without simply turning up the recording level. The microphone’s position and a test recording with your own voice are important things to consider.


For a fixed recording setup, a headset with an easy-to-position microphone and a connection that works with your computer is a sensible starting point. Make a test recording using your own soft speaking voice before relying on noise cancellation: manufacturers' claims about call quality don't prove that a voice-over will sound natural. USB usually involves less setup; an analogue or broadcast headset may need a compatible input or audio interface.
You want to record a calm tour narration that’s easy to understand without simply turning up the recording level. The microphone’s position and a test recording with your own voice are important things to consider.
You can’t eliminate all the background noise and want to hear what the microphone actually picks up before making a longer recording. The noise blocked by your ear cups isn’t the same as the noise kept out of the recording by the microphone.
You want to get started easily and need to check that the connection, selected microphone and recording settings work with your computer.
Choose this option if: you record on a computer and want a simple connection.
Bear in mind: check whether your computer has the right USB-A or USB-C port; noise cancellation for calls doesn’t prove that a voice-over will sound natural.
Choose this option if: your device has a suitable combined 3.5mm headset socket.
Bear in mind: the supplied TRRS cable is required for the RØDE NTH-100M; if your device has separate 3.5mm ports, you may need the splitter.
Choose this option if: you already use a compatible XLR audio interface or mixer.
Bear in mind: the Audio-Technica BPHS1 has separate XLR and 6.3mm connections, so it isn’t the same as a USB headset.
Choose this option if: you genuinely need to move away from your recording spot while speaking.
Bear in mind: wireless use involves pairing and keeping the battery charged.
| What to consider | What should you check? | Who is this important for? |
|---|---|---|
| Clear, soft speech | Position the microphone boom correctly, select the right input and listen back to a short test recording at your usual speaking volume. | If I speak softly, I want my voice to remain clear without simply boosting background noise. Around 42% of consumers prioritise clear, soft speech. |
| Background noise | In the room where you’ll actually be recording, listen to a test with background noise and during a quiet moment. | In a noisy room, I want to know what the microphone picks up; noise reduction at the ear cups doesn’t tell me the same thing as the recording. Around 25% of consumers prioritise reducing background noise. |
| Connection and recording settings | Check the USB-A, USB-C or 3.5mm ports, or whether you need an XLR audio interface, and select the headset microphone as the input. | If I want to record on my computer without extra recording equipment, both the connection and the microphone input need to work. Around 17% of consumers prioritise a simple connection that works. |
| Comfort | Check the adjustability, pressure around your ears and whether you can reposition the microphone correctly after a break. | For a longer recording session, I want to wear the headset comfortably and keep the microphone in place. Around 16% of consumers prioritise comfort. |
Logitech and Jabra describe features for calls; these don’t prove how a softly spoken voice-over will sound. Audacity warns that excessive noise reduction can also damage the parts of the voice you want to keep.
Make a short recording of your own voice in the room you plan to use, including a quiet moment, and listen back before recording the full tour.
Allow time for test recordings and, if necessary, recording again.
The RØDE NTH-100M needs its supplied TRRS cable for the microphone. The Audio-Technica BPHS1 uses separate XLR and 6.3mm plugs; Jabra’s Evolve2 40 SE is available in USB-A and USB-C versions.
Compare the connections on the exact model you’re buying with the ports on your recording device. Also check whether you’ll need a splitter or audio interface.
You may need a compatible splitter or audio interface.
The Dutch government explains that there’s no fixed statutory guarantee period in the Netherlands. Your legal rights with the seller are separate from any manufacturer’s guarantee.
If there’s a problem, check your rights with the seller and distinguish them from any additional manufacturer’s guarantee.
RØDE markets the NTH-100M for uses including media production and speech.
The BPHS1 is a broadcast headset for a recording setup with a compatible mixer or audio interface.
The H390 is a wired USB computer headset for a simple setup.
The Evolve2 40 SE is a wired USB option for calls; the Evolve2 65 is a separate wireless option if you need freedom to move around.
These product picks include wired and wireless headsets with microphones for computer and audio setups. Before buying, check that the connection and any additional equipment will work with your recording setup.
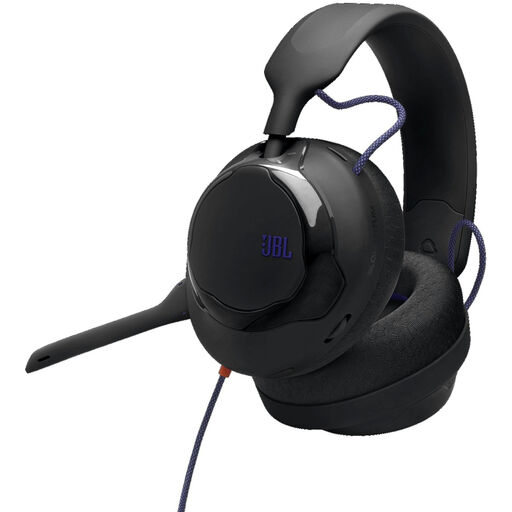 No image available
A wired option if your recording device has a compatible 3.5mm connection.
The product description mentions a cardioid boom microphone and a detachable microphone.
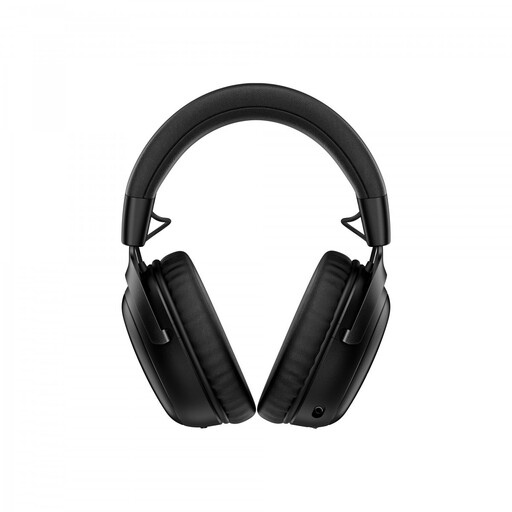 No image available
A wireless option if you want to move around while speaking.
The product description lists 2.4GHz and Bluetooth, plus a detachable 10 mm boom microphone.
The headset has a battery that needs charging.
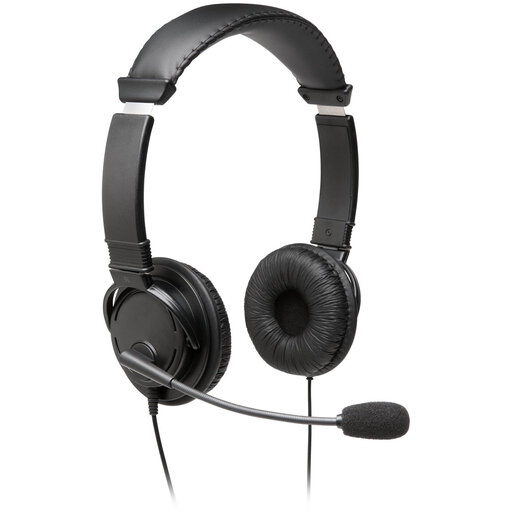 No image available
A wired computer option if you want to be able to adjust the microphone position.
The product description lists a USB connection and a microphone boom that rotates through 270 degrees.
Compatibility is listed for Windows, Mac and Chromebooks; your computer needs to have a free USB port.
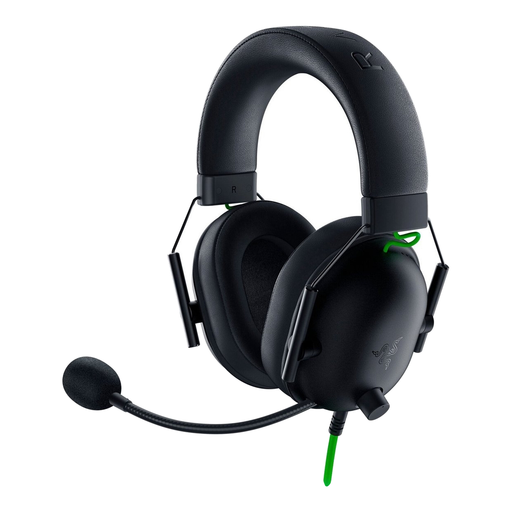 No image available
A wired option if you have a compatible 3.5mm connection and want to position the microphone close to your mouth.
The product information lists a cardioid microphone and recommends placing it about 1–2 inches from your mouth.
If your computer has separate audio ports, you may need the splitter mentioned.
 No image available
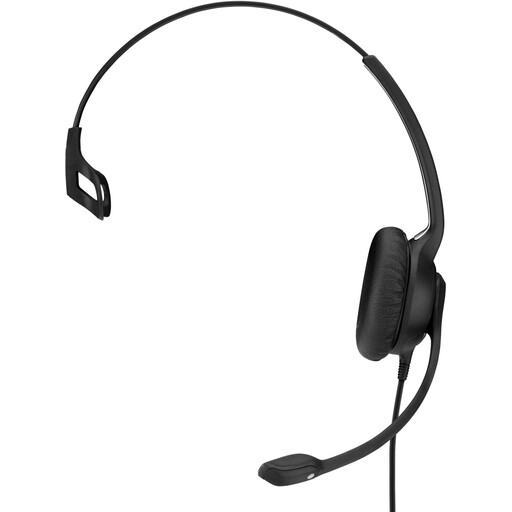
A wired USB option if you want a fixed computer setup with an adjustable microphone boom.
The product information lists USB, a flexible microphone boom and options for checking microphone settings in software.
Your computer needs to have a free USB port.
Select the correct microphone as your recording input, position the microphone boom consistently near your mouth and make a test recording at your usual soft speaking volume. Check the recording meter and listen back; Audacity recommends checking the recording and playback levels before you begin.
Noise reduction in Audacity is intended for steady background sounds, not one-off noises such as a door slamming. A setting that’s too strong can also affect your voice; where possible, record in a quieter space first and assess the processing on a copy.
No, not without additional equipment that matches its connections. Audio-Technica lists an XLR plug for the microphone and a separate 6.3mm plug for the headphones; for a computer recording with XLR, Audacity describes using an XLR-to-USB audio interface.
According to the Dutch government, the seller must offer a solution if a product is faulty; there’s no fixed statutory guarantee period in the Netherlands. For online consumer purchases, you’ll often have a 14-day cooling-off period, subject to conditions and exceptions.