
Seller of a tile with visible details
You want to show the glaze texture, edges and any damage clearly, without forgetting the overall shot.


Start with a test setup in even light: a clear overall shot, a recognisable glaze colour and sharp details matter more than simply having more megapixels. Try the device you already own first; only consider a separate camera if it doesn’t capture the tile well enough. A compact camera means fewer lens choices, while a mirrorless camera with the right lens gives you more flexibility to adjust magnification and framing, but may require extra equipment and preparation.
You want to show the glaze texture, edges and any damage clearly, without forgetting the overall shot.
You’re photographing a tile where colour and sheen matter to the buyer. So, before considering a new camera body, pay attention to your lighting setup and white balance too.
You want to create a clear listing with minimal equipment, so first check whether your current device, daylight and a simple background are enough.
Take an overall shot first, then check the colour, reflections and details. This will show whether you need a different device or whether you can achieve more by adjusting your lighting setup.
| What to consider | What should you check? | Who is this important to? |
|---|---|---|
| Sharp details | Check the close-up mode, focusing distance and maximum magnification of the exact device and lens. Also test whether the tile remains well lit at that distance. | If I want to show the glaze texture, edges or a small flaw, that detail needs to be both sharp and visible. Around 31% of consumers focus mainly on these surface details and signs of damage. |
| Colour and reflections | Try even daylight and see whether you can adjust the white balance. Compare the photo with the tile and make sure reflections don’t hide the finish. | When the colour and sheen of my glaze shape the overall impression, I want the photo to make it easy to compare the tile with the original. Around 25% of consumers pay most attention to colour and reflections. |
| Full view | Measure the tile and the available shooting distance. Check that the lens can frame and focus on the entire tile from that distance. | I want to show the entire tile, including its edges and visible condition, before photographing the details. Around 25% of consumers prioritise a full view. |
| Simplicity and cost | Test your current device first. Then compare complete kits, including the supplied lens and any extra equipment. | For a single listing, I don’t want to buy a camera or lens I’ll hardly use. Around 19% of consumers focus mainly on the cost and simplicity of the setup. |
Maximum magnification depends on a particular lens and a specific setting. A camera name or kit doesn’t automatically tell you how much detail the supplied lens can capture.
Take a test shot of the smallest feature you want to show. Check the specifications for the exact lens and mount, and what’s included in the kit.
A close-up doesn’t show the tile’s full shape, edges and condition. Shooting from very close can also get in the way of the light falling on the glaze.
Take an overall shot as well as separate detail shots. Test both with your tile, in the place where you’ll be taking the photos.
Light and white balance affect how colour appears in a photo. A different device alone won’t automatically fix an unsuitable lighting setup.
Improve the lighting and background first. Then compare the photo with the actual glaze before replacing your equipment.
An EOS R50 with an RF-S 18-45mm zoom can be a good starting point for overall shots. The RF 35mm F1.8 MACRO IS STM is a separate lens to consider for smaller details.
The Tough TG-7 is a compact camera with a fixed zoom lens and close-up capability, for anyone who doesn’t want to change lenses.
The ZV-E10 II with E-mount is an interchangeable-lens camera. The SEL30M35 is a separate macro lens, not the zoom lens in the ZV-E10 II kit mentioned here.
The Z50II is a mirrorless camera with a Z mount. The NIKKOR Z MC 50mm f/2.8 is a separate macro lens to assess alongside the kit lens.
These cameras are listed for photography and videography. Take a test shot to check whether the specific model can capture your tile sharply and in full, with a recognisable glaze colour; the product titles don’t confirm whether they’re suitable for macro photography.
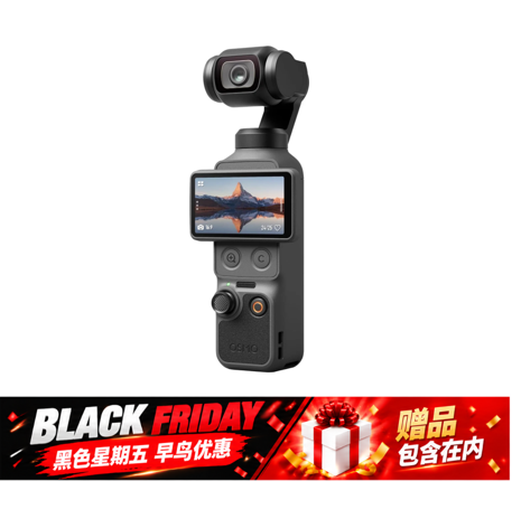 No image available
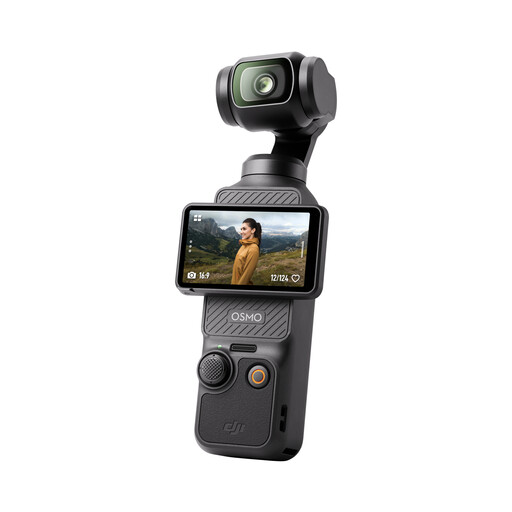
Take a test shot to assess whether this pocket camera captures the whole tile and the small details you want to show in your listing.
The product title lists a 1″ CMOS sensor, 2× lossless zoom, 4K/240fps and 107 GB of built-in storage. It doesn’t specify a macro lens.
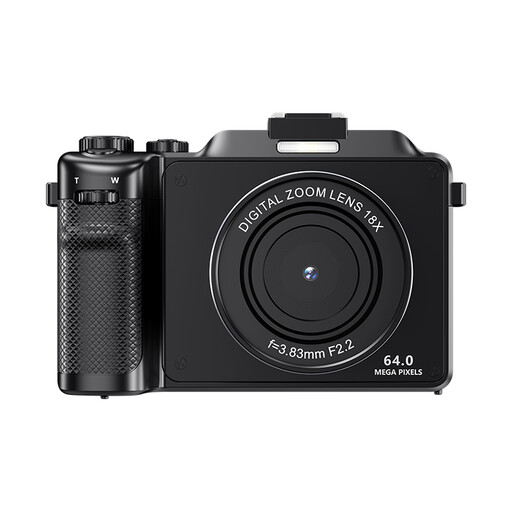 No image available
Take a photo of your tile to check whether the autofocus and framing you want work for both the overall shot and the details.
The product title lists 4K, 64 MP, autofocus and 18× digital zoom. The product description warns that digital zoom can reduce image quality.
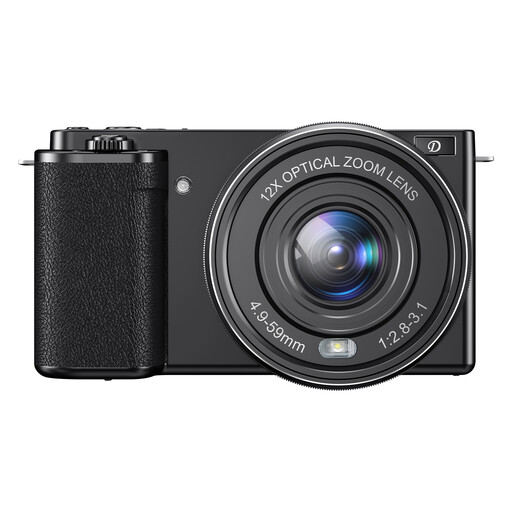 No image available
Take test photos of the whole tile and the smallest detail you want to show first; the product title doesn’t say what close-up distance is possible.
The product title lists 12× optical zoom, 4K, 64 MP and Wi-Fi.
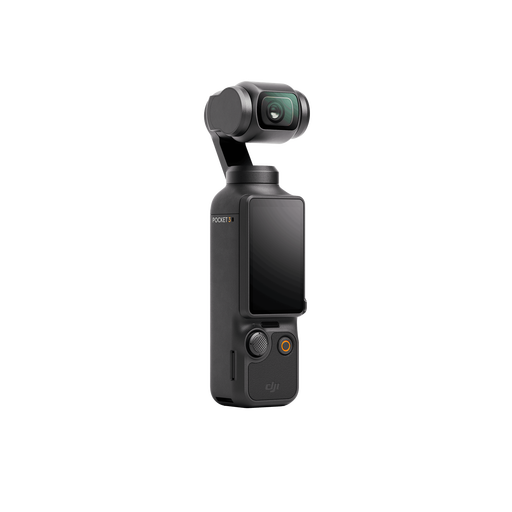 No image available
Compare photos of the entire tile surface and its details before deciding whether this device suits your listing setup.
The product title lists a 1″ CMOS sensor, 4K/120fps, image stabilisation, face and object tracking, fast focusing, a microphone and a 2″ rotatable screen.
 No image available
Check with test photos whether the camera captures the whole tile and any glaze details clearly.
The product title lists a 1″ CMOS sensor, 4K/120fps, image stabilisation, fast focusing, face and object tracking, and a 2″ rotatable touchscreen.
No. Take an overall shot first, then test whether your current device or the supplied lens can capture the smallest relevant features sharply. Magnification varies by lens: Canon Netherlands lists 0.16× for the RF-S 18-45mm at 45 mm with autofocus, and 0.5× for the separate RF 35mm F1.8 MACRO IS STM.
Start with even daylight and compare the photo with the tile itself. Keep the lighting as consistent as possible between shots and, if your camera allows it, use the white balance to assess and adjust any colour cast. Also check that reflections don’t hide the surface.
As well as a full overall shot, take separate, sharp photos of any relevant edges, the surface and any damage. This lets viewers see the whole tile and examine features that may be less visible in the overall shot.
Test the whole tile from the distance you’ll actually be shooting at, then take a separate detail shot. Check whether the exact model can frame and focus on the tile from that distance; close-up capability doesn’t guarantee that a large tile will fit fully in the frame.