
Collector interested in pen details
Wants to capture nibs, engravings and material finishes clearly. The magnification of the lens you choose matters here; Nikon and OM SYSTEM specify 1:1 macro for certain lenses.


Start with the framing you want: the lens you already own may be enough for a full fountain pen, while a nib or engraving may justify a dedicated macro lens. Also check that you have enough room to light the pen and control reflections. Focus bracketing or stacking may be useful if you need sharpness across several depths. A black background won’t automatically make every pen stand out.
Wants to capture nibs, engravings and material finishes clearly. The magnification of the lens you choose matters here; Nikon and OM SYSTEM specify 1:1 macro for certain lenses.
Wants a dark pen to stand out and glossy parts not to reflect their surroundings. Kept Light Photography explains how dark pens can disappear against a dark background, while a glossy pen can reflect that background.
Photographs several stationary pens in a fixed set-up and wants to repeat the framing and focus. Canon Europe discusses using a tripod for consistent product photos; OM SYSTEM describes focus stacking for the OM-5 Mark II.
Choose this if: you mainly photograph the whole fountain pen and your lens can frame it from the distance you want.
Bear in mind: a standard lens may not offer enough magnification for a close-up of a small nib.
Choose this if: you want a nib, engraving or finish to fill more of the frame.
Bear in mind: the lens must fit the camera mount, and the working distance needs to leave room for lighting.
Choose this if: you need a stationary, angled pen to stay sharp across several depths.
Bear in mind: the camera and pen must remain steady throughout the sequence; combining the images may require editing.
| Consideration | What should you check? | Who is this important for? |
|---|---|---|
| Visibility and reflections | Try different lighting and camera angles, and test the pen against both dark and lighter backgrounds. | If I’m photographing a dark or glossy pen, I want it to stand out from the background and keep reflections under control. Around 33% of consumers prioritise contrast and reflections. |
| Magnification for details | Check the magnification of the exact lens, the mount and the framing you need. | For a close-up of a nib or engraving, I want to know whether the lens can achieve that framing; the camera body alone won’t tell me. Around 27% of consumers prioritise magnification for small pen details. |
| Sharpness across several depths | Check whether the exact camera model offers focus bracketing or in-camera stacking, and whether the pen can remain still throughout the sequence. | If I need an angled pen to be sharp from nib to end, I want to know how the camera handles multiple focus distances. Around 20% of consumers prioritise keeping the entire pen sharp. |
| Complete set-up | Check the exact body variant, included lens, mount and any equipment you already own. | If I first want to work out which parts I’m missing, I compare the complete set-up rather than just the body. Around 20% of consumers prioritise having a complete set-up. |
A dark pen can disappear against black, while a glossy pen may reflect its dark surroundings.
First, test your own pen against dark and lighter materials. If needed, adjust the lighting direction or camera angle before replacing your camera body.
Magnification figures such as 0.5×, 1:1 or 1.4× apply to specific lenses; they don’t automatically tell you what an included kit lens can do.
Check the full lens model and what’s included in the kit against the framing you want.
The minimum focusing distance isn’t measured as the clear space between the front of the lens and the pen.
Check the working distance at the magnification you want, especially if you plan to position a light beside a glossy pen.
Bracketing takes a sequence of shots; how they’re combined varies by camera and workflow.
For the exact model, check whether the camera stacks the images in-camera or only captures the sequence. Keep both the pen and camera steady.
The EOS R10 may be worth considering if you want to use focus bracketing; assess an RF macro lens separately for its magnification and the framing you need.
The Z50II is a Z system camera; the separate NIKKOR Z MC 50mm f/2.8 is a macro option for capturing small details.
The OM-5 Mark II and the separate M.Zuiko Digital ED 60mm F2.8 Macro combine a system camera with a macro option and in-camera focus stacking.
The α6700 has an E mount; the separate FE 90mm F2.8 Macro G OSS is an option to consider if working space around the pen matters to you.
X system cameras can be paired with the separate XF80mmF2.8 R LM OIS WR Macro; weigh up magnification, working distance and post-processing.
These Joybuy products are camera options relevant to this topic. For each model, check the lens, the framing you want and the working distance you’ll need for fountain pen photos.
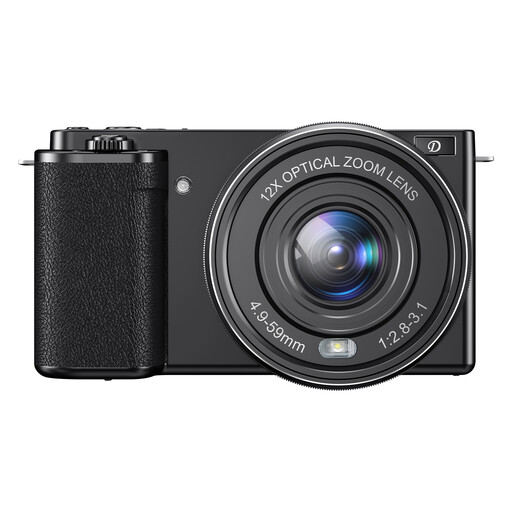 Image unavailable
The product name specifies 12× optical zoom; check whether the lens can also capture the close-up framing you need for nib details.
The product name also specifies 4K video and Wi-Fi.
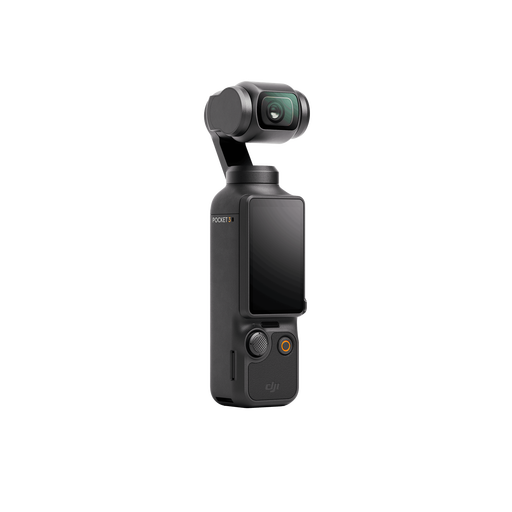 Image unavailable
The product description also mentions still photos; check in advance whether its close-up capabilities are suitable for the details you want to photograph.
The product name specifies a 1-inch CMOS sensor, 4K/120fps video and 3-axis stabilisation.
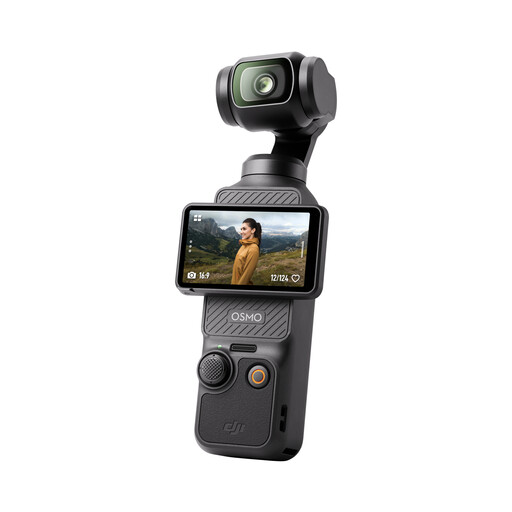 Image unavailable
The product name also describes this camera as suitable for photography; check whether the lens can achieve the framing you need for your fountain pen photos.
The product name specifies a 1-inch CMOS sensor, 4K/120fps video and a 2-inch rotating touchscreen.
 Image unavailable
The product name specifies a 16–50 mm zoom lens; check whether it can focus closely enough from your chosen distance to capture nib details.
 Image unavailable
The product name specifies a 16–50 mm f/3.5–5.6 OSS II lens; check that the framing and close-up distance you need suit your pen photos.
No. First decide how much of the frame the whole pen or detail should fill, then test the lens you already own. For a close-up of a small nib, the maximum magnification of a separate macro lens may matter; that figure applies to the lens and not automatically to every kit with the same camera body.
Position the pen securely and try different lighting and camera angles before replacing any equipment. Kept Light Photography describes an example in which a silver-coloured fountain pen reflected its black surroundings and dark pens didn’t stand out enough. A lighter background may therefore be worth trying.
It depends on the camera and workflow. Canon describes bracketing and stacking for the EOS R10, while the OM-5 Mark II manual describes combining images in-camera. Fujifilm describes a workflow using post-processing software; check the manual for the exact model and keep the pen still throughout the sequence.
For eligible distance sales, you generally have 14 days to change your mind; check the terms and exceptions. You’re also entitled to a product that meets reasonable expectations when you buy as a consumer. According to the Dutch government, the Netherlands has no fixed statutory warranty period of two years; if a product is faulty, the retailer is your point of contact.