
Collectors of relief fossils
You want to capture impressions and fine surface textures clearly, with the flexibility to adjust the angle of the light. Conservation Wiki describes using raking light to show surface texture.


For shallow relief and fine fossil details, an adjustable light that you can position low and at an angle is a sensible choice. For overview shots, more even lighting may be better. Conservation Wiki explains how raking light reveals surface texture, while Open Heritage warns that mixing daylight and artificial light can result in inconsistent colour temperatures. Also check that the mount, power supply and cables are suitable for your shared workspace.
You want to capture impressions and fine surface textures clearly, with the flexibility to adjust the angle of the light. Conservation Wiki describes using raking light to show surface texture.
You want to take comparable overview shots that clearly show the fossils and their features. Open Heritage discusses the importance of consistent lighting and a neutral background when photographing objects.
You need to be able to set up and put away the lighting without leaving troublesome cables or an unstable arrangement in a walkway. Conservation Wiki recommends securing cables to prevent trips.
| What to consider | What should you look for? | Who is this important for? |
|---|---|---|
| Relief and fine details | Check whether you can angle the light low across the surface and adjust its brightness separately. Test the lighting with a fossil arranged as you intend to photograph it. | If you want to show impressions or shallow structures, you need control over the angle of the light and the shadows. Around 33% of consumers give relief and fine details top priority. |
| Colour and overview shots | Check what adjustments are available for white light and brightness. Also consider whether you can switch off or block daylight and other workshop lights while taking the shot. | For comparable overview shots, you want recognisable features and a consistent look. Around 25% of consumers give consistent recording top priority. |
| Setting up and putting away | Check the dimensions, mounting and power supply. Decide where cables or tripod legs will go, and secure the cables safely. | If you share a workbench, the light needs to be easy to set up and put away after use. Around 25% of consumers give a quick, safe set-up top priority. |
| Complete kit | Check whether an adapter, battery, diffuser and tripod are included with the version you choose; this can vary by model or kit. | If you want to use the light straight away in your chosen location, you’ll need to know what other parts you may need. Around 17% of consumers give a complete, ready-to-use kit top priority. |
Heavy diffusion can reduce the shadow contrast that makes shallow relief visible.
Decide whether you mainly want to capture an overview or show the relief. Choose an adjustable set-up and, if needed, take both types of photo.
Light from several directions can fill in the shadows, making the shape look flatter.
Start with one key light. Add targeted fill light only if dark areas would otherwise lose important information.
What’s included varies by model and version. For example, batteries for using the Godox LEDP260C without mains power need to be bought separately; the kit contents for the NEEWER NL660 vary by version.
Compare the contents of the kit you’ve chosen and check what power supply and mounting options your set-up requires.
Ulanzi describes these versions as having different lighting functions; the features of one version don’t automatically apply to the other.
Check the full model name and the white-light adjustments you want before choosing a version.
According to Godox, the LEDP260C is a bi-colour panel designed for uses including macro and product photography.
The VL120 RGB is a compact, rechargeable light for a portable detail-photography set-up; the VL120 Bi-Color is a separate version.
According to Aputure, the MC Pro is a compact RGBWW panel for targeted local lighting.
The NL660 Bi-Color is an adjustable panel available in versions that, according to NEEWER, differ in whether a tripod is included.
The products below are compact, portable lights for local illumination. The Ulanzi LM07 is a handheld light, not a panel; check whether an additional light source like this will be enough for your fossil and set-up.
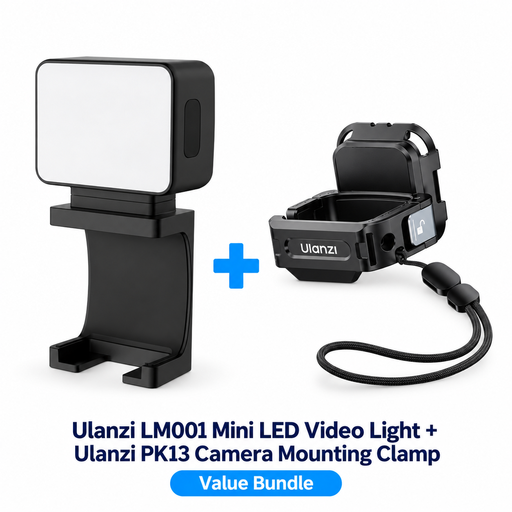 No image available
A compact additional light may suit you if you want to move a local light source around; check that the mounting option works in your workspace.
The included PK13 clamp is designed for the DJI Osmo Pocket 3.
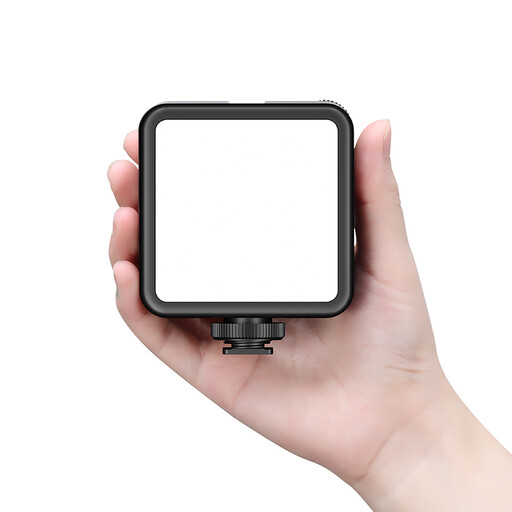 No image available
This rechargeable light is worth considering if you’re looking for a portable light source for macro or product photography.
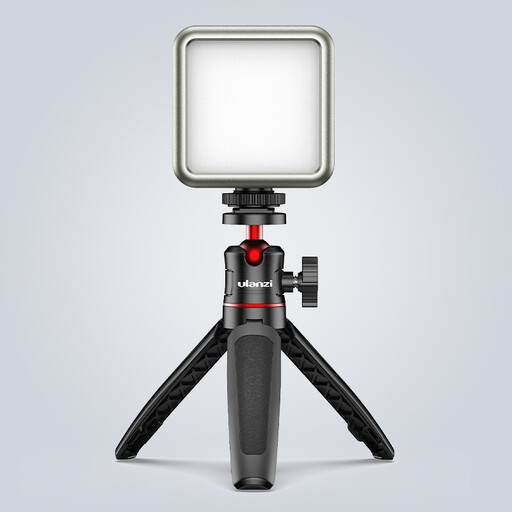 No image available
The compact battery-powered version is worth considering if you want a light that you can move around or put away after use.
The product name lists RGB, dimming, a magnetic back and a colour temperature range of 2500 K–9500 K.
The product information warns against using the light in damp conditions and specifies a standard 5 V adapter for charging.
 No image available
This mini light may suit you if you want to add a local light source and position it flexibly.
The product name lists a magnetic mount and a 500 mAh battery. The product information warns against use in damp conditions and specifies a standard 5 V adapter for charging.
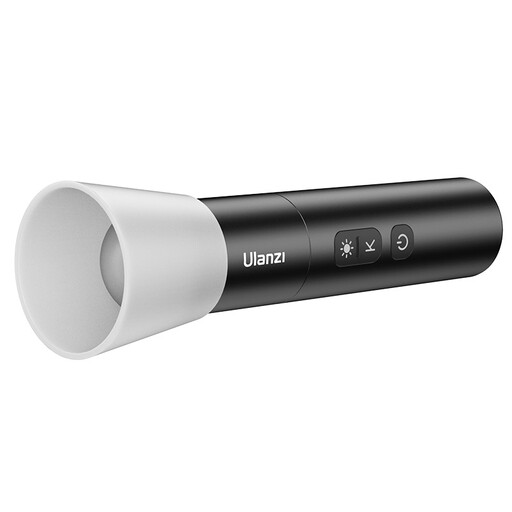 No image available
This handheld light may be useful for targeted detail lighting if you don’t need a panel-shaped light; it is not a panel.
The product name lists a colour temperature range of 2000 K–5500 K, four brightness levels, a 2000 mAh battery and a weight of 187 g.
The product information warns against shining the light directly into your eyes at close range and against dismantling the built-in battery.
Start with one adjustable light positioned low beside the surface, then see which grooves it brings out. If needed, take a more softly lit overview shot too: raking light and strongly diffused light serve different purposes.
For consistent record photographs, Open Heritage advises against mixing natural and artificial light indiscriminately, as this can cause the colour temperature to vary. See if you can switch off or block other light while taking the shot.
Check the exact version and what’s included in the kit. According to the Godox manual, an adapter is included with the LEDP260C, but batteries for use away from mains power are sold separately; whether a tripod is included with the NEEWER NL660 depends on the version you choose.
CE marking isn’t an independent safety certification or a guarantee. The Netherlands Enterprise Agency gives lighting as an example of electrical and electronic equipment for which the relevant EU product rules should be checked. For online purchases from a business, you generally have 14 days to change your mind, although there are exceptions. Check who the seller is and which terms and conditions apply.