
Overhead filming
You want to show the open book and both hands from a fixed position. IPEVO describes the V4K PRO 120 as a document camera with an adjustable arm and wide-angle view. Check that it can capture your work area properly.


Start by choosing your camera angle, then test whether both the whole book and the smallest movements are in focus from your planned camera height. A document camera suits a fixed overhead setup, a webcam works well when recording via a computer, and a mirrorless camera is a good choice if you want to change lenses and framing. Whatever you choose, check the mounting, lighting and accessories you’ll need. These are conditional recommendations based on product specifications, not a hands-on comparison.
You want to show the open book and both hands from a fixed position. IPEVO describes the V4K PRO 120 as a document camera with an adjustable arm and wide-angle view. Check that it can capture your work area properly.
You want to show stitches, cut edges and small movements individually. Assess focus and framing together at the working distance you actually use.
You want to record several steps in one go and check in advance how the camera, power supply, computer and lighting will work together during a recording.
First decide how you want to film your work, then check that the setup can capture both the overall view and the smaller movements.
Suitable if: you mainly want to show the open book and your hands from above, and you work via a computer.
Bear in mind: a wide frame can make small stitches look tiny. Also check the arm’s reach and how much space you have on your desk.
Suitable if: you record via a computer and want to show yourself or your desk too. Logitech describes a Show Mode for the MX Brio, which lets you tilt the camera towards the desk.
Bear in mind: tilting the camera doesn’t guarantee a straight-down view. Check the angle and framing on your own work surface.
Suitable if: you want to frame wide shots and close-ups differently, and match the lens to your working distance.
Bear in mind: the camera body alone won’t determine whether you get the framing and focus you want. Factor in the lens, mounting and recording method too.
| What to consider | What should you check? | Who is this important for? |
|---|---|---|
| View of the work area | From your planned camera height, check that the book, your hands and your tools all stay in frame. | If I want to show the whole book and both hands at once, the work area is my first consideration; around 36% of consumers give an overall view top priority. |
| Small movements | Check the focus and how large details appear at your usual working distance. | If I want to show stitches and finished edges clearly, I pay attention to both sharpness and framing; around 29% of consumers prioritise detail. |
| Recording time | Check the exact model’s power supply, recording limits, storage and any computer or software requirements. | If I want to capture several bookbinding steps in one go, I need to know whether my recording setup can handle the session; around 21% of consumers prioritise continuous recording. |
| Complete setup | Check whether you’ll need a lens, mount, lighting or storage for your chosen camera angle. | If I want to get started with as few separate components as possible, I look at the complete setup rather than just the camera; around 14% of consumers prioritise simplicity. |
Resolution and field of view don’t tell you how large an individual stitch will appear at your working distance.
Make a test recording with a real book and check both the overall view and the smallest movement.
You may need a different lens or a second camera angle to get the framing you want.
Logitech says you can tilt the MX Brio towards your desk, but that doesn’t necessarily give you a straight-down view.
Check the viewing angle and make sure your hands and work surface stay visible from the intended position.
You may need a separate, stable mount.
With a mirrorless camera, the recording distance and framing also depend on the lens you choose.
Put together the complete setup for your work area and check in advance how you’ll mount and power the camera.
As well as a suitable lens, you may need a mount, lighting or storage.
These brands are relevant to different ways of filming bookbinding. The features mentioned apply to the specific product ranges and models.
Document cameras for showing physical materials; the V4K PRO 120 is worth considering for a fixed overhead shot.
Webcams for computer setups; the MX Brio may suit you if you also want to show your desk while recording.
Mirrorless cameras with a choice of lenses; the EOS R50 V is an example for creators who want to frame wide shots and close-ups differently.
Mirrorless cameras with interchangeable lenses; the ZV-E10 II is an alternative for a flexible video setup.
This selection mainly includes webcams for computer use, as well as a PTZ camera for anyone who wants to reframe their shot. Check whether each model’s mounting angle suits your bookbinding work area.
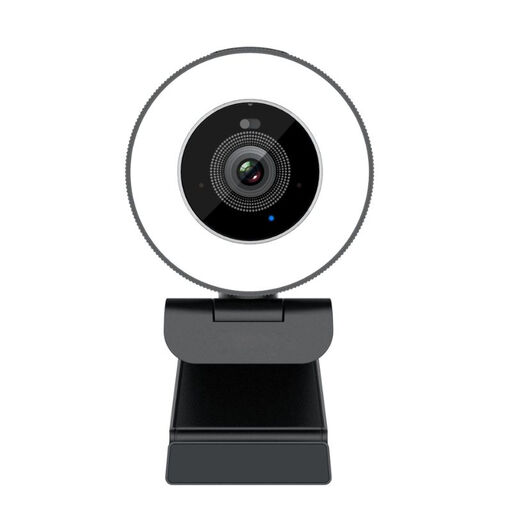 No image available
An option if you want to film via a computer. Check that the clip fits your monitor or laptop and gives you the camera angle you want.
The product name lists 8 MP, autofocus, two built-in microphones and a privacy cover.
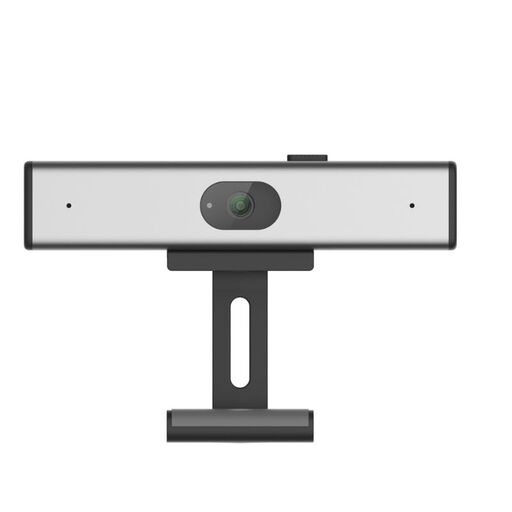 No image available
Could suit recording via a computer. Check whether the clip or tripod mount can show your work area from the angle you want.
The product name lists 2K QHD and a noise-cancelling microphone.
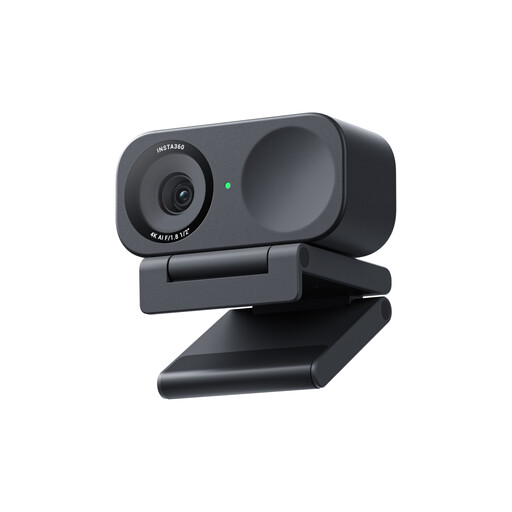 No image available
The product information lists DeskView mode for filming a desk. Check whether the viewing angle works for your bookbinding project.
The product name describes a 4K webcam for PC and Mac with a 1/2-inch sensor. According to the product information, this model isn’t compatible with ARM-based Windows systems.
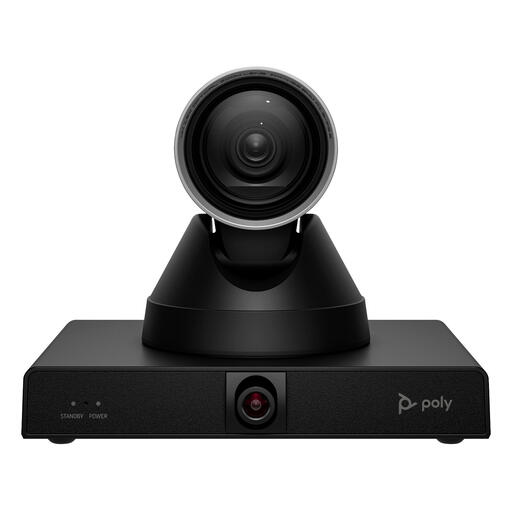 No image available
Could be useful if you want to reframe or zoom in while filming. Check that the mount is suitable for the position you’ve chosen.
The product name lists 4K and 12× optical zoom. Its stated weight is 1,79 kg, so bear this in mind when mounting it.
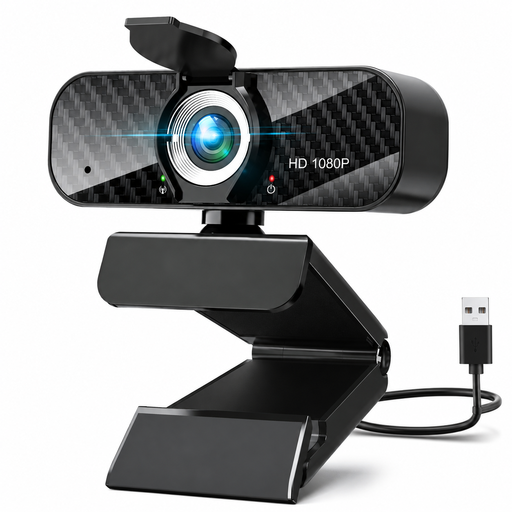 No image available
A straightforward webcam option for recording via a computer. Make a test recording to see whether the work area and small movements are clearly visible.
The product name lists Full HD 1080p, a microphone and USB connectivity.
No. The resolution alone doesn’t tell you how large the stitch will appear in frame. Test the framing and focus at your working distance; the lens and mounting height also make a difference.
First, make a test video under the light you actually use. Sony advises that in areas with a 50 Hz mains frequency, a shutter speed of 1/50 or 1/100 second may help reduce flicker. The result also depends on the light and the camera.
After filming, check that your files have been saved. Follow the instructions for your chosen model when cleaning the lens and connection. If you use a webcam or document camera, check the cable and recording app too.
Contact the seller to discuss a solution under the legal guarantee. According to the Dutch Government, there is no fixed statutory guarantee period in the Netherlands; what you can expect depends, among other things, on the product and the sales information.
For distance purchases, you usually have a 14-day cooling-off period, but check the terms and any exceptions that apply to your specific purchase. This is separate from your legal rights if a product is faulty, as explained by the Dutch Government.
The Dutch Data Protection Authority states that the GDPR applies when you film and publish on behalf of a business or organisation for professional or commercial purposes. Bear in mind that the rules on personal data apply in these circumstances.